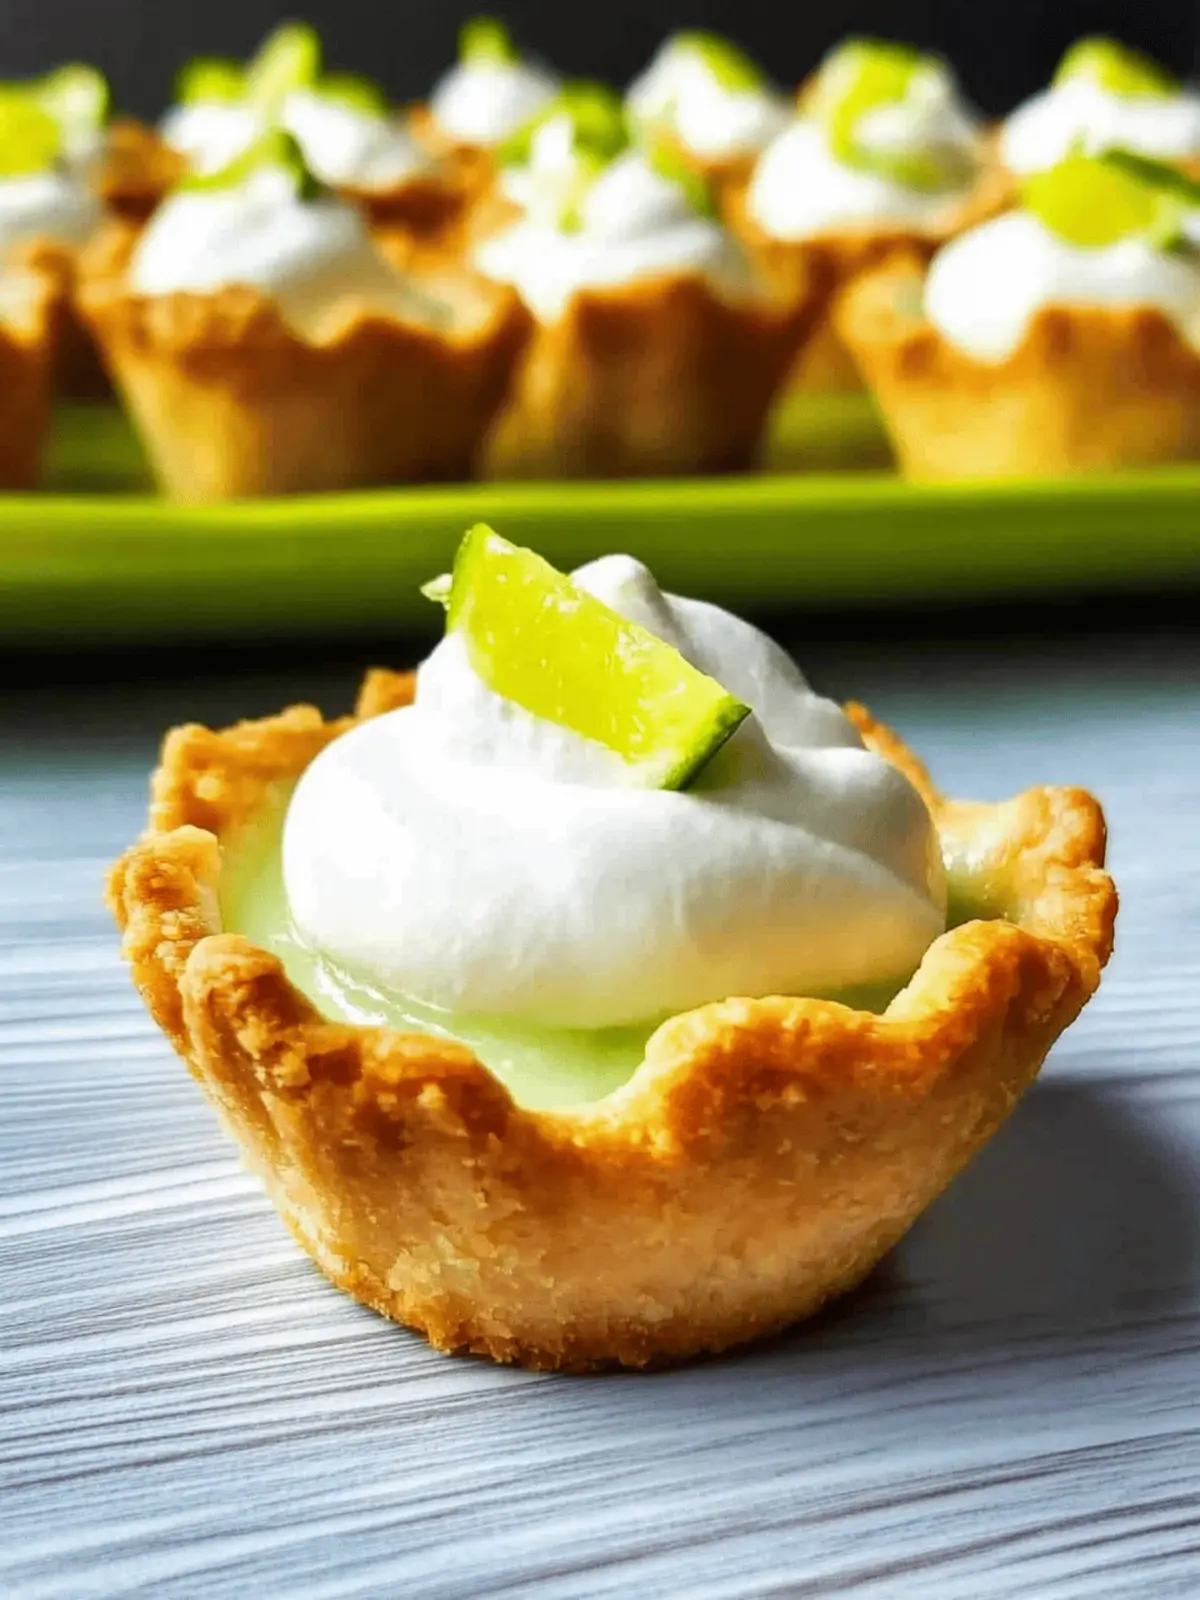
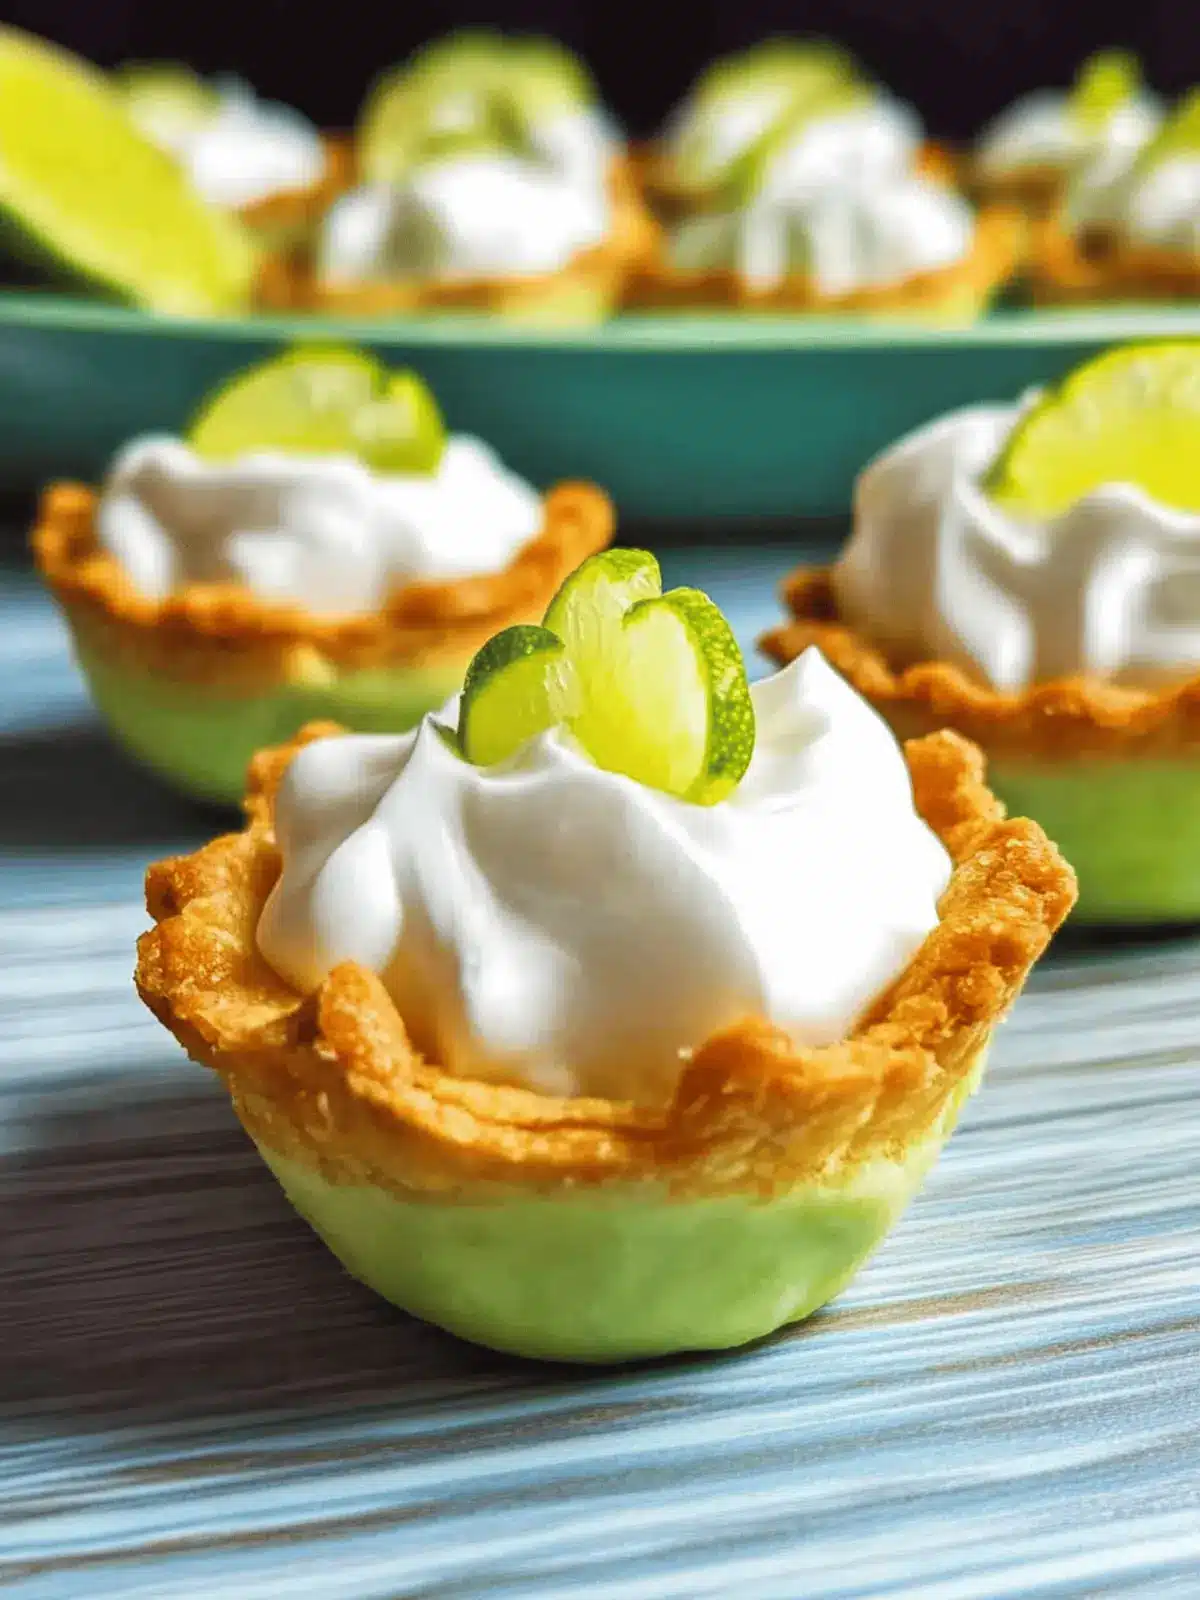
Picture a sun-soaked summer day, where laughter fills the air and the scent of citrus dances around you. That’s exactly the vibe these Mini Key Lime Pie Bites bring to any gathering! I’ll never forget the moment I took my first bite of these treats—it was a delightful explosion of refreshing tartness wrapped in a flaky, buttery crust. Perfect for those sweltering afternoons, they offer a playful twist on the classic dessert, allowing you to enjoy key lime pie in a fun, bite-sized form.
Whether you’re hosting a backyard BBQ, planning a picnic by the beach, or simply want to indulge in something light and zesty after dinner, these mini pies will impress your guests and tantalize your taste buds. Plus, with variations like a Tropical Twist or Berrylicious Surprise, you can easily customize them to suit your mood or occasion. Join me in creating these little gems that are not only easy to whip up but also guaranteed to be a hit! Let’s dive into the recipe!
Why are Mini Key Lime Pie Bites a must-try?
Bursting with Flavor: Each bite combines the tartness of key lime with the creaminess of whipped topping for a truly refreshing treat.
Effortlessly Simple: This recipe is quick and hassle-free, perfect for beginners and seasoned chefs alike.
Versatile Variations: From Tropical Twists to Berry Surprises, you can tailor these bites to satisfy every palate.
Perfect for Any Occasion: Whether it’s a summer BBQ or a casual dinner, these mini pies are sure to impress your guests.
Stunning Presentation: Serve them on a dessert platter with fresh fruit for an elegant touch that elevates any gathering!
Mini Key Lime Pie Bites Ingredients
Get ready to create these delightful treats!
For the Crust
- Pillsbury Refrigerated Mini Pie Crusts (14.1 oz) – The perfect foundation for your mini key lime pies; consider using a homemade graham cracker crust for a different flavor profile.
For the Filling
- Lime Gelatin (3 oz) – Provides that iconic tangy lime flavor and helps set the filling; you can opt for sugar-free gelatin for a lighter version.
- Water (½ cup, divided) – Activates the gelatin and ensures a smooth blending of ingredients; no substitutions needed here.
- Whipped Topping (8 oz, thawed but cold) – Adds a creamy and airy texture to the filling; substitute with homemade whipped cream if you want a fresher taste.
- Fresh Key Lime Zest – A finishing touch that enhances both flavor and visual appeal; regular lime zest works well if key limes are hard to find.
These ingredients come together beautifully to create the delightful mini key lime pie bites you’ll want to share with family and friends!
How to Make Mini Key Lime Pie Bites
-
Preheat the Oven: Begin by preheating your oven to 425°F (220°C). This ensures your mini pie crusts will bake to a golden perfection when you’re ready to fill them.
-
Prepare the Crusts: Unroll the Pillsbury refrigerated mini pie crusts and gently press them into the muffin pan cavities. Use a fork to poke holes at the bottom—this prevents bubbling during baking.
-
Bake the Crusts: Place the muffin pan in the oven and bake for 10-12 minutes, until the crusts are golden brown. Allow them to cool in the pan for 1 hour to set before removing.
-
Mix the Gelatin: In a small pot, bring ¼ cup of water to a boil. Pour in the lime gelatin and whisk until fully dissolved. Add the remaining ¼ cup of water and let it cool for about 30 minutes in the refrigerator.
-
Combine with Whipped Topping: Once cooled, stir in the thawed whipped topping until smooth and creamy. Make sure to refrigerate this mixture for another 30 minutes to help it set properly.
-
Zest the Limes: While your filling sets, zest the limes to enhance the flavor of your mini pies. The fragrant zest adds a lovely touch to your treat!
-
Fill the Crusts: Using a piping bag, carefully fill each mini pie crust with the gelatin mixture. Don’t forget to sprinkle some lime zest on top for that fresh finish!
-
Chill Before Serving: Place the filled mini key lime pies in the refrigerator for at least 1 hour to firm up nicely before serving. This chilling time helps all those delightful flavors meld together.
Optional: Garnish with a slice of lime or a dollop of whipped cream for an extra fancy touch!
Exact quantities are listed in the recipe card below.
Make Ahead Options
These Mini Key Lime Pie Bites are perfect for meal prep, allowing you to enjoy the taste of summer without the last-minute rush! You can prepare the pie crusts up to 24 hours in advance—simply bake them as directed, let them cool, and store in an airtight container at room temperature. The filling can be made and refrigerated for up to 3 days. Just be sure to keep it covered to maintain its freshness and prevent any unwanted odors from seeping in. When you’re ready to serve, fill the cooled crusts with the chilled gelatin mixture and refrigerate for at least 1 hour to set. This way, you’ll have delicious, crowd-pleasing treats that taste just as fresh and zesty as the day they were made!
What to Serve with Mini Key Lime Pie Bites?
Pair your delightful treats with these complementary dishes to create a perfect summer spread!
- Fresh Fruit Salad: A vibrant mix of seasonal fruits adds color and freshness, enhancing the zesty flavor of the pie bites.
- Coconut Whipped Cream: This tropical twist provides a rich and creamy contrast that makes each bite even more luscious. Try it drizzled on top!
- Mango Sorbet: The sweetness of mango sorbet beautifully balances the tartness of the lime, creating a refreshing duo that’s truly satisfying.
- Mint Iced Tea: A cool, refreshing beverage to cleanse the palate; the mint complements the citrus notes of the key lime pie bites splendidly.
- Grilled Pineapple: Smoky, sweet, and juicy, grilled pineapple serves as a caramelized contrast to the creamy tartness you’ll love. Serve it alongside for a delightful bite!
- Cheesecake Bites: Offer a option with a rich creaminess; they provide a delicious contrast to the bright flavors of the mini pies, keeping guests intrigued.
- Limeade: Quench your thirst with homemade limeade, bringing out the citrus theme while balancing the sweetness of the dessert. A perfect summer refresher!
These pairings not only elevate your mini key lime pie bites but also create a memorable dining experience for you and your guests!
How to Store and Freeze Mini Key Lime Pie Bites
Refrigerator: Keep these delightful mini key lime pie bites in an airtight container in the fridge for up to 3 days to maintain their freshness and texture.
Freezer: If you want to enjoy them later, you can freeze the unfilled crusts for up to 2 months. Just wrap them tightly in plastic wrap and then in foil to prevent freezer burn.
Reheating: When you’re ready to enjoy frozen crusts, thaw them in the refrigerator overnight, then fill with the gelatin mixture as instructed.
Serving Tip: For best flavor, consume the filled mini key lime pie bites within 1-2 days of making them for that zesty delight!
Expert Tips for Mini Key Lime Pie Bites
-
Chilling Time: Allow the filling to chill properly to achieve a firm and creamy texture in each mini key lime pie bite.
-
Don’t Overbake: Keep an eye on the crust while baking; overbaking may lead to a tough texture instead of the light, flaky crust you want.
-
Sweetness Adjustment: Always taste the gelatin mixture before filling the crusts. If you desire more sweetness, add brown sugar or sweetened condensed milk gradually.
-
Piping Technique: For a polished presentation, use a piping bag when filling the crusts. This makes it easier to control the filling amount and creates a neater look.
-
Fun Variations: Get creative with the flavors! Substitute the lime gelatin for other fruit-flavored gels for more unique mini pies to surprise your guests.
Mini Key Lime Pie Bites Variations
Feel free to get creative and make these bites your own with exciting twists and substitutions!
-
Tropical Twist: Fold in shredded coconut to the gelatin mix for a sunny, tropical flavor that transports you to the beach.
-
Berrylicious Surprise: Place fresh berries like strawberries or raspberries at the bottom of each crust before filling for a delightful surprise.
-
Graham Cracker Crust: Swap the mini pie crusts for bake-your-own graham cracker crust for a classic key lime pie experience.
-
Nutty Crunch: Sprinkle chopped nuts like almonds or pecans on top before chilling for an inviting crunch.
-
Citrus Medley: Boost the lime flavor by adding a splash of lemon or orange juice to the gelatin mixture for an exciting medley of citrus notes.
-
Cheesecake Swirl: Blend in a bit of cream cheese to the filling for a smooth cheesecake-inspired flavor that tantalizes the palate.
-
Spiced Up: Add a pinch of cayenne pepper or chili powder to the gelatin mixture for a surprising heat that contrasts beautifully with the tartness.
-
Fancy Finish: Top each bite with a drizzle of chocolate or a swirl of caramel sauce for an indulgent twist that’s perfect for special occasions.
Mini Key Lime Pie Bites Recipe FAQs
What are the best limes to use for key lime pie bites?
I recommend using fresh key limes for that authentic tart flavor, but regular limes can work beautifully too! Look for limes that are firm with a bit of give when squeezed, indicating juiciness. Avoid limes with dark spots or blemishes, as these might affect the taste.
How should I store my mini key lime pie bites?
Store these delightful treats in an airtight container in the refrigerator for up to 3 days. This keeps their creamy filling fresh and prevents the crust from becoming soggy. If you’re preparing for an event, I always suggest making them just a day in advance for the best flavor and texture.
Can I freeze mini key lime pie bites?
Absolutely! To freeze, wrap the unfilled mini pie crusts tightly in plastic wrap and then in foil. They can be stored like this for up to 2 months. When you’re ready to enjoy, thaw them in the refrigerator overnight before filling with the gelatin mixture. Avoid freezing the filled pie bites, as the texture won’t hold up well.
What if my gelatin mixture doesn’t set properly?
If you find that your gelatin mixture hasn’t set, it may be due to insufficient chilling time or incorrect water measurement. Make sure to allow the mixture to chill for a full 30 minutes after mixing in the whipped topping. If it still doesn’t set, you can try gently re-heating and adding more gelatin, but ensure it dissolves fully this time!
Are mini key lime pie bites suitable for people with dietary restrictions?
Absolutely! You can easily adapt this recipe for various dietary needs. For a lower-calorie option, opt for sugar-free lime gelatin and consider using a homemade gluten-free crust. Always check that your whipped topping is dairy-free if anyone in your gathering has allergies, and feel free to experiment with alternative sweeteners if needed.

Mini Key Lime Pie Bites: A Must-Try Easy Recipe for Summer Bliss
Ingredients
Equipment
Method
- Preheat your oven to 425°F (220°C).
- Unroll the Pillsbury refrigerated mini pie crusts and gently press them into the muffin pan cavities.
- Poke holes at the bottom of each crust with a fork to prevent bubbling during baking.
- Bake for 10-12 minutes until crusts are golden brown; cool in the pan for 1 hour.
- In a small pot, bring ¼ cup of water to a boil. Whisk in the lime gelatin until fully dissolved.
- Add the remaining ¼ cup of water and cool for about 30 minutes in the refrigerator.
- Stir in the thawed whipped topping until smooth and creamy; refrigerate again for another 30 minutes.
- Zest the limes while the filling sets.
- Fill each mini pie crust with the gelatin mixture using a piping bag; sprinkle with lime zest to finish.
- Chill the filled mini pies in the refrigerator for at least 1 hour before serving.


