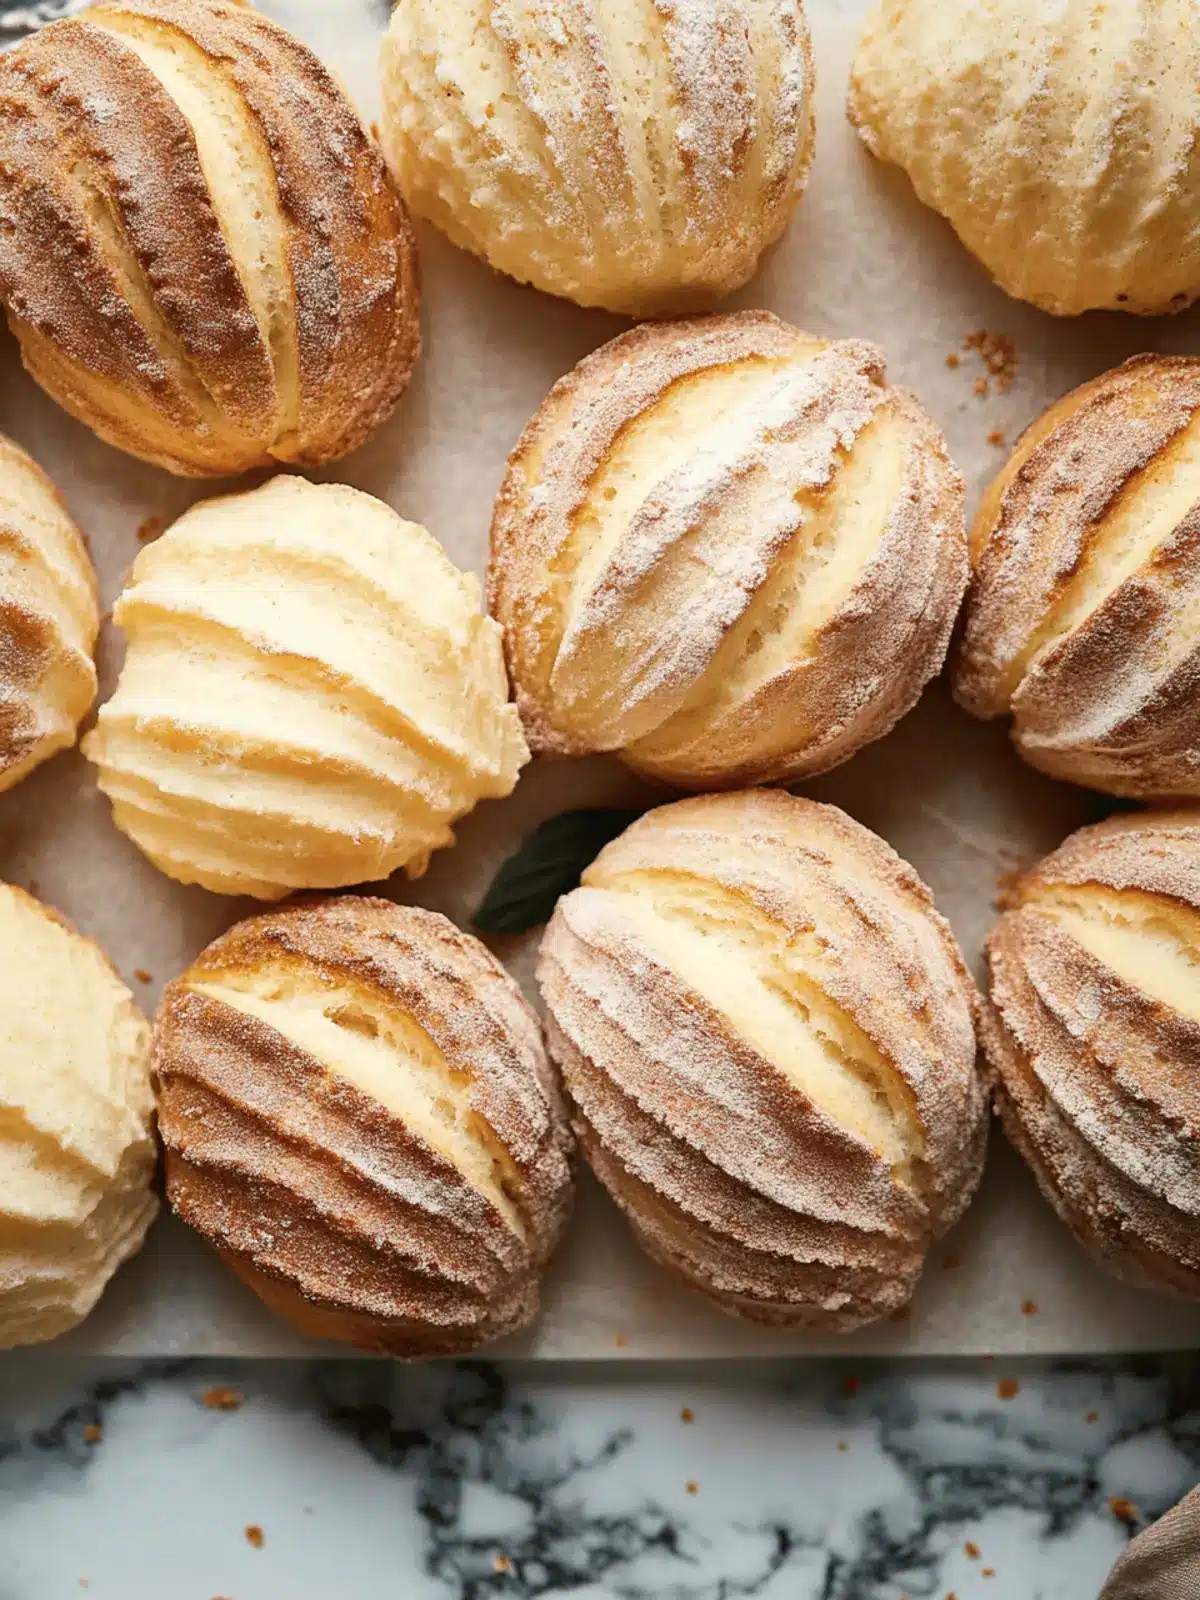
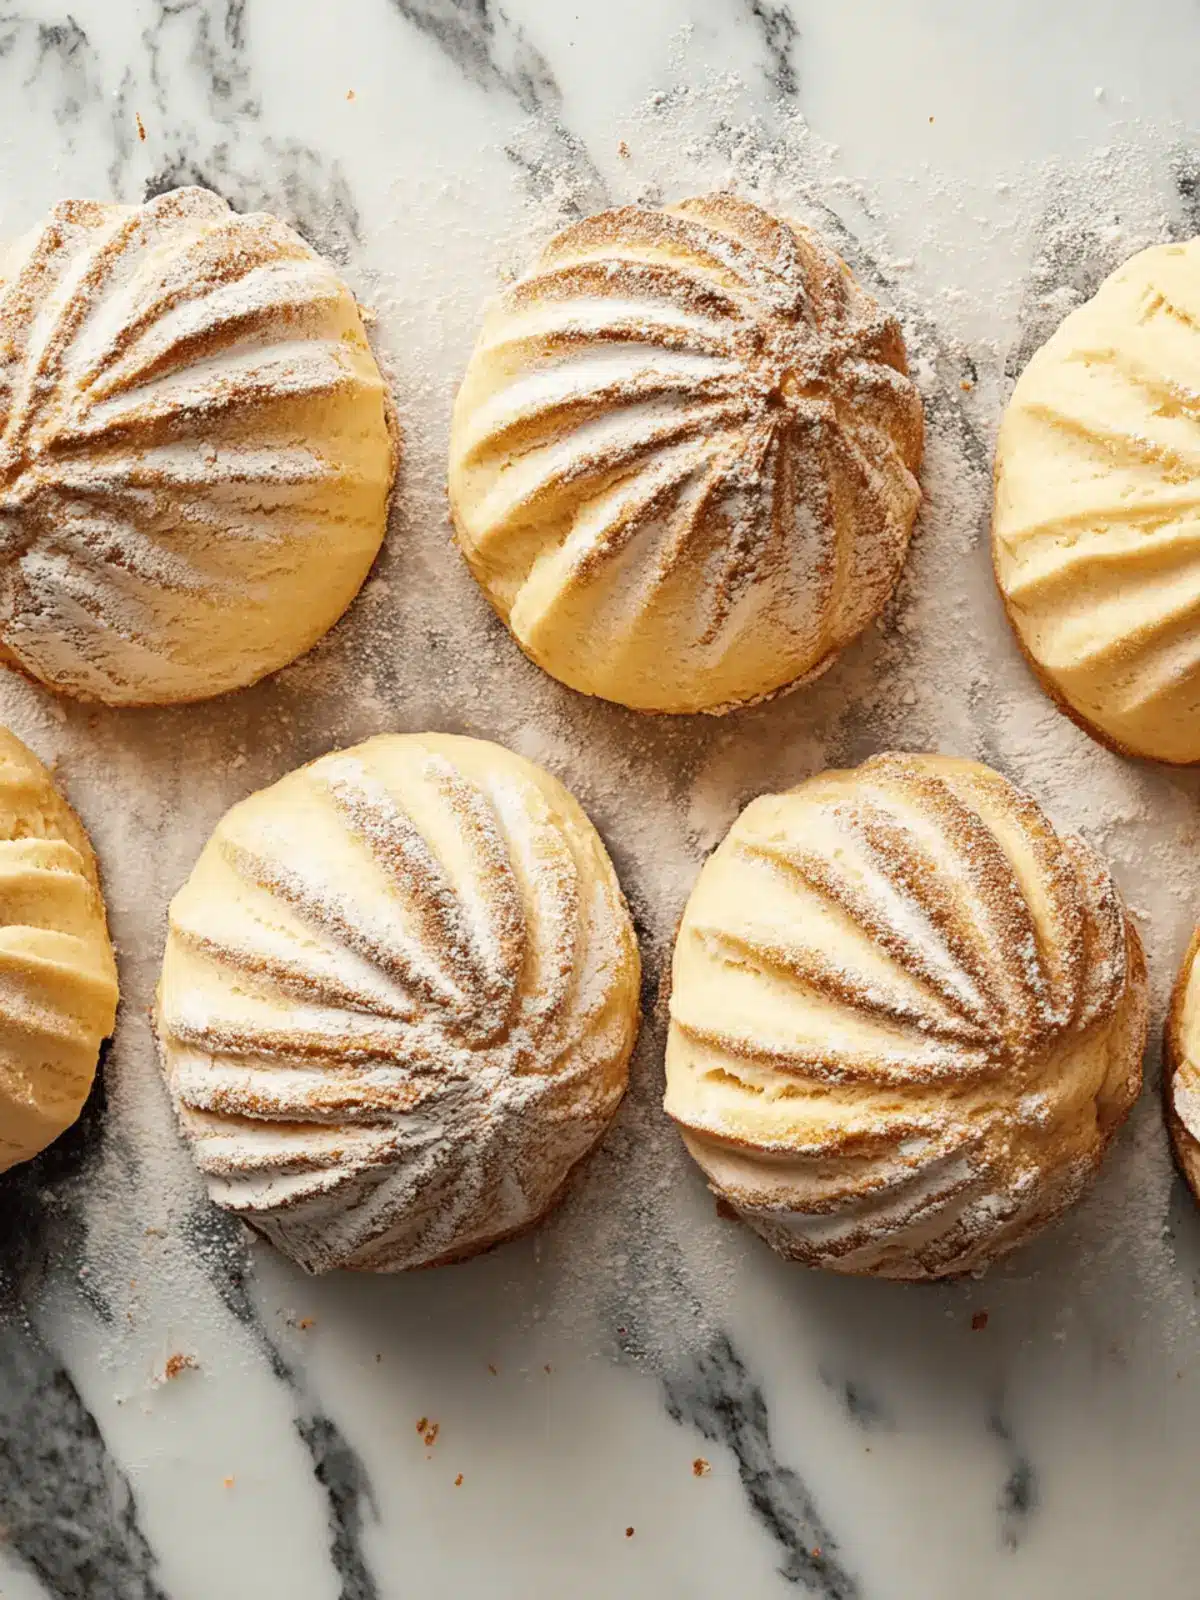
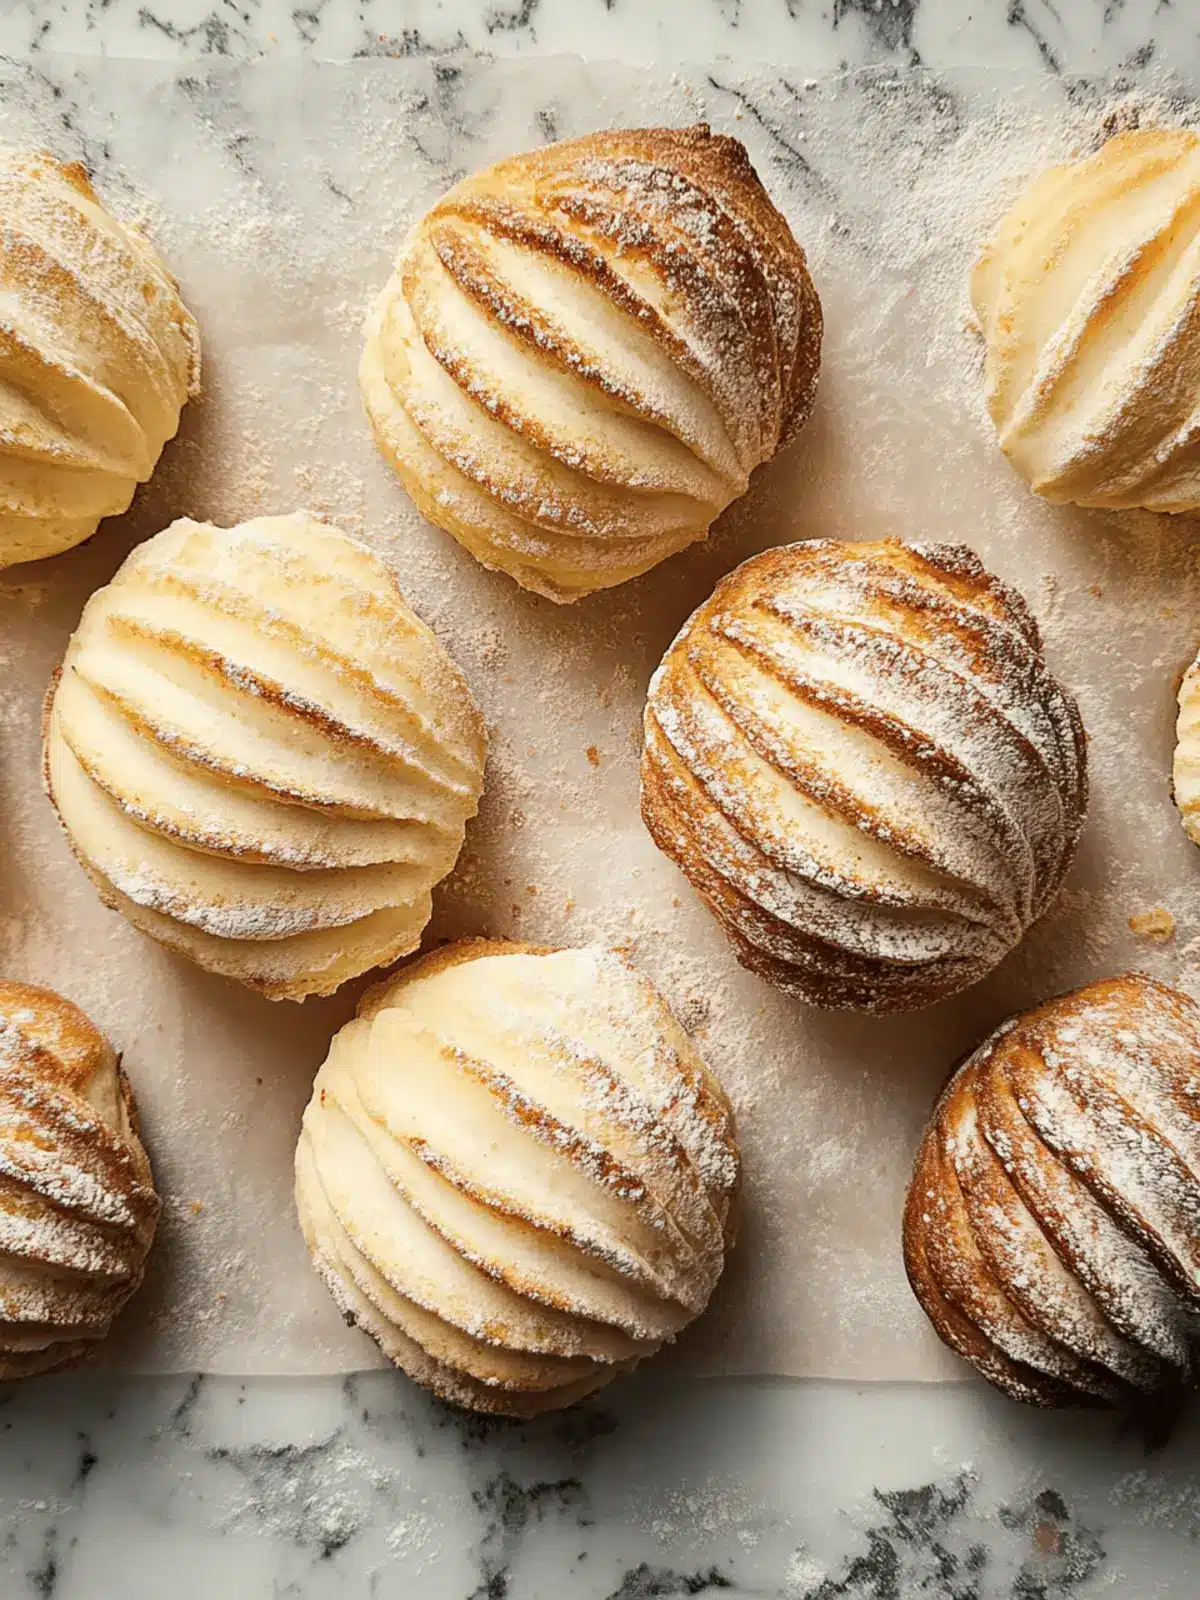
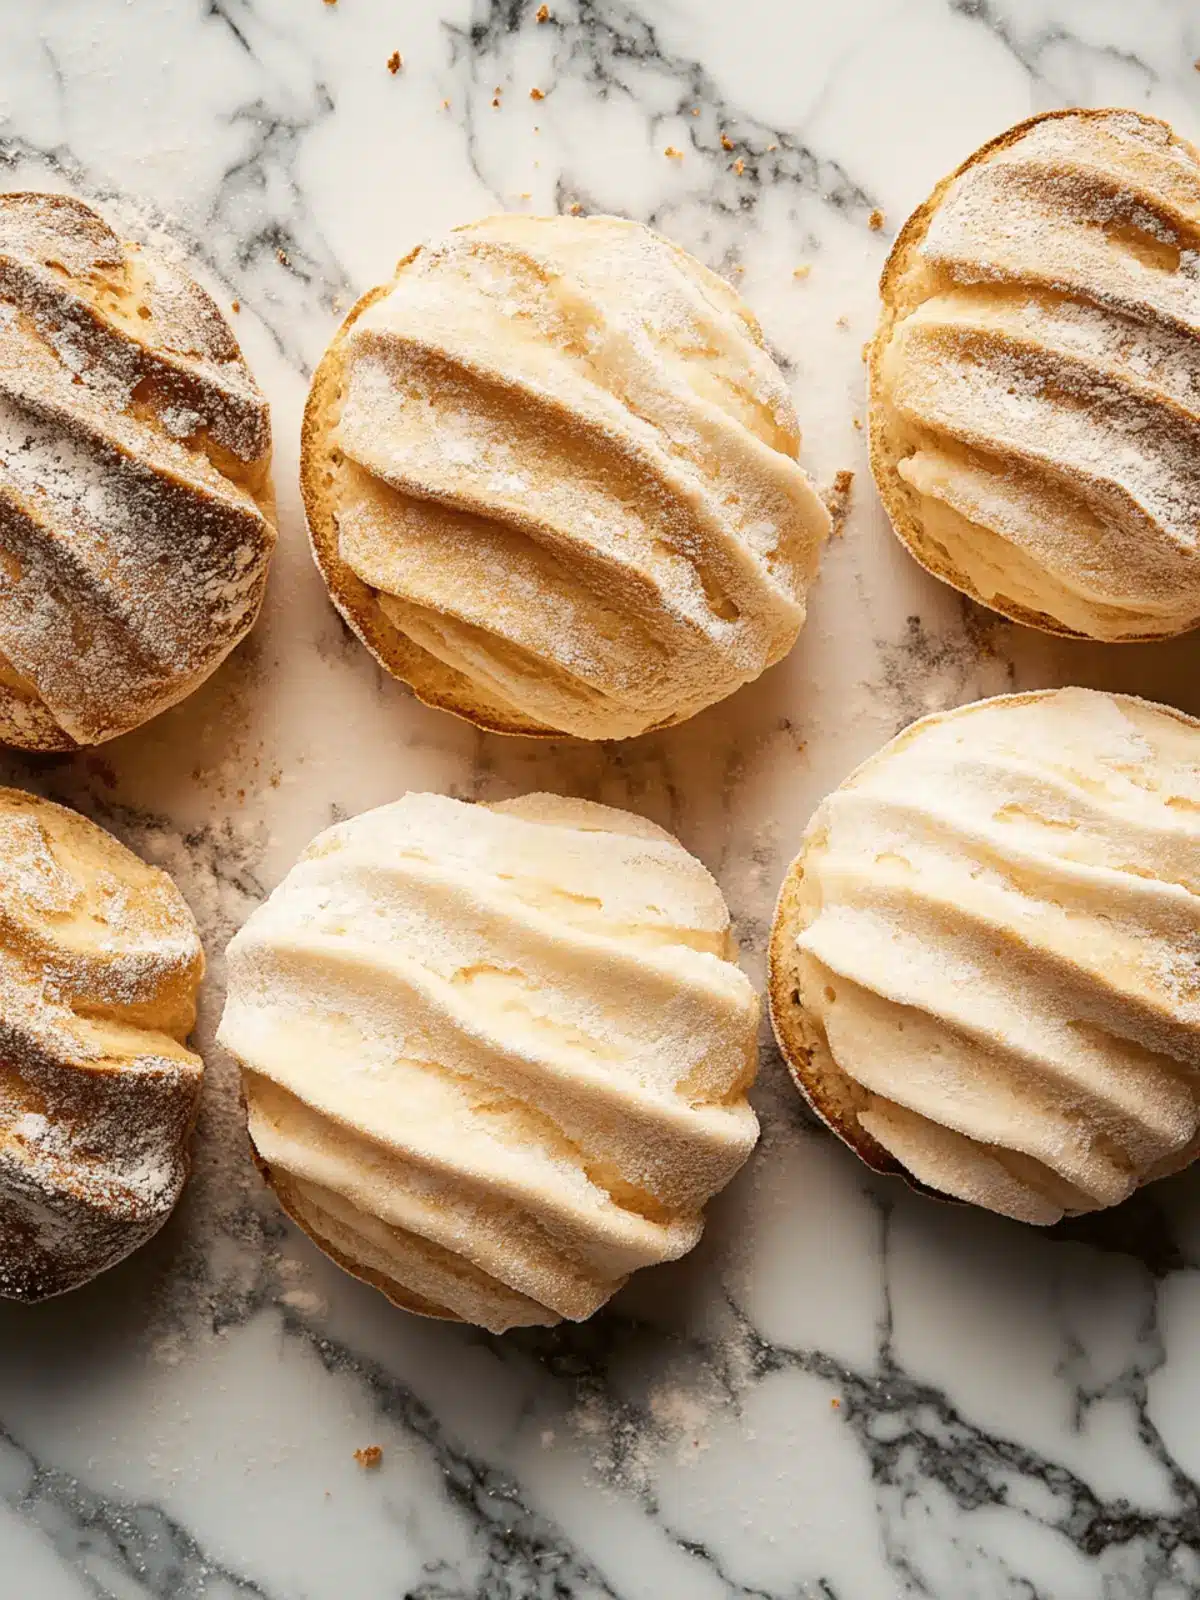
As the first rays of sunshine peek through my kitchen window, the warm, inviting scent of freshly baked concha bread fills the air, transporting me to lively mornings in a quaint Mexican café. It’s more than just a delightful sweet bread; each concha is a masterpiece, adorned with a sugary topping that can be crafted in classic vanilla or a rich chocolate twist. These charming rolls, with their signature seashell pattern, offer a perfect combination of soft, pillowy interior and a slightly crunchy crust that makes them irresistible.
Whether you’re looking for an afternoon snack to share with friends or a festive treat for family gatherings, conchas are versatile and beloved by many. The joy of breaking open a warm concha bread, enjoying its tender texture, and savoring the sweet notes of vanilla or cocoa creates cozy moments that linger in the heart. So, roll up your sleeves, and let’s bring a touch of Mexico into your home with these delightful conchas—perfect for any occasion!
Why Is Concha Bread So Special?
Incredible Flavor: The blend of sweet dough with the sugary topping gives concha bread a unique taste that captivates your taste buds.
Textural Delight: Enjoy a soft, fluffy interior combined with a slightly crispy crust, making each bite a treat.
Versatility: Perfect for breakfast, coffee breaks, or festive gatherings, you can also switch up the toppings from vanilla to chocolate!
Easy to Make: With step-by-step instructions, even novice bakers can craft these delicious treats at home.
Cultural Connection: Every bite connects you to the heart of Mexican tradition, celebrating the rich heritage of pan dulce.
Crowd-Pleaser: Share conchas at gatherings and watch them disappear—everyone loves these delightful sweet breads!
Concha Bread Ingredients
For the Dough
• Whole Milk – Adds moisture and richness to the dough.
• Active Dry Yeast – Essential for dough leavening; ensure it’s fresh for the best rise.
• Granulated Sugar – Provides sweetness and helps to activate the yeast; can substitute with brown sugar for depth.
• All-Purpose Flour – Acts as the foundation of the bread; ensure it’s measured correctly for optimal texture.
• Kosher Salt – Enhances the flavor; fine sea salt can also be used.
• Large Eggs – Contributes to the structure and moisture of the dough.
• Unsalted Butter – Adds richness and buttery flavor; margarine can replace it if needed.
For the Topping
• Powdered Sugar – Used to create a sweet and smooth topping.
• Vegetable Shortening – Helps the topping maintain its shape; lard can give it a more authentic taste.
• Unsweetened Cocoa Powder – Optional for a chocolatey twist in your topping.
• Pure Vanilla Extract – Infuses delightful flavor; almond extract can be used as a substitute.
• Pinch of Kosher Salt – Balances the sweetness of the topping, ensuring delicious flavor in your concha bread.
Enjoy crafting these delightful conchas and treat yourself and your loved ones to a taste of tradition!
How to Make Concha Bread
-
Prepare Yeast Mixture: Warm the whole milk until just warm to the touch, then mix it with the active dry yeast and a teaspoon of granulated sugar. Let it sit until foamy—about 5-10 minutes—this ensures your yeast is working.
-
Mix Dough: In a large mixing bowl, combine the all-purpose flour, kosher salt, the remaining sugar, and large eggs. Pour in the yeast mixture and melted unsalted butter, mixing until a cohesive dough forms.
-
Knead: Turn the dough out onto a floured surface and knead vigorously until the dough becomes smooth and elastic, roughly 10 minutes. You’ll know it’s ready when it springs back to the touch.
-
First Rise: Transfer the dough to a greased bowl, cover it with a damp cloth or plastic wrap, and let it rise in a warm place until it has doubled in size, about 2 hours.
-
Shape Conchas: After the first rise, punch down the dough to release air. Divide it into equal portions and shape them into rounds. Prepare your topping by mixing powdered sugar, vegetable shortening, and desired flavors, then apply on top of each roll, using a knife or mold to create the signature seashell pattern.
-
Second Rise: Place the shaped conchas on a lined baking sheet, cover, and allow them to rise again until puffed—around 1 hour—making sure they get a good airy texture.
-
Bake: Preheat your oven to 350°F (175°C) and bake the conchas for 20-25 minutes, or until they are golden brown. Transfer them to a wire rack to cool before serving.
Optional: Dust with additional powdered sugar for a touch of extra sweetness!
Exact quantities are listed in the recipe card below.
Expert Tips for Making Concha Bread
- Yeast Activation: Ensure the milk is warm, not hot, to activate the yeast; using a thermometer will prevent overheating.
- Proper Kneading: Knead the dough until it’s smooth and elastic; this usually takes about 10 minutes. Under-kneading can result in dense conchas.
- Use Room Temperature Ingredients: Eggs and butter should be at room temperature to meld better with other ingredients, creating a cohesive dough.
- Master the Topping: If using a mold, practice with different pressures to achieve the desired seashell design. Don’t rush!
- Keep an Eye on Baking: Check for a golden-brown color; underbaking can lead to a doughy texture, while overbaking might dry them out.
- Enjoy Fresh: Concha bread is best enjoyed fresh out of the oven, but you can store leftovers in an airtight container for up to 3 days. Reheat for the best results.
Make Ahead Options
These Concha bread treats are perfect for busy home cooks who want to enjoy fresh, delightful pastries without the rush! You can prepare the dough up to 24 hours in advance; simply follow the instructions up to the first rise, then tightly cover the bowl and refrigerate the dough. When you’re ready to bake, let it come to room temperature, then shape the rolls and proceed with the second rise and baking as instructed. Additionally, if you’re short on time, you can also prepare the topping mixture in advance—just store it in the fridge and apply it before baking. This way, your conchas will be just as scrumptious and fresh as if made on the day, saving you precious time for busy mornings or impromptu gatherings!
What to Serve with Concha Bread?
Create a delightful experience by complementing these sweet Mexican breads with flavors and textures that make every bite memorable.
- Coffee: Perfectly balances the sweetness of conchas, making them a delightful breakfast pairing or afternoon treat.
- Hot Chocolate: A comforting pairing that enhances the sweet notes in concha bread, ideal for chilly days.
- Fresh Fruit Salad: Bright and refreshing, a fruity mix adds a pop of color and juicy sharpness to the sweet rolls.
- Cinnamon Sugar Butter: Spread this creamy, spiced topping on warm conchas for an indulgent flavor combination that everyone will love.
- Churros: Elevate your dessert game with these crispy treats, offering a delightful variation of textures alongside your soft conchas.
- Traditional Mexican Hot Chocolate: The rich, spiced chocolate complements the sweetness of conchas, creating a heartwarming snack.
- Sweet Cream Cheese Dip: A light and fluffy dip that will elevate the flavor of your conchas while adding a touch of creaminess.
- Cajeta: This rich Mexican caramel sauce drizzled on top or served on the side adds a luscious flavor twist, making each bite unforgettable.
- Mexican Horchata: A refreshing, sweet rice milk drink that pairs beautifully with the rich flavors of concha bread, offering a cooling contrast.
How to Store and Freeze Concha Bread
Room Temperature: Store conchas in an airtight container at room temperature for up to 3 days. This keeps them soft and enjoyable for your afternoon snack.
Freezer: For longer storage, wrap conchas individually in plastic wrap and then in aluminum foil, placing them in a freezer bag. They can be frozen for up to 3 months.
Reheating: To revive frozen conchas, thaw overnight in the fridge, then reheat in a 350°F (175°C) oven for 10-15 minutes. This restores their delightful texture!
Avoid Moisture: Make sure the conchas are fully cooled before storing to prevent condensation, which can create soggy bread. Enjoy the sweetness of your concha bread while it lasts!
Concha Bread Variations
Customize your concha bread for a delightful experience with every batch!
-
Chocolate Twist: Replace vanilla in the topping with cocoa powder for a rich, chocolaty layer. This gives your conchas a decadent twist perfect for chocolate lovers.
-
Cinnamon Delight: Add a teaspoon of ground cinnamon to the dough or the topping for a warm, spicy flavor that complements the sweetness beautifully.
-
Almond Extract: Swap out the vanilla extract in the topping for almond extract for a nutty undertone that adds depth and warmth to each bite.
-
Fruit Zest: Incorporate orange or lemon zest into the dough for a refreshing citrus note that enhances the sweet bread. It makes every bite feel a little brighter!
-
Nutty Crunch: Fold in chopped nuts like pecans or almonds into the dough for extra texture and flavor. The crunchiness combined with the soft conchas creates a satisfying contrast.
-
Maple Infusion: Use maple syrup instead of granulated sugar in the dough for an earthy sweetness that pairs wonderfully with both vanilla and chocolate toppings.
-
Spicy Kick: Add a pinch of cayenne pepper or chili powder to the dough for a surprising heat that balances the sweetness, making each bite exciting!
-
Dairy-Free Version: Substitute dairy ingredients with almond or oat milk and vegan butter to create a delightful dairy-free concha that everyone can enjoy.
Concha Bread Recipe FAQs
What type of milk should I use for concha bread?
Absolutely! Whole milk adds moisture and richness to the dough, perfect for achieving that soft, fluffy texture. If you don’t have whole milk on hand, 2% can be used, but for best results, always go for whole!
How long do I need to let my dough rise?
For the best results, let your dough rise until it has doubled in size, which typically takes about 2 hours during the first rise. For the second rise, aim for about 1 hour. A warm, draft-free environment helps the yeast do its magic, so find a cozy place in your kitchen!
Can I freeze my concha bread?
Yes, you can freeze conchas! Wrap each one individually in plastic wrap, then wrap them in aluminum foil or place them in a freezer bag to avoid freezer burn. They can be frozen for up to 3 months. When ready to enjoy, thaw them overnight in the fridge, then reheat in a 350°F (175°C) oven for about 10-15 minutes for that fresh, soft texture.
What should I do if my concha dough isn’t rising?
No worries! If your dough isn’t rising, check the yeast’s freshness or the temperature of your milk—the milk should be warm but not hot, around 110°F (43°C). If the yeast isn’t bubbly after mixing, it might be too old, and it’s best to start over with fresh yeast.
How should I store leftover concha bread?
Store conchas in an airtight container at room temperature for up to 3 days. They’re best enjoyed fresh, but if you have leftovers, this method will keep them soft. To restore their fabulous texture, reheat them in a preheated oven for a few minutes before serving!
Are conchas safe for people with nut allergies?
Very! The classic recipe for concha bread doesn’t include any nuts, making them a delightful treat for those with nut allergies. However, always double-check any toppings or variations you may use, especially if opting for flavored extracts. Enjoy your baking with peace of mind!

Delicious Concha Bread: Vanilla & Chocolate Topped Treats
Ingredients
Equipment
Method
- Warm the whole milk until just warm to the touch, then mix it with the active dry yeast and a teaspoon of granulated sugar. Let it sit until foamy—about 5-10 minutes.
- In a large mixing bowl, combine the all-purpose flour, kosher salt, the remaining sugar, and large eggs. Pour in the yeast mixture and melted unsalted butter, mixing until a cohesive dough forms.
- Turn the dough out onto a floured surface and knead vigorously until the dough becomes smooth and elastic, roughly 10 minutes.
- Transfer the dough to a greased bowl, cover it, and let it rise in a warm place until it has doubled, about 2 hours.
- After the first rise, punch down the dough, divide into equal portions, and shape them into rounds. Prepare your topping and apply it on top of each roll.
- Place the shaped conchas on a lined baking sheet, cover, and allow them to rise again until puffed—around 1 hour.
- Preheat your oven to 350°F (175°C) and bake the conchas for 20-25 minutes, or until golden brown.


