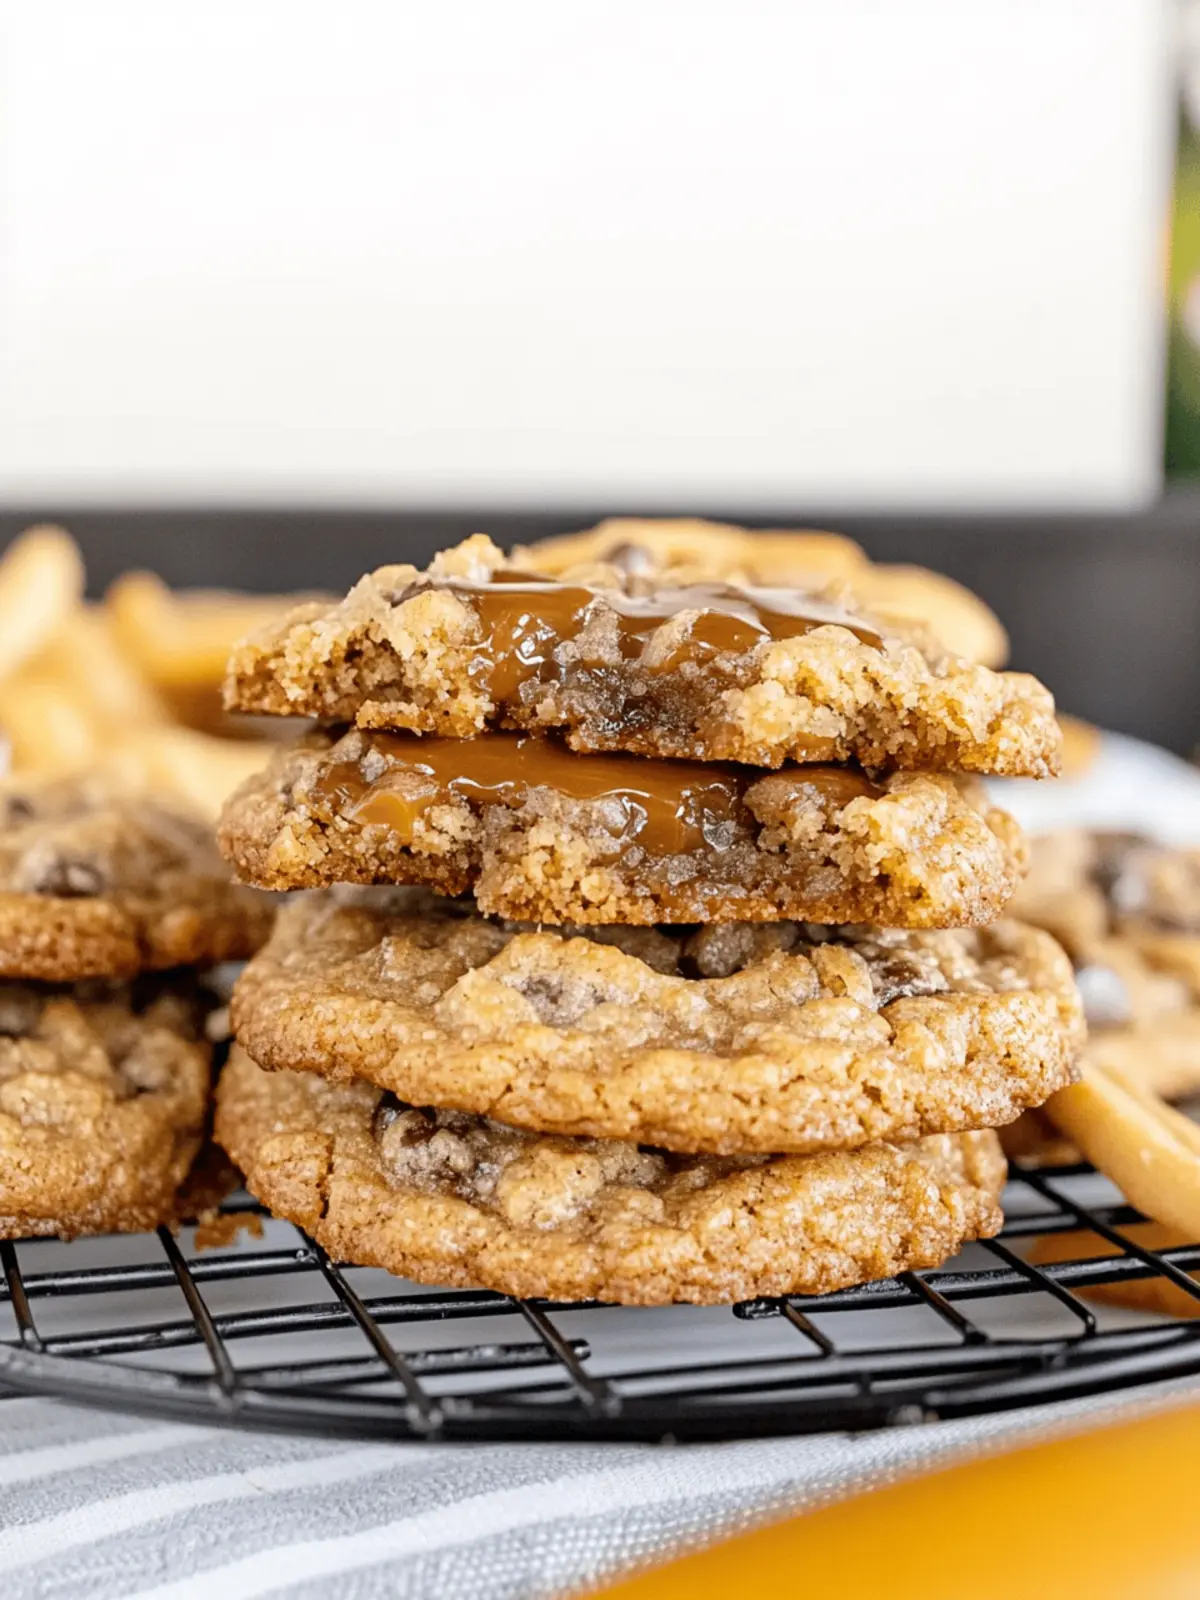
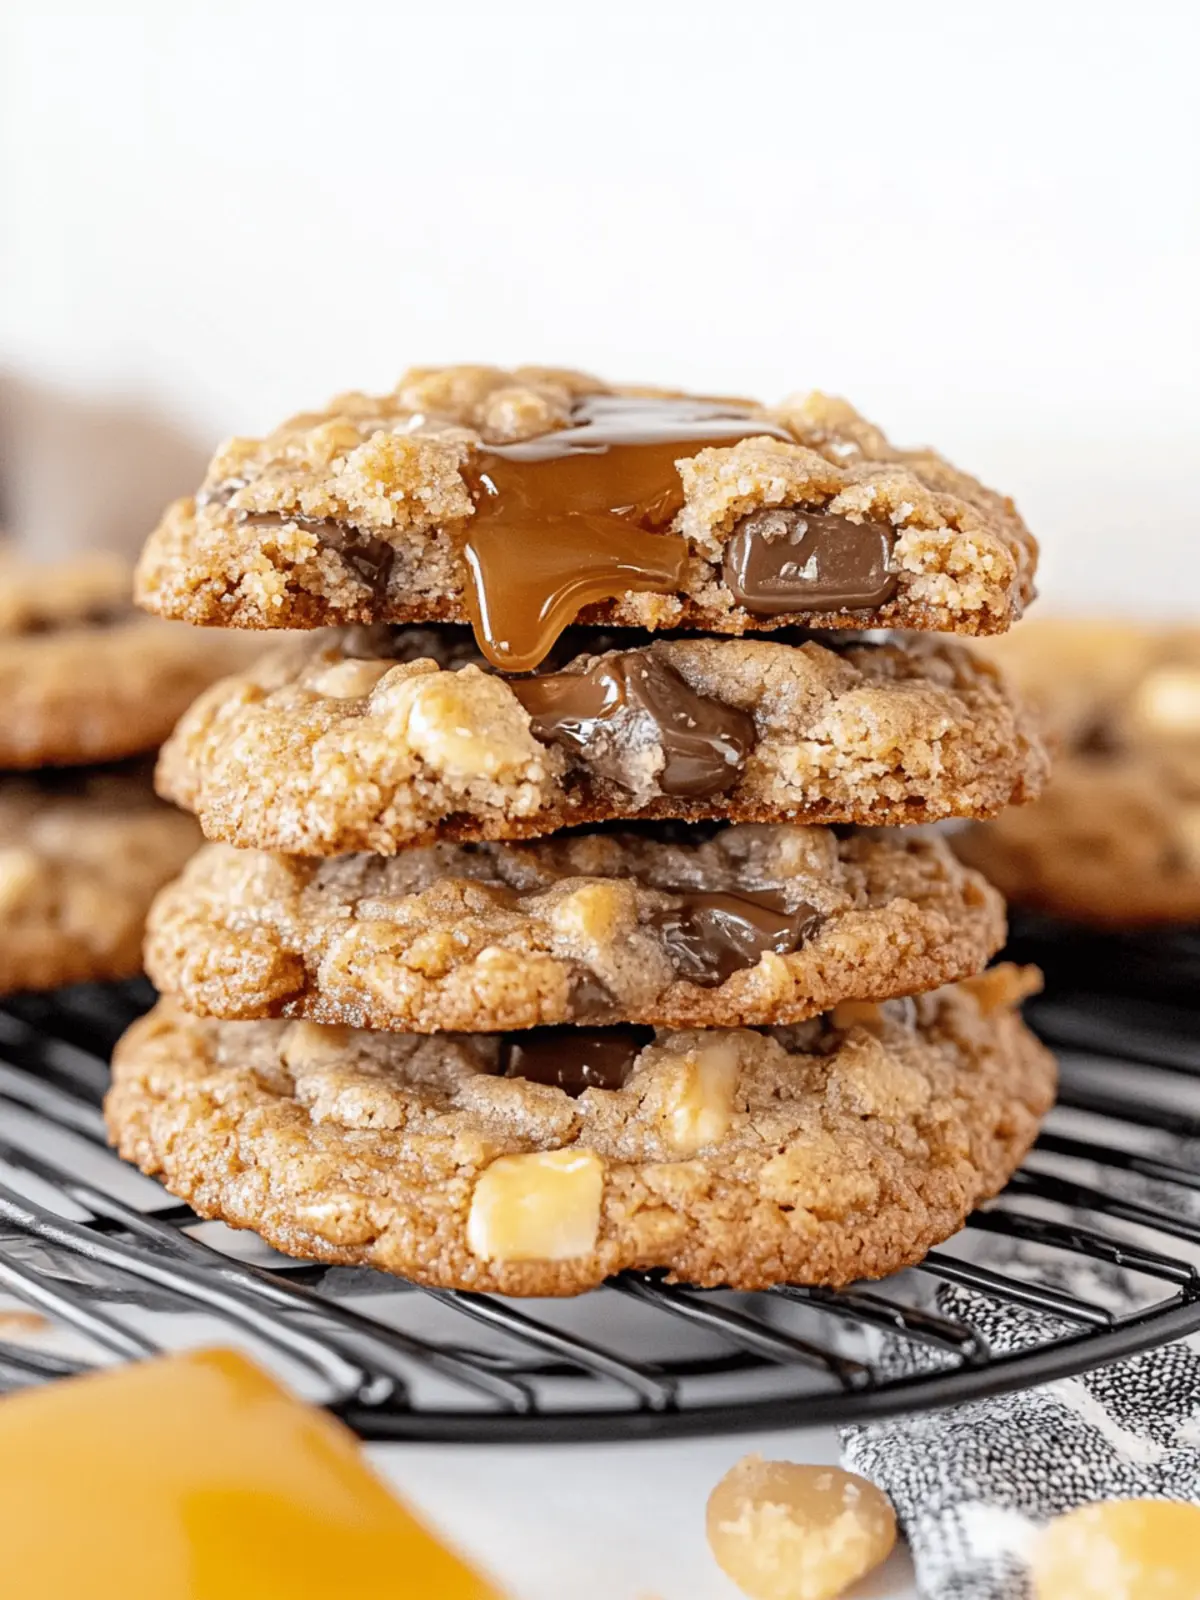
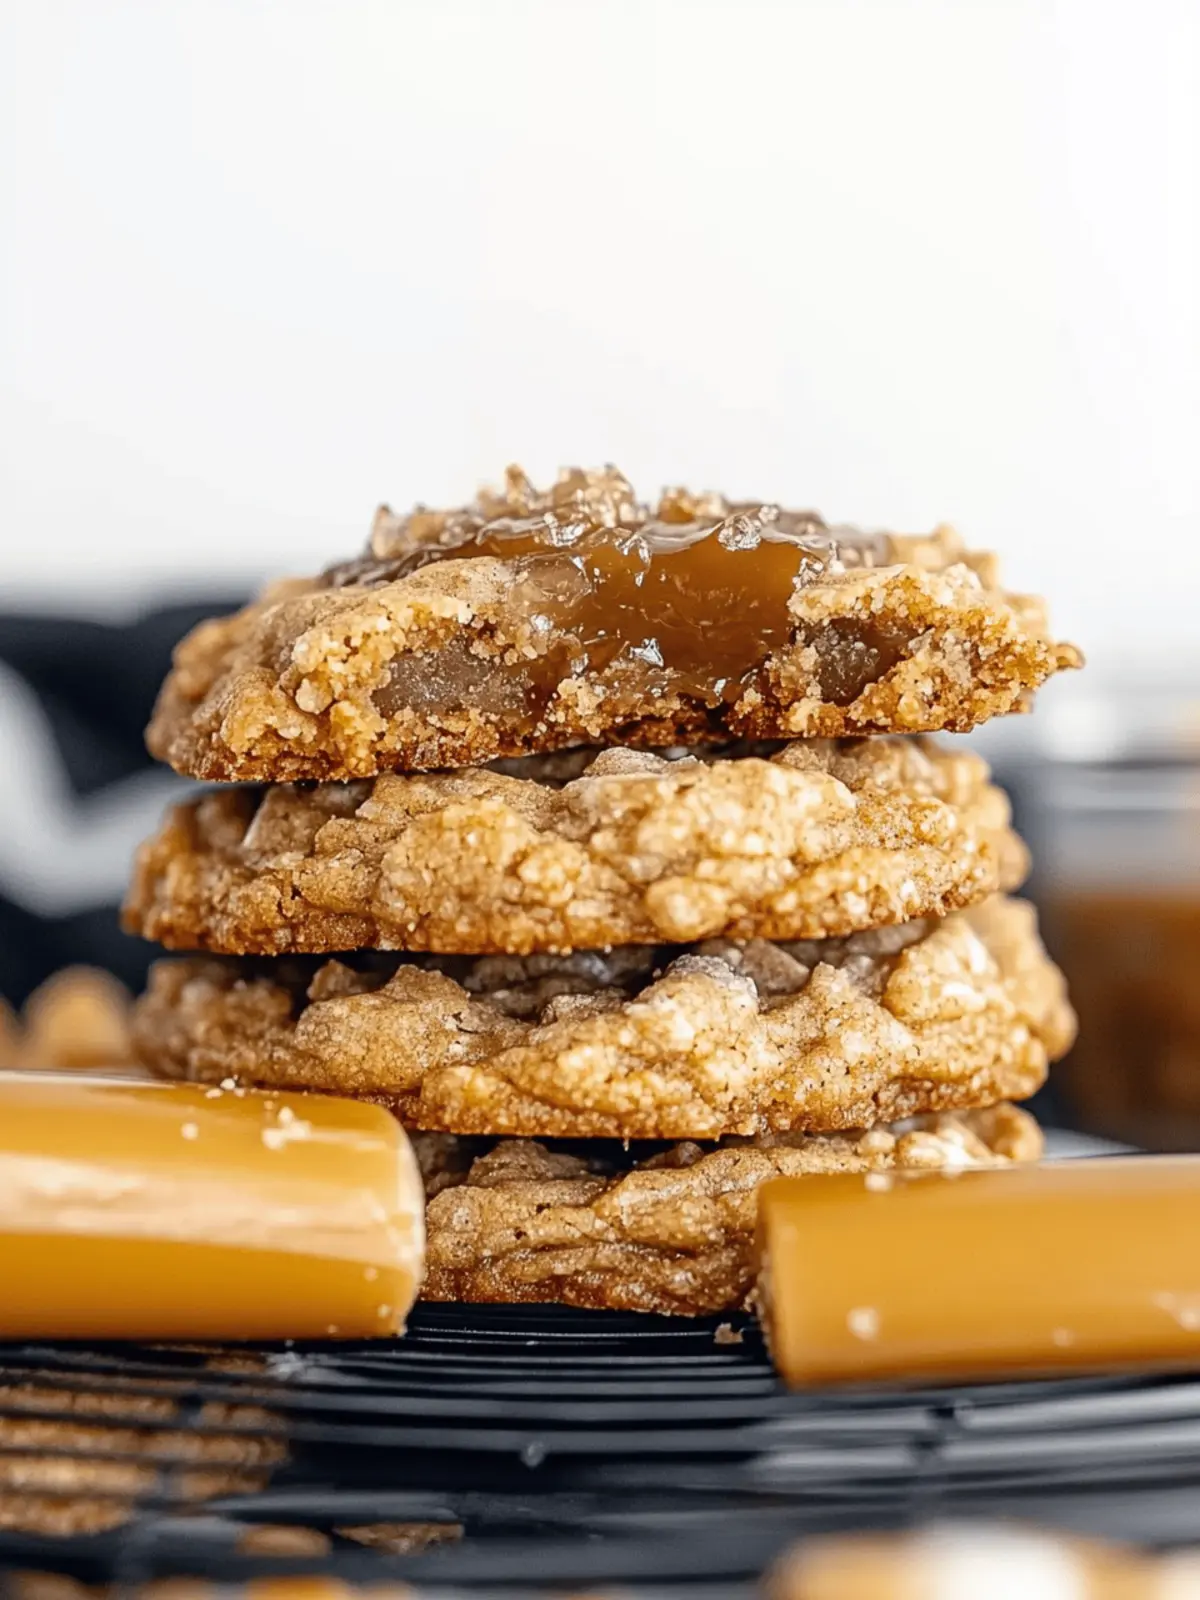
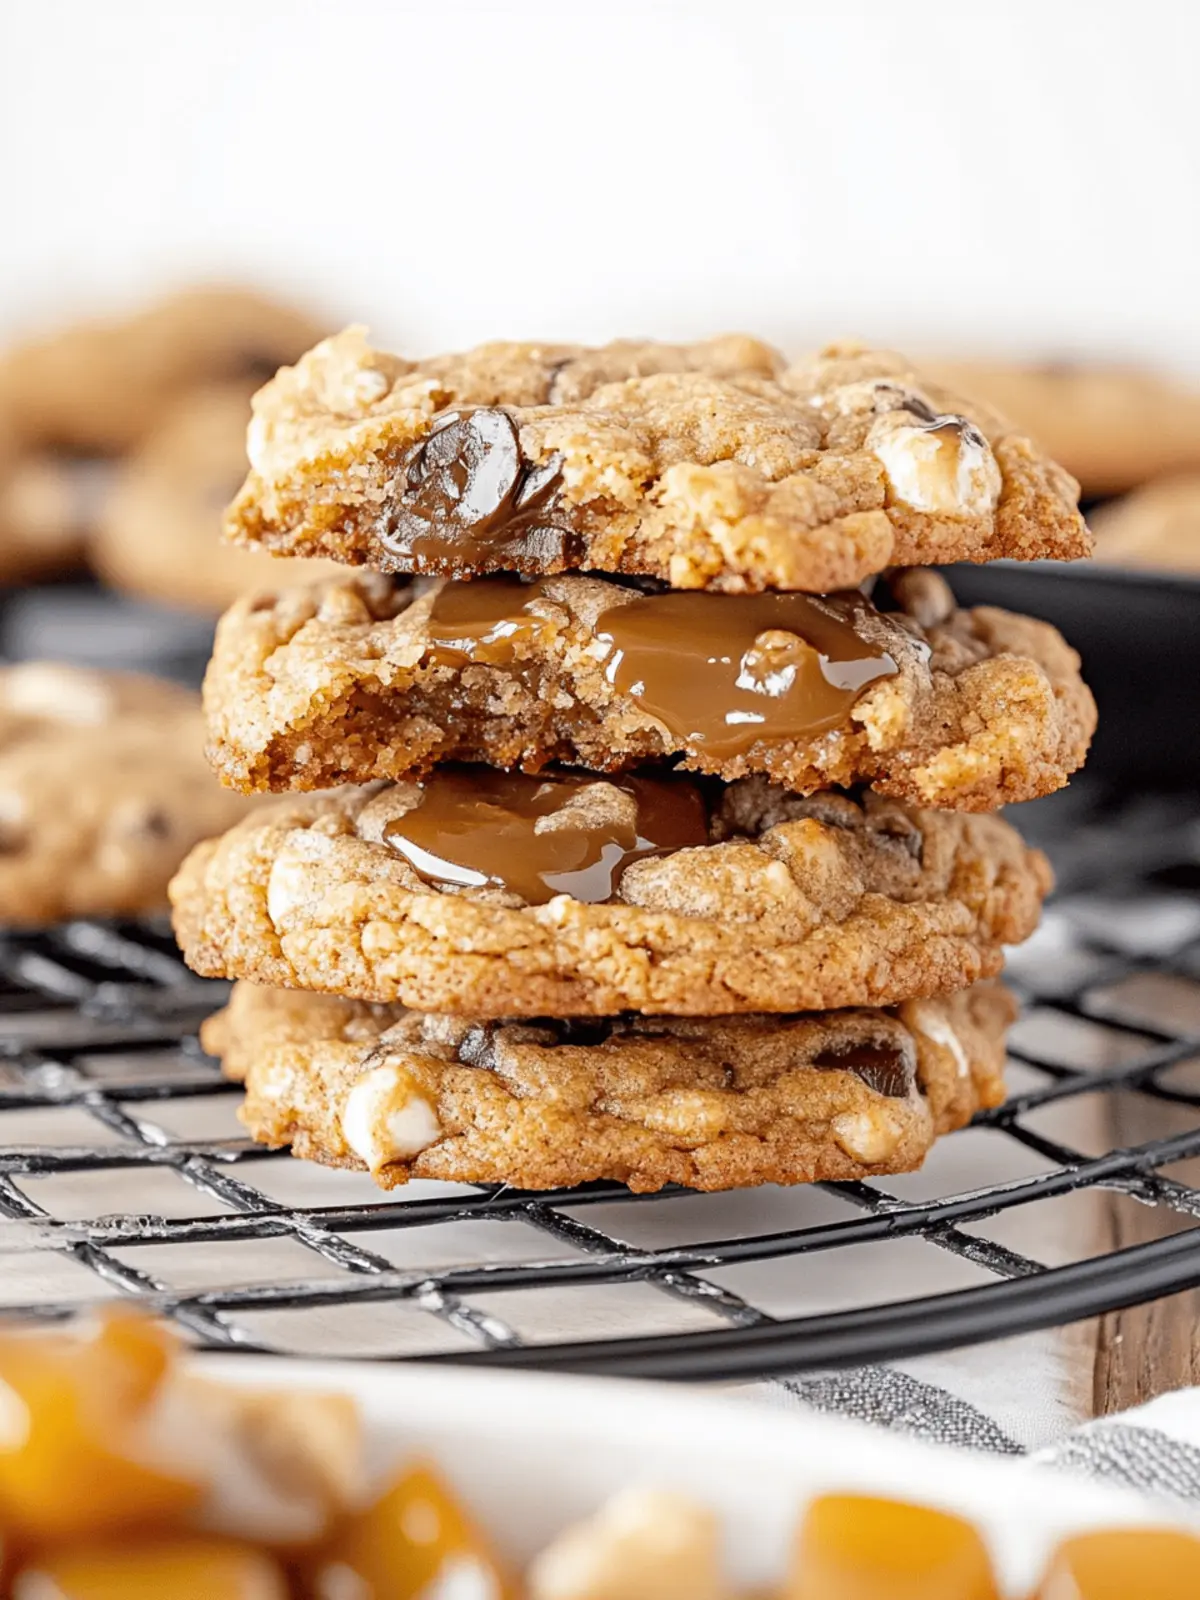
When I first stumbled upon this crave-worthy Carmelita Cookie recipe, it felt like discovering a hidden treasure buried within my favorite cookbook. Imagine the warm aroma of spiced oatmeal and sweet chocolate wafting through your kitchen, instantly comforting everyone who steps through the door. These delectable treats come alive with gooey caramel bits that meld perfectly into the chewy oats, creating a cookie that strikes the perfect balance between nostalgia and indulgence.
Perfect for those cozy nights in or to impress guests at your next gathering, these cookies require minimal effort but deliver maximum flavor. Whether you’re a seasoned baker or just looking to swap out fast food for something homemade and delicious, this recipe is sure to become a staple in your kitchen. With just a few simple ingredients, you can craft a version of dessert that rivals even the fanciest of bakeries, bringing joy to every bite. So let’s dive in and start creating these heavenly Carmelita Cookies that will have everyone asking for seconds!
Why Crave Carmelita Cookies So Much?
Irresistible flavors blend together, with chewy oats mingling with rich chocolate and gooey caramel for a sweet treat you’ll crave. Effortless baking makes this a go-to recipe, perfect for both novice and experienced home cooks. Versatile variations open up fun opportunities—swap chocolate for butterscotch or stick with caramel only. Crowd-pleaser guaranteed: these cookies are a hit at every gathering! Warm, fresh cookies served with a glass of milk or coffee elevate any occasion, making them a delightful indulgence for all.
Carmelita Cookie Ingredients
-
For the Dough
• Salted Butter – Adds richness and flavor; if using unsalted, don’t forget to add a pinch of salt.
• Brown Sugar – Brings sweetness and moisture; use light brown sugar, packed, for the best gradient of flavor.
• Granulated Sugar – Contributes to the cookie’s structure and sweetness, providing a delightful crunch.
• Eggs – Binds the ingredients together; use room temperature eggs for an even mix.
• All-Purpose Flour – Forms the cookie’s base; consider combining it with cornstarch for an ultra-soft texture.
• Cornstarch – Helps to achieve that chewy consistency and a soft bite that’s oh-so-satisfying.
• Old-Fashioned Rolled Oats – Adds a hearty texture that pairs beautifully with the sweet elements.
• Baking Soda – A leavening agent essential for that slightly puffy cookie.
• Cinnamon – Infuses warmth and spice to enhance the flavors, making each bite irresistible.
• Salt – Balances out the sweetness, enhancing all flavors harmoniously. -
For the Chocolate and Caramel
• Semisweet Chocolate Chunks – Provides rich, chocolatey goodness; feel free to swap with chocolate chips or chunks of chocolate bars.
• Caramel Bits – Soft, chewy treasures that hold their shape during baking; can substitute with chocolate for those who desire a twist.
• Ghirardelli Caramel Sauce – A decadent drizzle on top that boosts both visual appeal and flavor, turning your cookies into a gourmet treat.
These ingredients come together perfectly to create the cookies you’ll crave!
How to Make Carmelita Cookies
-
Preheat your oven to 350°F (175°C). This step ensures your cookies bake evenly and reach that perfect golden-brown color.
-
Cream together 1 cup softened salted butter, 1 cup brown sugar, and ½ cup granulated sugar until light and fluffy, about 2 minutes. The mixture should appear pale and airy, creating a beautiful base for your cookies.
-
Add 2 room-temperature eggs one at a time, mixing until fully incorporated after each addition. This helps bind everything together, creating a cohesive dough.
-
Mix in the dry ingredients: 2 cups all-purpose flour, ½ cup cornstarch, 1 cup rolled oats, 1 teaspoon baking soda, 1 teaspoon cinnamon, and ½ teaspoon salt until just combined. Remember, avoid overmixing for that delightful chewiness!
-
Fold in 1 cup semisweet chocolate chunks and 1 cup caramel bits gently, ensuring even distribution throughout the mixture. The chocolate and caramel should be scattered throughout for a perfect payoff in every bite.
-
Portion dough into 1/3 cup servings, rolling them into balls. Arrange them on lined baking sheets with about 5 per sheet, ensuring enough space for spreading.
-
Bake for 13-15 minutes until the cookies have spread, flattened, and the edges start to turn golden brown. Keep an eye on them as ovens may vary!
-
Cool on the baking sheet for 15-20 minutes before drizzling with caramel sauce. This helps them set properly while maintaining that soft and chewy center.
-
Serve warm for the best taste; every warm bite is a burst of flavor and nostalgia!
Optional: Top with a sprinkle of sea salt for a sweet-and-salty twist.
Exact quantities are listed in the recipe card below.
How to Store and Freeze Carmelita Cookies
-
Room Temperature: Store your cookies in an airtight container at room temperature for up to 3 days for the best freshness and chewy texture.
-
Fridge: If you want them to last a bit longer, place them in the refrigerator for up to 7 days. This will keep them soft and delicious, but allow them to return to room temperature before serving.
-
Freezer: To enjoy your Carmelita cookies later, freeze them in a single layer on a baking sheet before transferring to a freezer-safe container or bag. They can last for up to 3 months!
-
Reheating: When you’re ready to indulge, reheat the cookies in the oven for 3-5 minutes at 350°F (175°C) to get that fresh-from-the-oven warmth that makes every bite divine!
Make Ahead Options
These Carmelita Cookies are perfect for meal prep enthusiasts looking to save time in the kitchen! You can prepare the dough up to 24 hours in advance; just refrigerate it in an airtight container. For optimal flavor and texture, form the cookie dough balls and place them in the fridge overnight. This chilling step helps retain the cookies’ chewiness during baking. When you’re ready to bake, simply preheat your oven and drop the dough directly onto lined baking sheets, allowing a few extra minutes for baking time if using cold dough. With this prep-ahead approach, you’ll enjoy warm, delicious cookies with minimal effort on busy weeknights!
Expert Tips for Carmelita Cookies
-
Perfect Mixing: Avoid overmixing the dough after adding flour to maintain that irresistible chewy texture.
-
Spacing Matters: Ensure adequate spacing between cookies on the baking sheet; they will spread during baking, and you want them to maintain their shape!
-
Cooling Time: Allow cookies to cool on the baking sheet for 15-20 minutes for optimal setting. This helps avoid a crumbly mess when transferring them.
-
Chill for Chewiness: For extra chewy cookies, use cold dough straight from the fridge. It slows down the spread, ensuring a thick texture.
-
Stay Watchful: Cookies may vary in baking time depending on your oven. Keep an eye on them to achieve that perfect golden edge while preserving the soft center.
These helpful tips will guide you in baking the best crave Carmelita cookie recipe that your family will love!
Carmelita Cookie Variations
Feel free to get creative with these variations that will make your Carmelita Cookies even more delightful!
- Gluten-Free: Substitute all-purpose flour with a 1:1 gluten-free blend to keep them tasty for everyone.
- Nutty Delight: Add ½ cup of chopped nuts like walnuts or pecans for an extra crunch and rich flavor.
- Flavor Fusion: Experiment with spices by adding ½ teaspoon of nutmeg or ginger for a warm, aromatic twist.
- Caramel Surprise: Replace some caramel bits with toffee bits for a sweet, buttery addition that complements the cookies.
- Chocolate Lovers: Incorporate a mix of dark chocolate chunks along with semisweet for a rich, deep chocolate flavor.
- Fruitful Addition: Toss in ½ cup of dried cranberries or cherries for a hint of tartness that balances the sweetness.
- Minty Fresh: Add 1 teaspoon of peppermint extract to the dough for a refreshing minty flavor that transforms the traditional cookie.
- Chunky Inspirations: For a chunky version, mix in a combination of chocolate chunks, caramel bits, and marshmallows for a s’mores-inspired treat.
With these tasty twists, the options are endless to elevate your cookie game!
What to Serve with Carmelita Cookies?
Imagine a cozy evening, deliciously sweet aromas filling the air as you present your Carmelita Cookies, alongside tempting pairings that enhance their rich flavors.
- Chilled Milk: A classic pairing that perfectly balances sweetness, the coolness of milk complements the warm cookies beautifully. It’s the ultimate nostalgic treat!
- Fresh Berries: Juicy strawberries or raspberries add a refreshing contrast with their tartness, bringing vibrancy to your dessert table. Their natural sweetness enhances the decadent caramel.
- Vanilla Ice Cream: A scoop of creamy vanilla ice cream creates a delightful harmony, melting slightly onto the warm cookies and elevating the whole experience.
- Coffee: A hot cup of coffee brings out the rich chocolate and caramel notes while providing the perfect balance to the sweetness of the cookies.
- Chocolate Sauce Drizzle: For a double-chocolate delight, drizzle chocolate sauce over your cookies to intensify the flavor for the ultimate indulgent experience!
- Caramel Latte: Enjoy a warm caramel latte for a cozy pairing that mirrors the cookies’ flavors while providing a comforting warmth.
- Chocolate Milkshake: A creamy chocolate milkshake makes for a deliciously fun treat that both kids and adults will love—a sweet way to celebrate.
- Sea Salt Garnish: Sprinkling a touch of flaky sea salt on top of the cookies elevates the flavors, offering a sweet-and-salty bite that everyone craves!
Whichever combination you choose, these suggestions are sure to make your Carmelita Cookies even more delightful!
Carmelita Cookies Recipe FAQs
What type of oats should I use for Carmelita Cookies?
Absolutely! For the best texture and chew, I recommend using old-fashioned rolled oats. They give your cookies that hearty consistency without becoming mushy. Quick oats, while convenient, can lead to a softer texture, so stick with rolled for this recipe!
How can I store leftover Carmelita Cookies?
You can store your cookies in an airtight container at room temperature for up to 3 days. If you’d like to keep them fresher longer, the fridge is a great option, extending their shelf life to 7 days. Just remember to bring them to room temperature before enjoying again for the best taste!
Can I freeze Carmelita Cookies?
Absolutely! To freeze, arrange your baked cookies in a single layer on a baking sheet and freeze until firm. Then, transfer them to a freezer-safe container or zip-top bag for up to 3 months. When you’re ready to enjoy, simply reheat in the oven for 3-5 minutes at 350°F (175°C) for that freshly baked goodness!
What should I do if my cookies turn out too flat?
If your Carmelita Cookies spread too much during baking, there might be a couple of reasons. First, make sure your butter is softened, not melted. Overmixing after adding flour can also cause flattening. Finally, try chilling the dough for about 30 minutes before baking to help maintain their shape!
Can I use substitutes for the chocolate and caramel?
Very! If you’re looking for alternatives, feel free to swap semisweet chocolate chunks with white chocolate chips or butterscotch chips. For a caramel-only variation, simply double the amount of caramel bits—your taste buds will thank you for it!
Are there any dietary considerations I should be aware of?
While this recipe does contain common allergens like eggs and dairy, it can be modified for certain dietary needs. To make them dairy-free, you can use plant-based butter and dairy-free chocolate. Just ensure all ingredients are suited for your dietary requirements to enjoy these crave-worthy Carmelita Cookies!

Crave Carmelita Cookie Recipe That Will Wow Your Taste Buds
Ingredients
Equipment
Method
- Preheat your oven to 350°F (175°C).
- Cream together 1 cup softened salted butter, 1 cup brown sugar, and 1/2 cup granulated sugar until light and fluffy, about 2 minutes.
- Add 2 room-temperature eggs one at a time, mixing until fully incorporated after each addition.
- Mix in the dry ingredients: 2 cups all-purpose flour, 1/2 cup cornstarch, 1 cup rolled oats, 1 teaspoon baking soda, 1 teaspoon cinnamon, and 1/2 teaspoon salt until just combined.
- Fold in 1 cup semisweet chocolate chunks and 1 cup caramel bits gently.
- Portion dough into 1/3 cup servings, rolling them into balls and arranging them on lined baking sheets.
- Bake for 13-15 minutes until the cookies have spread and the edges start to turn golden brown.
- Cool on the baking sheet for 15-20 minutes before drizzling with caramel sauce.
- Serve warm for the best taste.


