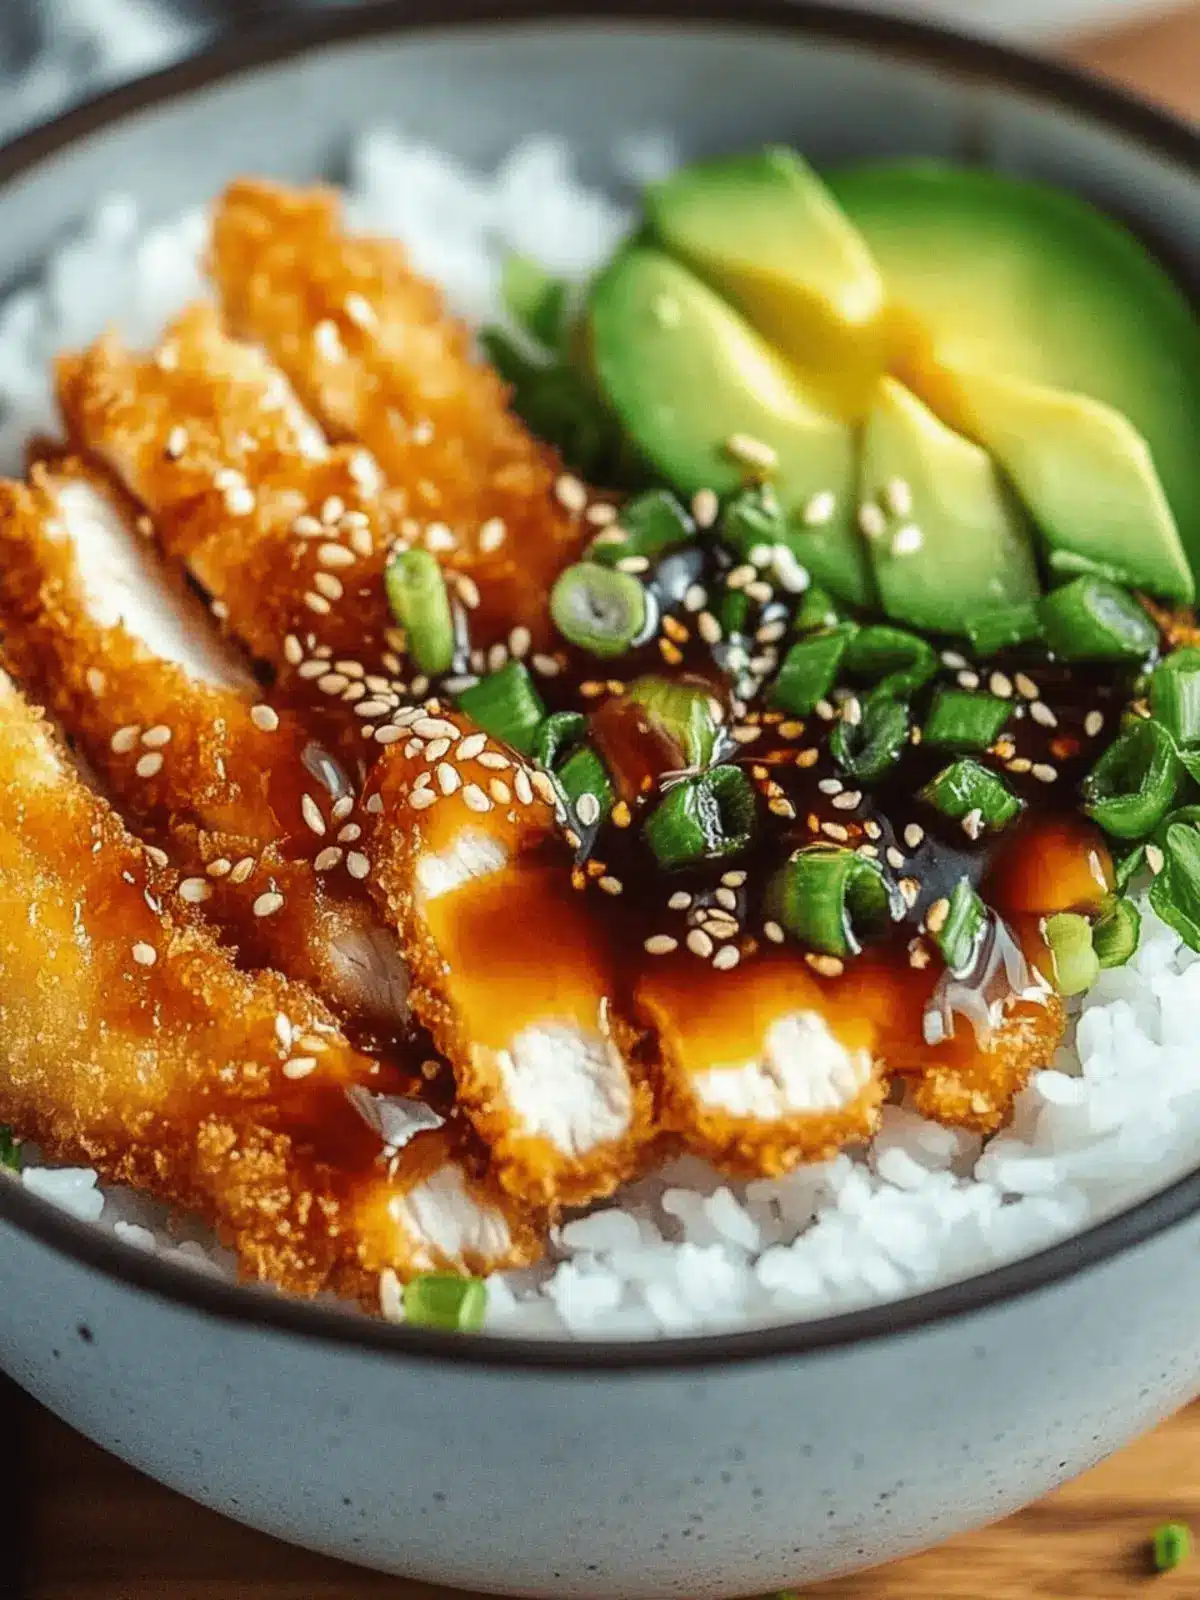
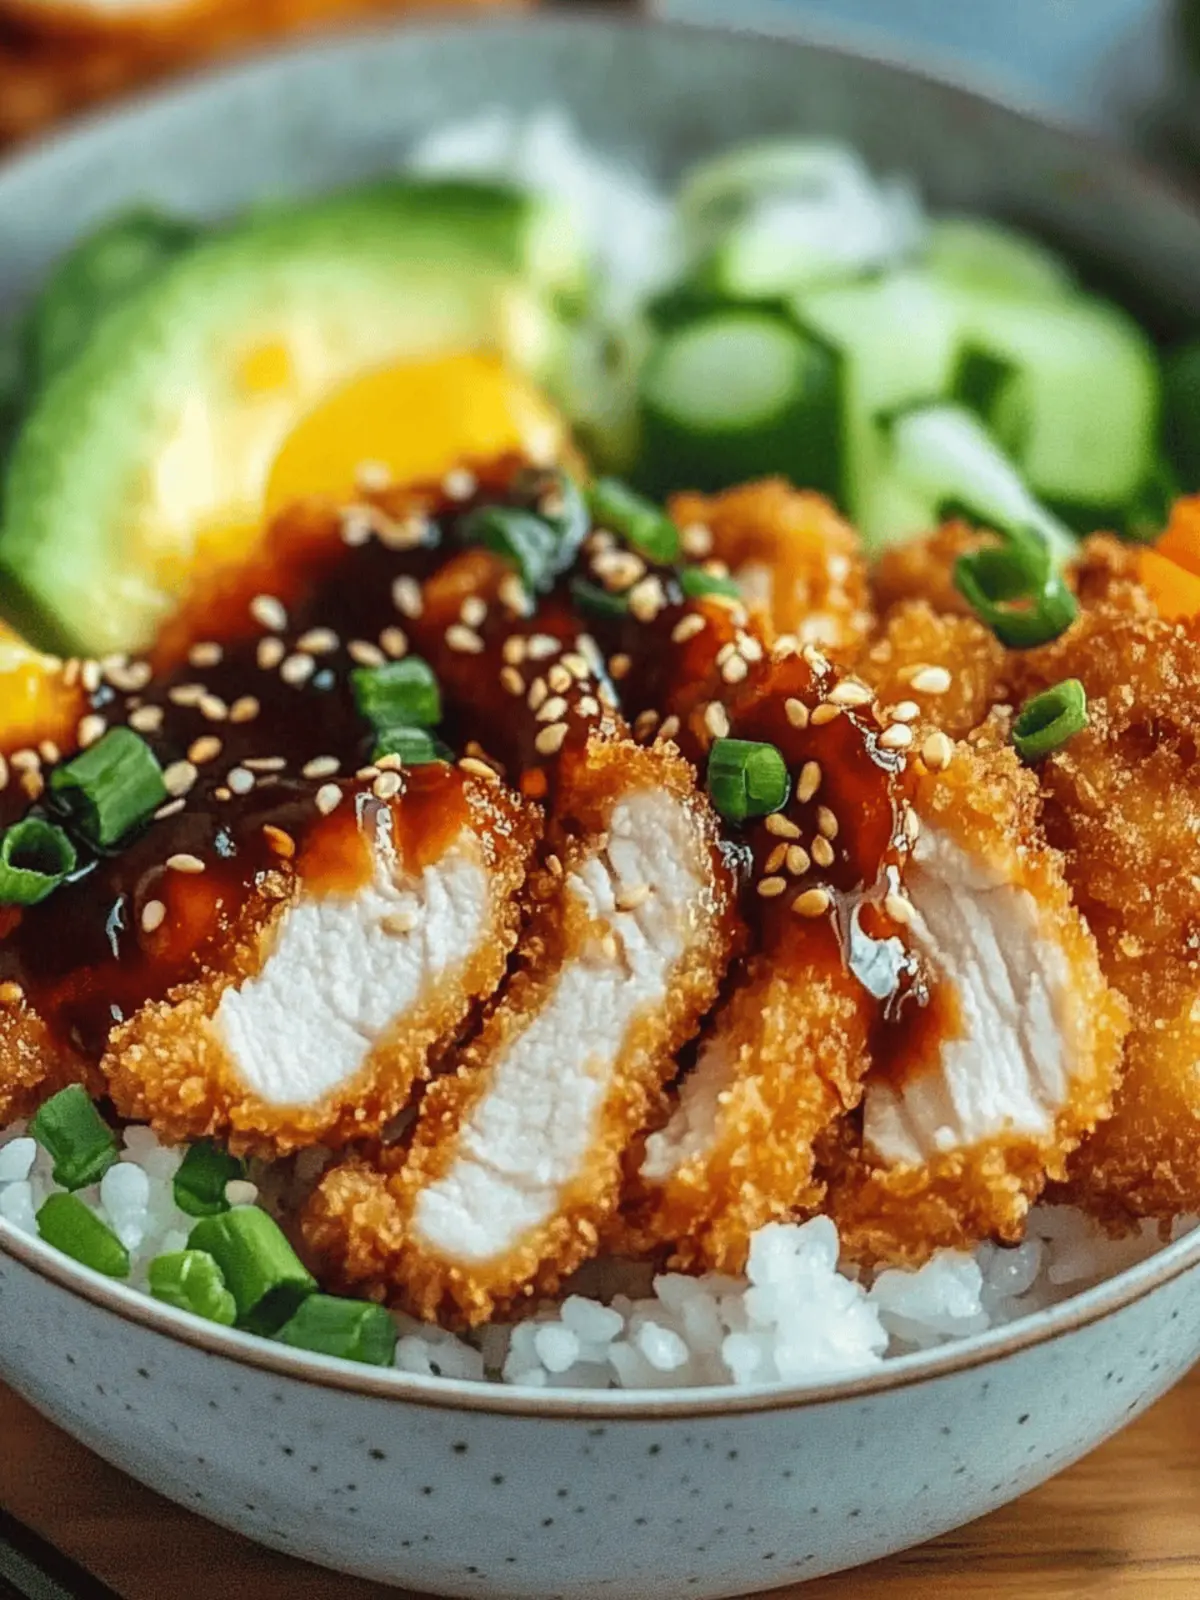
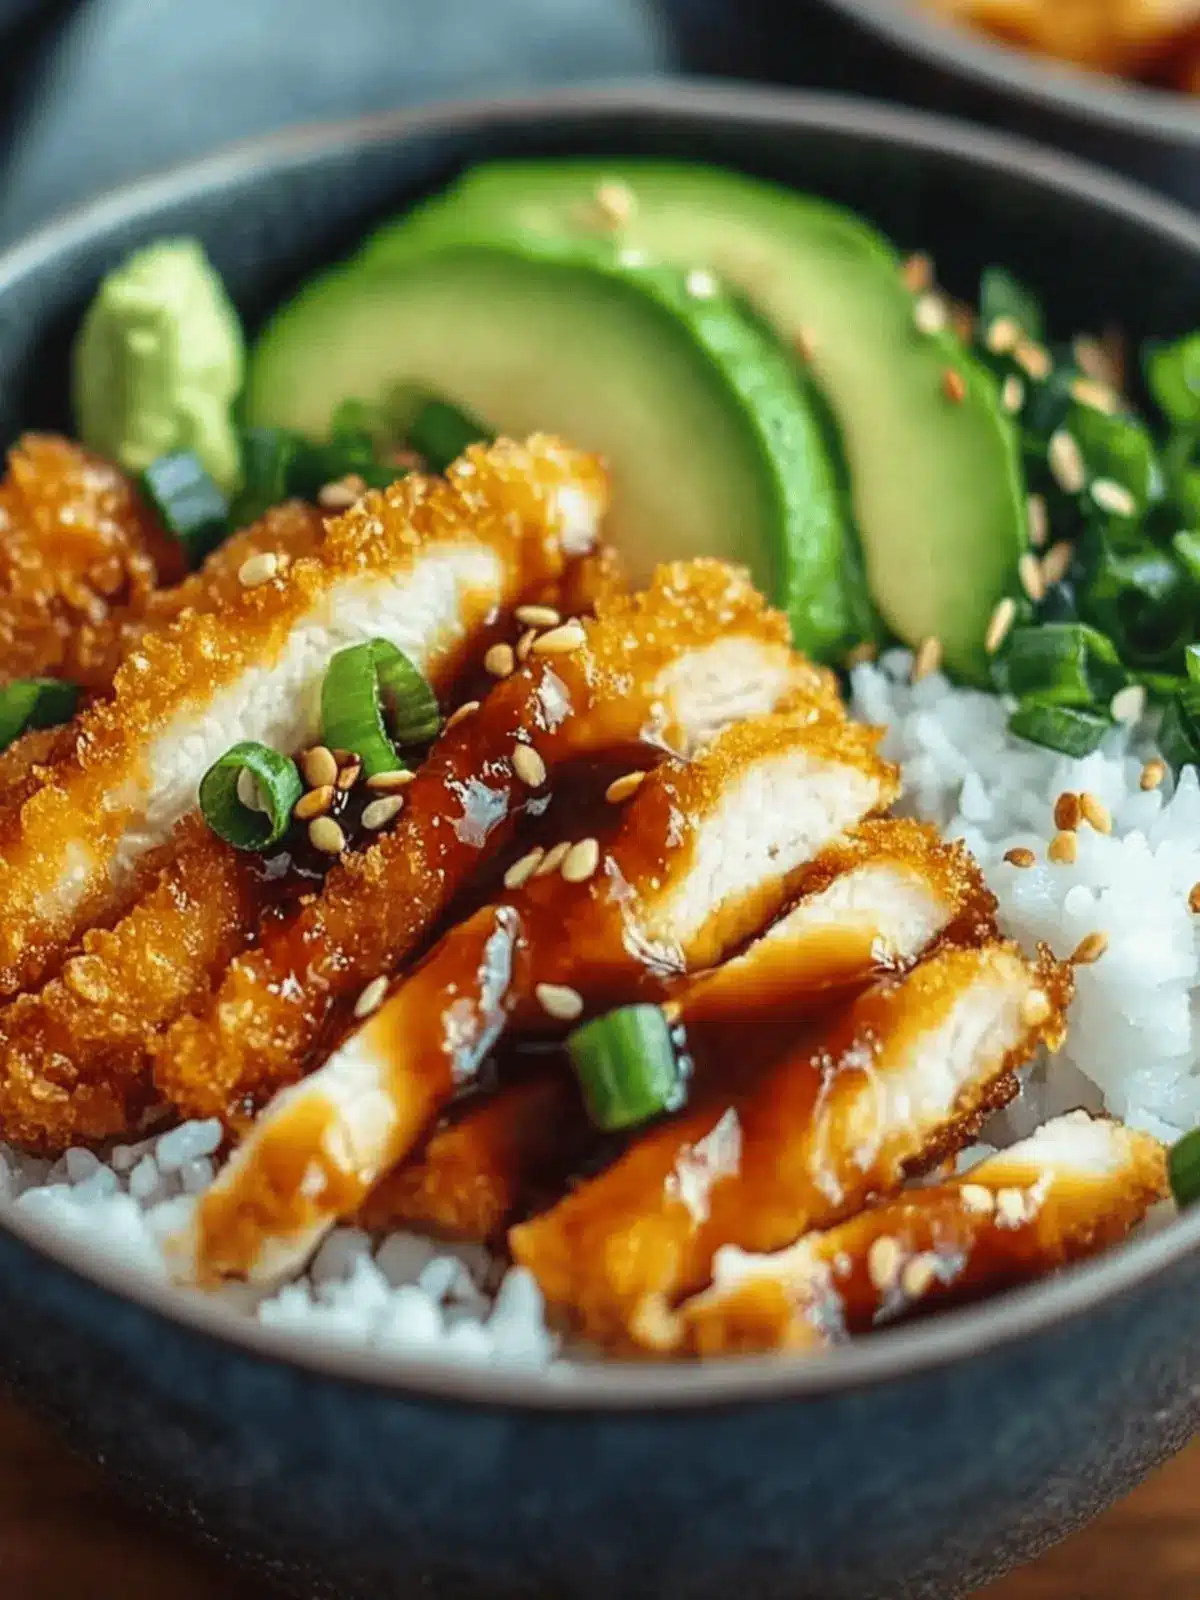
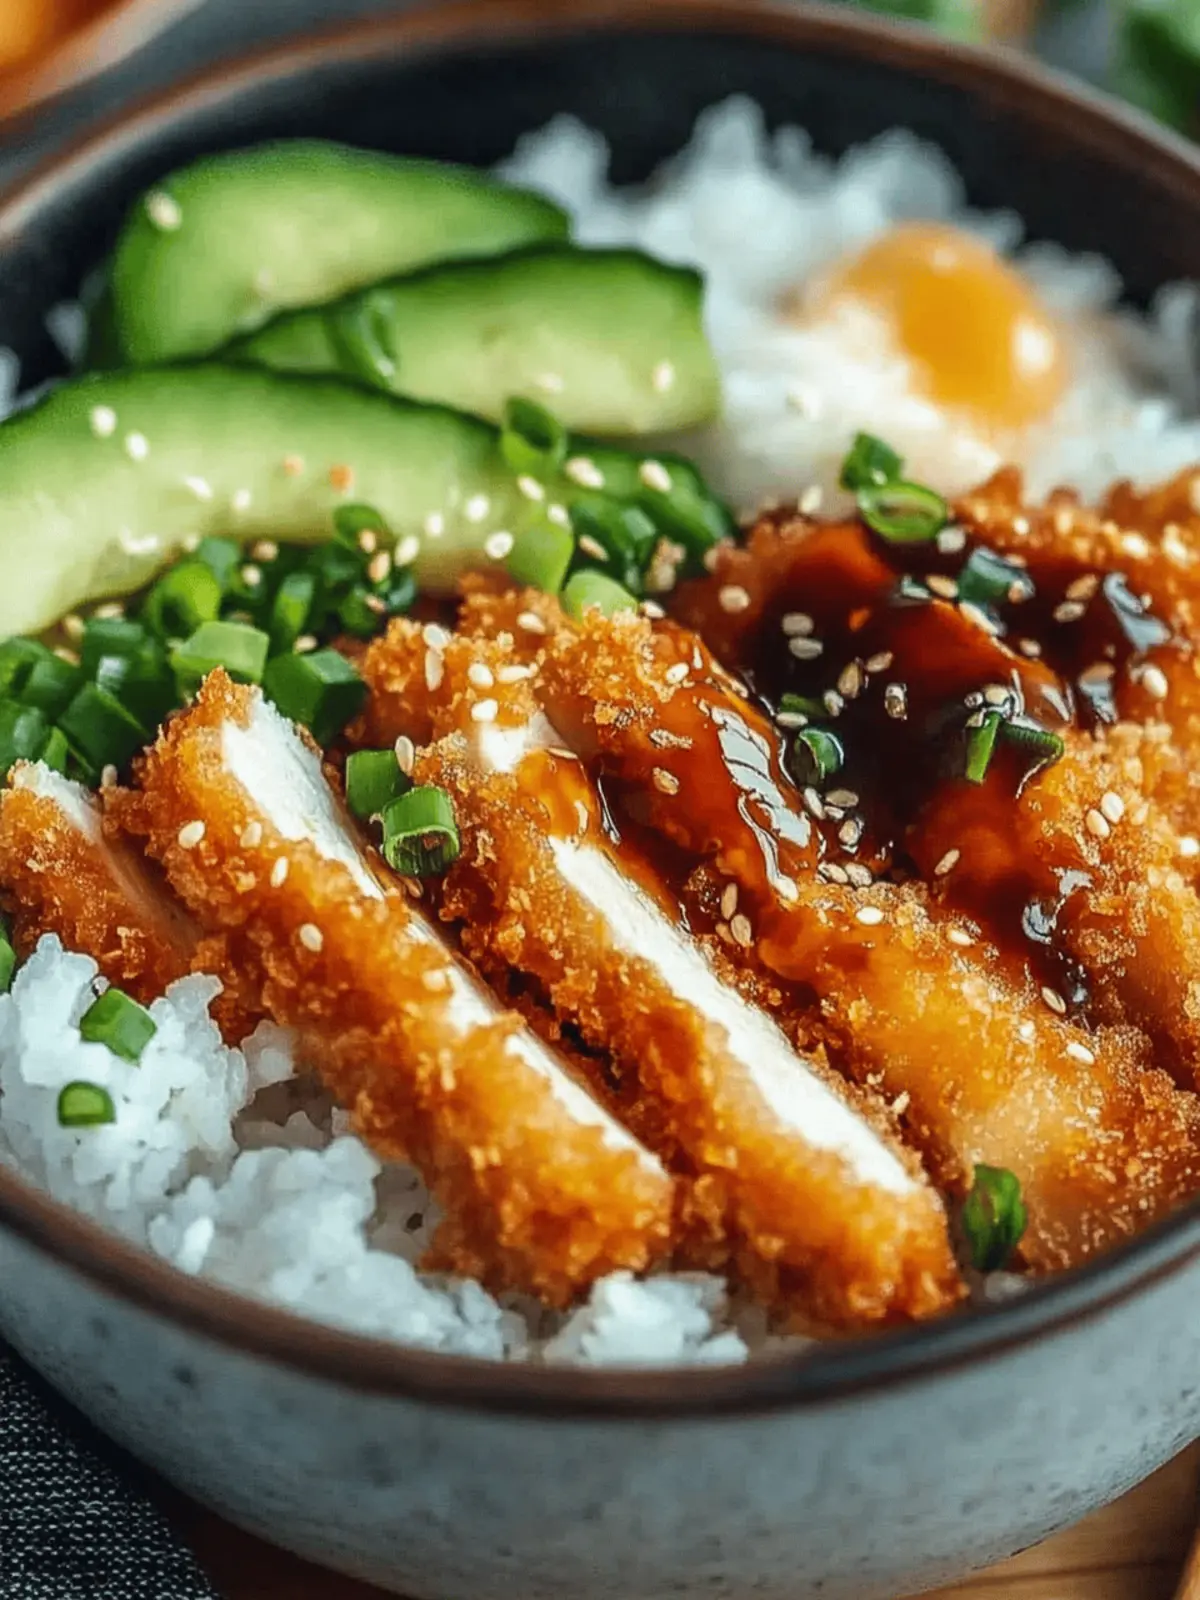
There’s nothing quite like the satisfying crunch of crispy chicken gracing a warm bowl of rice. Picture this: golden-brown Chicken Katsu, fresh out of the skillet, its savory aroma filling your kitchen while you set the table. I created these Crispy Chicken Katsu Bowls as a way to bring a dash of Japanese comfort food into my home, and they’ve quickly become a cherished weeknight staple.
With just 35 minutes from start to finish, this recipe is perfect for those evenings when a fast-food run seems all too tempting. But trust me—you won’t miss takeout once you sink your teeth into this homemade goodness. It’s not just a dish; it’s a versatile canvas that you can customize for your taste, with easy vegetarian swaps and gluten-free options available. Let’s turn your kitchen into a cozy haven of flavor and warmth with this delightful Chicken Katsu Bowl!
Why Are Chicken Katsu Bowls So Loved?
Crispy Texture: The golden-brown crust of chicken katsu brings that perfect crunch to every bite, creating a satisfying contrast with the fluffy rice.
Versatile Ingredients: Customize this dish to suit your palate—swap chicken with eggplant or tofu for a vegetarian delight!
Quick and Easy: Ready in just 35 minutes, this recipe is a lifesaver for busy nights when you crave a delicious home-cooked meal.
Flavorful Sauces: With tonkatsu sauce drizzled on top, meat or veggie versions come alive with that irresistible sweet-savory goodness.
Crowd-Pleaser: Whether it’s a family dinner or entertaining guests, these bowls are sure to impress everyone at your table!
Chicken Katsu Bowl Ingredients
• Dive into the flavors of Chicken Katsu Bowls with these essential ingredients!
For the Chicken
- Boneless Skinless Chicken Breasts – The star of the dish, delivering juicy flavor and tender texture. Substitution: For a vegetarian option, try eggplant or tofu.
- Panko Breadcrumbs – Provides a uniquely crispy coating that makes all the difference. Substitution: Use gluten-free panko to cater to gluten-sensitive diets.
- All-Purpose Flour – Helps the panko adhere perfectly to the chicken. Note: Gluten-free flour is a great alternative for those avoiding gluten.
- Large Eggs – Binds the breadcrumbs to the chicken, ensuring a crunchy coating. No substitutions needed; just ensure they’re fresh!
For the Seasoning
- Salt – Enhances the overall flavor of the dish. Adjust according to your dietary requirements.
- Black Pepper, Garlic Powder, Onion Powder, Cayenne Pepper (optional) – These spices give your chicken that extra kick! Feel free to omit cayenne for a milder taste.
For Frying
- Vegetable Oil – Essential for frying the chicken to crispy perfection. Tip: Baking at 400°F is a healthier frying alternative.
For the Bowl Base
- Cooked White Rice – Creates a fluffy foundation for your katsu. Consider using brown rice for a more nutritious option.
For the Toppings
- Shredded Cabbage, Sliced Cucumbers, Chopped Green Onions – Adds a refreshing crunch and vibrant colors to your bowl. Customize with seasonal veggies based on what you have!
For the Sauce
- Tonkatsu Sauce – A sweet and savory glaze that ties the dish together beautifully. Substitution: Mix ketchup and soy sauce if you don’t have tonkatsu sauce on hand.
How to Make Chicken Katsu Bowls
-
Prepare the Chicken: Gently place each chicken breast between sheets of plastic wrap and pound it to an even thickness of about 1/2 inch. This helps ensure your chicken cooks evenly and stays juicy.
-
Set Up Breading Station: In a shallow bowl, whisk together the flour, salt, black pepper, garlic powder, onion powder, and optional cayenne pepper. In a second bowl, beat the eggs until well combined, and place the panko breadcrumbs in a third bowl.
-
Bread the Chicken: Take each piece of chicken and dredge it in the flour mixture first, then dip it into the beaten eggs, ensuring it’s fully coated. Finally, roll the chicken in the panko breadcrumbs, pressing gently to adhere.
-
Fry the Chicken: Heat vegetable oil in a large skillet over medium heat. Fry the breaded chicken for about 4-5 minutes on each side, or until golden brown and cooked through to 165°F. Transfer the fried chicken to a plate lined with paper towels to drain excess oil.
-
Assemble the Bowls: While the chicken is frying, divide the cooked rice into serving bowls. Top each bowl with shredded cabbage, sliced cucumbers, and chopped green onions, creating a colorful and inviting presentation.
-
Finish the Dish: Slice the cooked chicken into strips and arrange it on top of the veggies and rice in each bowl. Drizzle a generous amount of tonkatsu sauce over the chicken and veggies, and serve immediately for the best flavor experience.
Optional: Garnish with toasted sesame seeds for an added crunch and a hint of nuttiness.
Exact quantities are listed in the recipe card below.
Expert Tips for Chicken Katsu Bowls
-
Hot Oil Check: Make sure your oil is hot enough before frying; this ensures a crispy chicken katsu without excessive oil absorption.
-
Equal Thickness: Pound chicken to an even thickness; this avoids undercooked or dry areas and helps it fry uniformly.
-
Crispy Coating: For an extra crunchy texture, consider double-breading the chicken, repeating the flour, egg, and panko steps.
-
Drain Well: Let the fried chicken rest on paper towels to absorb any excess oil, keeping your chicken katsu perfectly crispy.
-
Customize Veggies: Feel free to swap in seasonal vegetables for the toppings; this not only nourishes but enhances the visual appeal of your chicken katsu bowls.
-
Sauce Alternatives: If tonkatsu sauce isn’t available, mix ketchup with soy sauce for a makeshift but tasty glaze.
Chicken Katsu Bowls Variations
Feel free to get creative and make these delicious Chicken Katsu Bowls your own with these tasty twists!
- Vegetarian Option: Substitute chicken with eggplant or tofu for a hearty, plant-based alternative that still delivers on flavor.
- Gluten-Free Delight: Use gluten-free panko and flour to ensure these bowls cater to gluten-sensitive diets without sacrificing taste.
- Spicy Kick: Mix sriracha into the tonkatsu sauce for an exciting burst of heat that awakens your taste buds.
- Floral Essence: Add a sprinkle of furikake, a Japanese seasoning blend, to introduce a delightful umami flavor and crunch.
- Crispy Panko Variation: For extra crunch, layer in some crushed potato chips with the panko before breading the chicken.
- Sweet and Sour: Bring a twist by drizzling a blend of sweet chili sauce over the chicken for a tangy and zesty contrast.
- Veggie Boost: Toss in vibrant seasonal veggies like bell peppers or snap peas for a refreshing crunch and added nutrition.
- Baked Option: For a healthier take, lightly spray the breaded chicken with oil and bake at 400°F until golden and crispy, about 15-20 minutes.
Let your creativity soar and tailor these bowls to suit your craving or dietary needs!
What to Serve with Crispy Chicken Katsu Bowls?
Bring a delightful twist to your dinner table with these scrumptious pairing ideas that elevate your meal experience.
-
Steamed Edamame: These lightly salted beans offer a pop of freshness and protein, making for a balanced side that complements the richness of the katsu.
-
Miso Soup: Warm and savory, this traditional Japanese soup enhances the meal’s authenticity. Its umami flavor beautifully contrasts with the crispy chicken, balancing each bite.
-
Cucumber Salad: A refreshing side that incorporates crunchy slices of cucumber dressed in a tangy vinaigrette. This bright addition sharpens the palate for more katsu.
-
Pickled Radishes: The tangy, zesty crunch of pickled radishes serves as a wonderful contrast to the richness of chicken katsu, brightening each mouthful.
-
Teriyaki Glazed Vegetables: Sauté an assortment of colorful veggies like bell peppers, broccoli, and carrots in a sweet teriyaki glaze. The vibrant flavors complement the dish while adding nutrition.
-
Sushi Rolls: Pair with simple vegetable sushi rolls for a cohesive Japanese dining experience. These bite-sized delights bring an array of flavors and textures to the table.
-
Japanese Green Tea: A warm cup of green tea balances the meal and aids digestion, providing a calming finish after a hearty bowl of katsu.
-
Chocolate Mochi: For dessert, indulge in soft, chewy chocolate mochi. Its subtle sweetness creates a lovely conclusion to your flavorful journey through the katsu flavors.
Storage Tips for Chicken Katsu Bowls
Fridge: Store leftover chicken katsu in an airtight container for up to 3 days to maintain freshness and flavor.
Freezer: For longer storage, freeze cooked chicken katsu wrapped tightly in plastic wrap and aluminum foil for up to 2 months. Thaw in the fridge before reheating.
Reheating: To enjoy the leftover chicken katsu, reheat in a preheated oven at 375°F for about 10-15 minutes to maintain its crispiness. Avoid microwaving, as it can make the coating soggy.
Rice and Vegetables: Store rice and vegetables separately in the fridge; they’ll stay fresh for up to 4 days. Combine before serving for a delightful Chicken Katsu Bowl experience!
Make Ahead Options
These Crispy Chicken Katsu Bowls are perfect for meal prep enthusiasts looking to save time on busy weeknights! You can prep the chicken and coat it in breadcrumbs up to 24 hours in advance; simply refrigerate it before cooking to maintain that crispiness. Additionally, the rice can be cooked 3 days ahead of time and stored in an airtight container in the fridge. To finish the dish, just fry the breaded chicken when you are ready to serve, ensuring you get that delicious crunch and golden color. When it’s time to eat, assemble the bowls with the cold toppings and warm rice, and drizzle with tonkatsu sauce for a delightful homemade meal that feels fresh and satisfying!
Crispy Chicken Katsu Bowls Recipe FAQs
How do I choose ripe vegetables for my Chicken Katsu Bowls?
Absolutely! For the freshest taste, select cucumbers that are firm and without dark spots. Shredded cabbage should be crisp and vibrant, while green onions should be perky with no wilting. When using seasonal veggies, look for those that are brightly colored and firm to the touch.
What’s the best way to store leftovers from my Chicken Katsu Bowls?
I recommend storing leftovers in airtight containers in the refrigerator, where they can last up to 3 days. Ensure that the chicken, rice, and veggies are stored separately to maintain freshness. Reheat in the oven at 375°F for about 10-15 minutes until warmed through.
Can I freeze my Chicken Katsu?
Very! To freeze cooked chicken katsu, wrap each piece tightly in plastic wrap followed by aluminum foil to prevent freezer burn, and store for up to 2 months. When you’re ready to enjoy, thaw in the fridge overnight, then reheat in a preheated oven for optimal crispiness.
What if my chicken katsu doesn’t turn out crispy?
Don’t worry! If your chicken katsu isn’t crispy, it might be because the oil wasn’t hot enough when you added the chicken. Always check that the oil is shimmering before frying. If you prefer, you can also double-bread the chicken for extra crunch by repeating the flour, egg, and panko steps.
Are there any dietary considerations for Chicken Katsu Bowls?
Yes! For gluten-sensitive diets, use gluten-free panko and flour. If you have an egg allergy, you can substitute the egg with a cornstarch-water mixture (1 tablespoon cornstarch mixed with 3 tablespoons water) which works well for breading. Additionally, for a vegetarian option, consider using eggplant or tofu instead of chicken.
How long will my cooked veggies last in the fridge?
The veggies in your Chicken Katsu Bowls will stay fresh in the refrigerator for about 4 days. Store them in an airtight container, and feel free to toss them into the bowl before serving for that delightful crunch!
Crispy Chicken Katsu Bowls: A Flavor-Packed Dinner Delight
Ingredients
Equipment
Method
- Prepare the Chicken: Gently place each chicken breast between sheets of plastic wrap and pound it to an even thickness of about 1/2 inch.
- Set Up Breading Station: In a shallow bowl, whisk together the flour, salt, black pepper, garlic powder, onion powder, and optional cayenne pepper. In a second bowl, beat the eggs until well combined, and place the panko breadcrumbs in a third bowl.
- Bread the Chicken: Dredge each piece of chicken in the flour mixture, dip in beaten eggs, and roll in panko breadcrumbs, pressing gently to adhere.
- Fry the Chicken: Heat vegetable oil in a skillet over medium heat. Fry the breaded chicken for 4-5 minutes on each side until golden brown and cooked through to 165°F.
- Assemble the Bowls: Divide the cooked rice into serving bowls. Top with shredded cabbage, cucumbers, and green onions.
- Finish the Dish: Slice the cooked chicken into strips, arrange on top of the veggies and rice, and drizzle with tonkatsu sauce.

