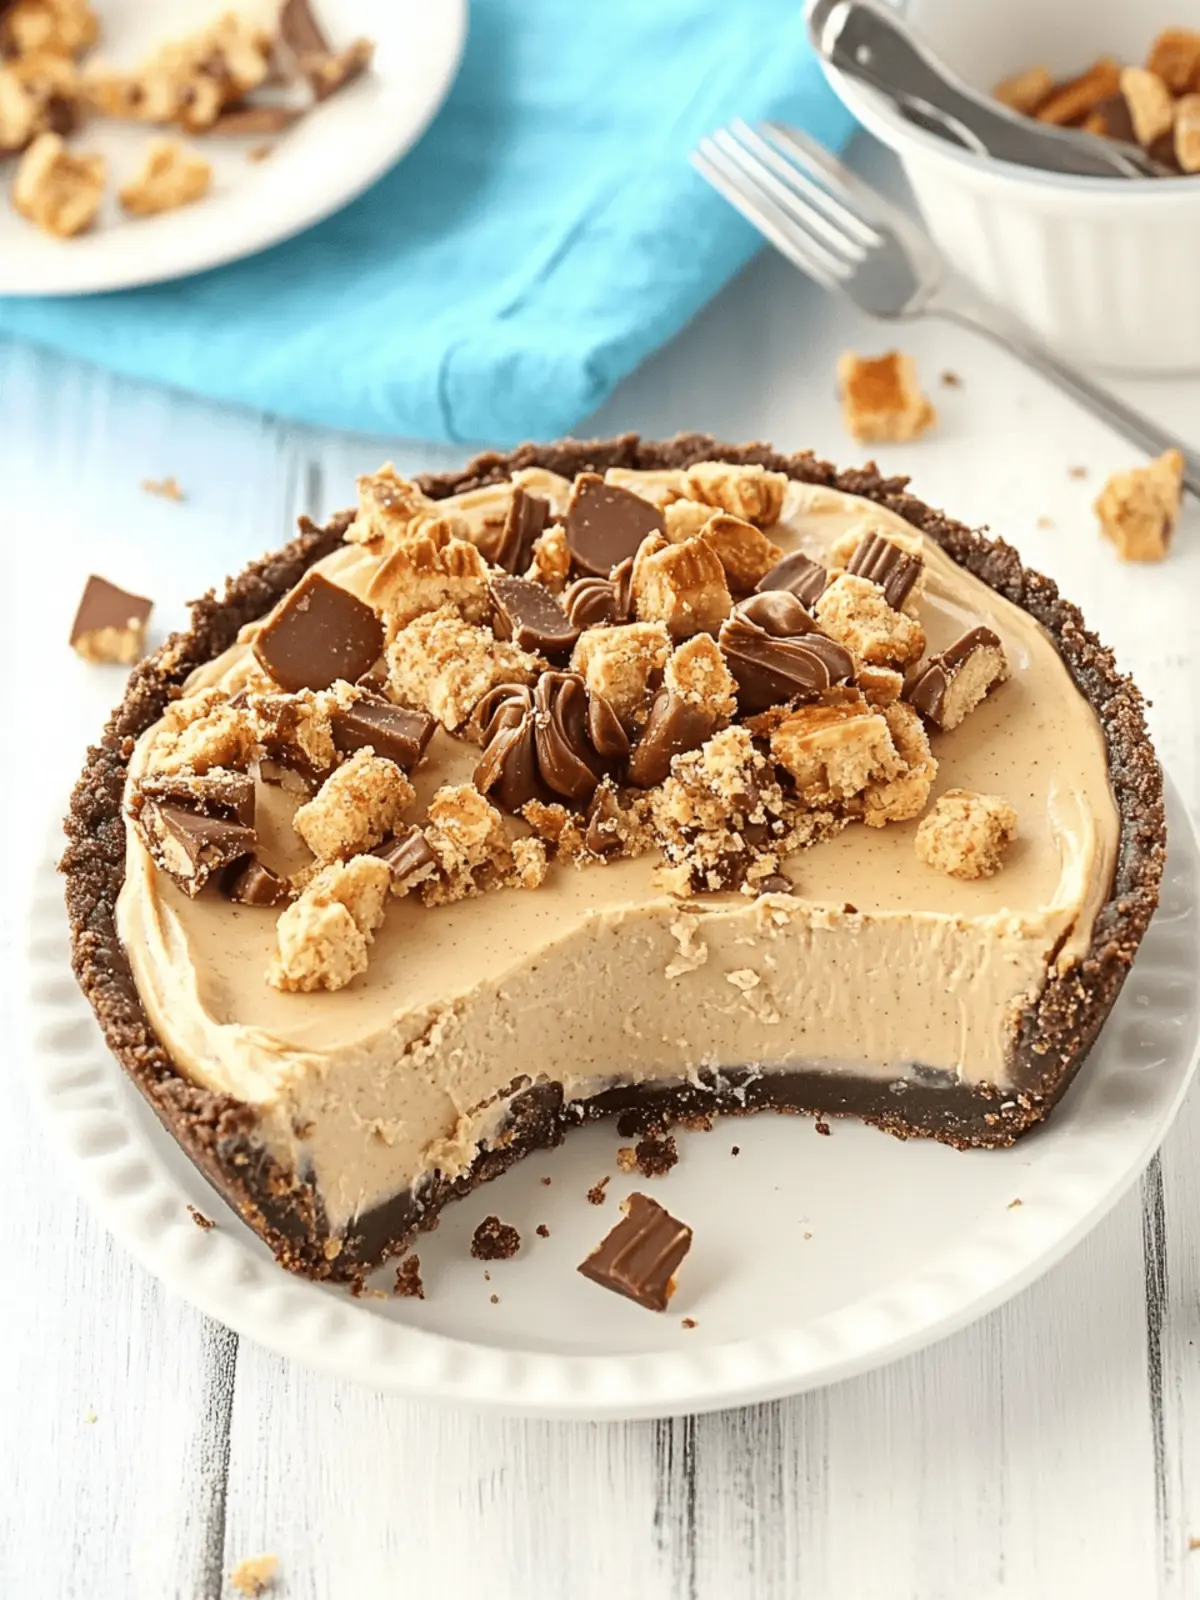
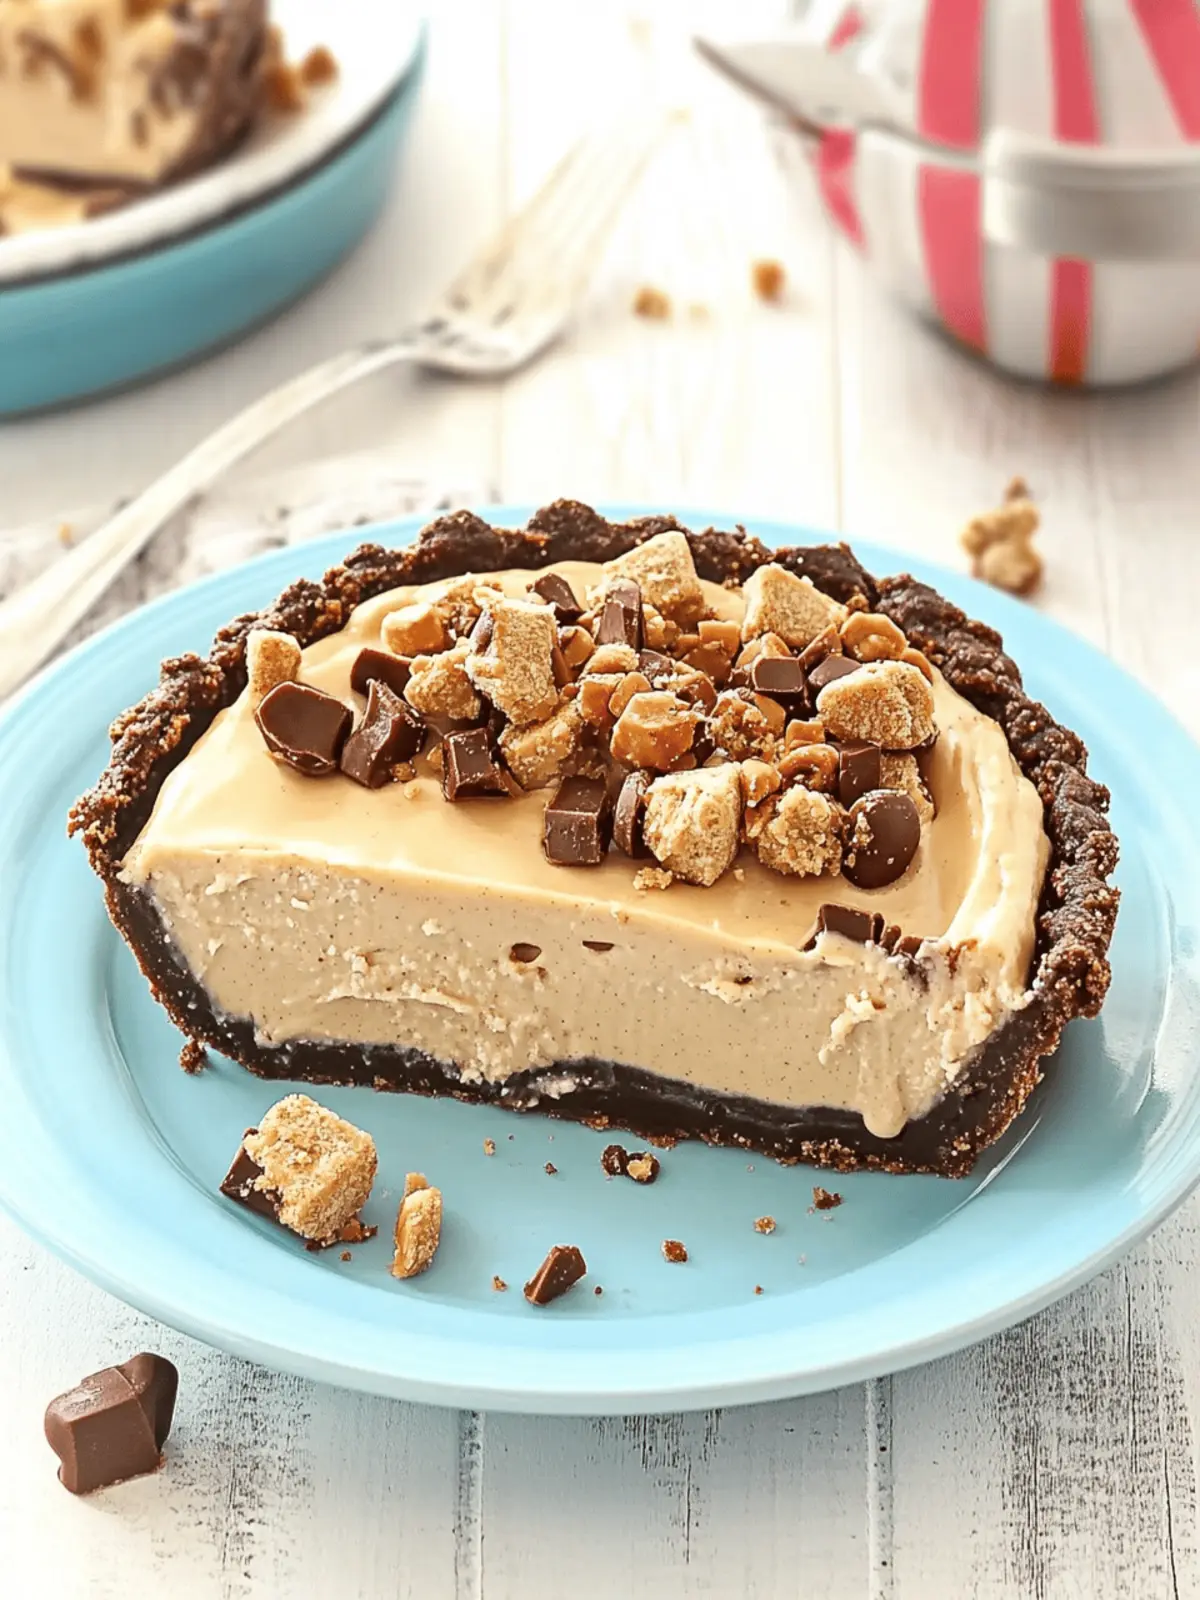
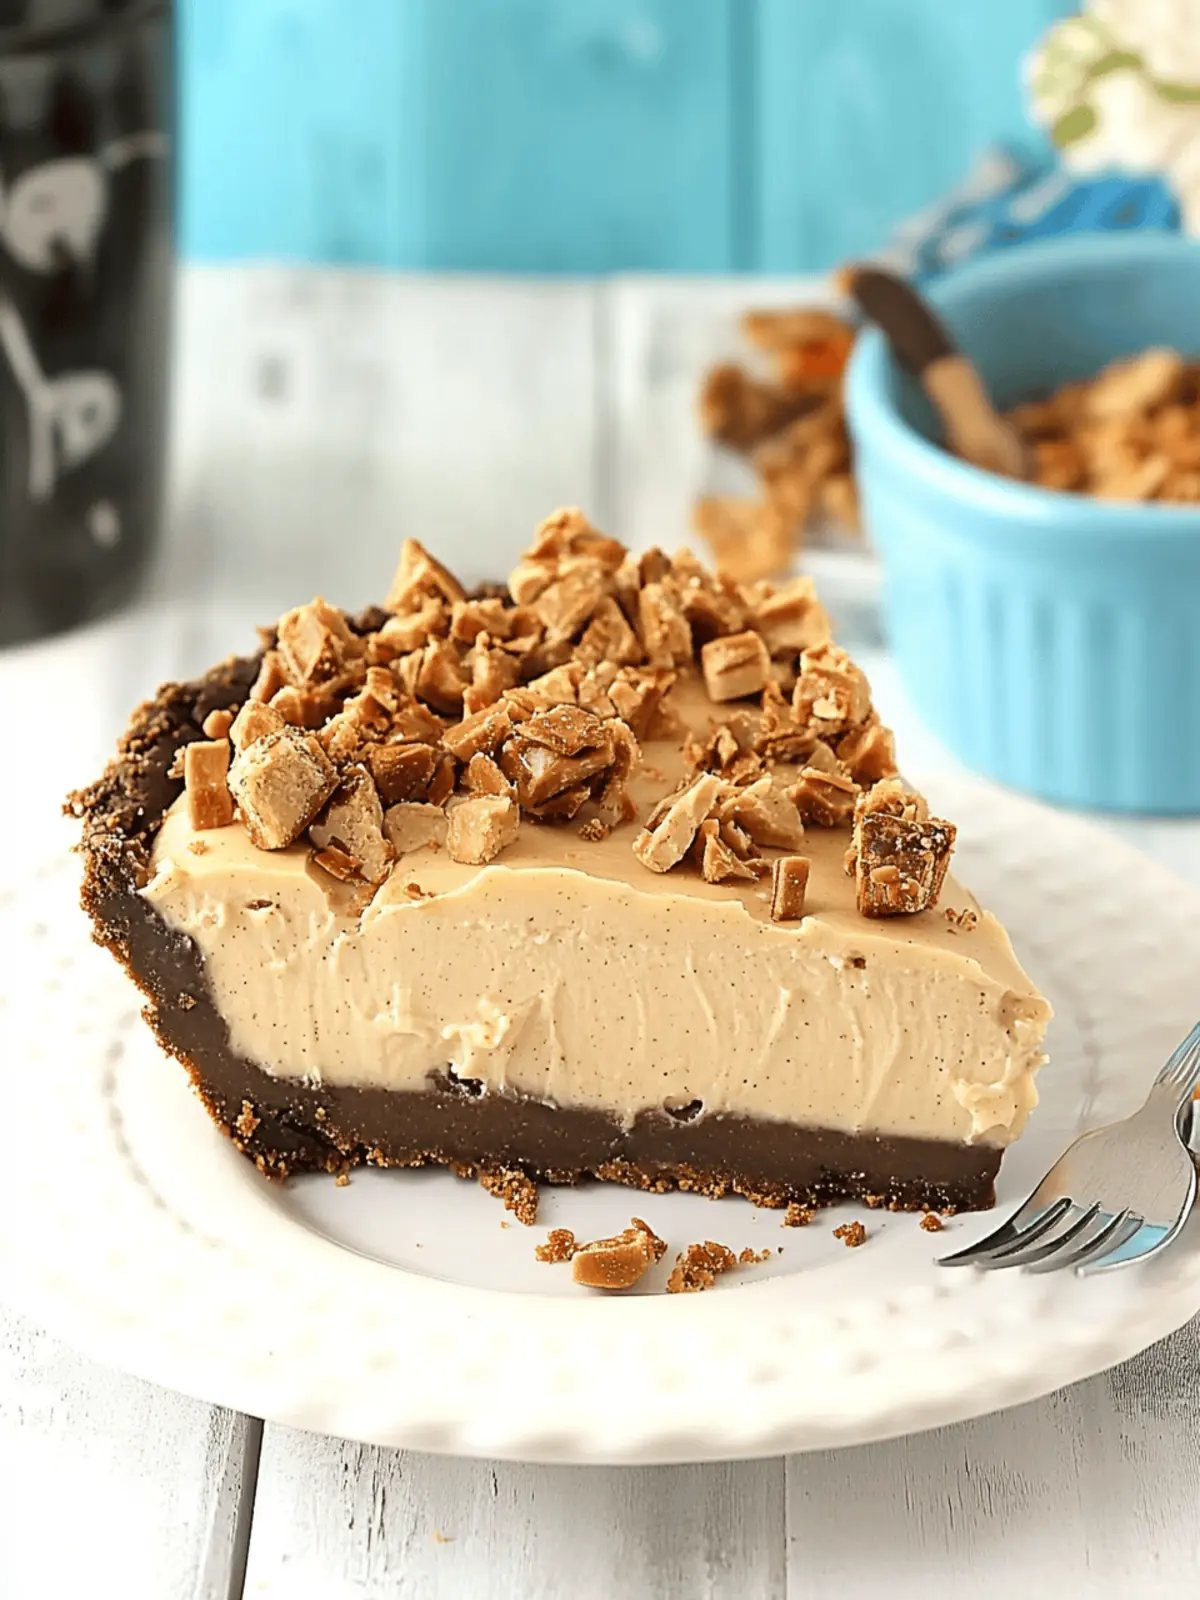
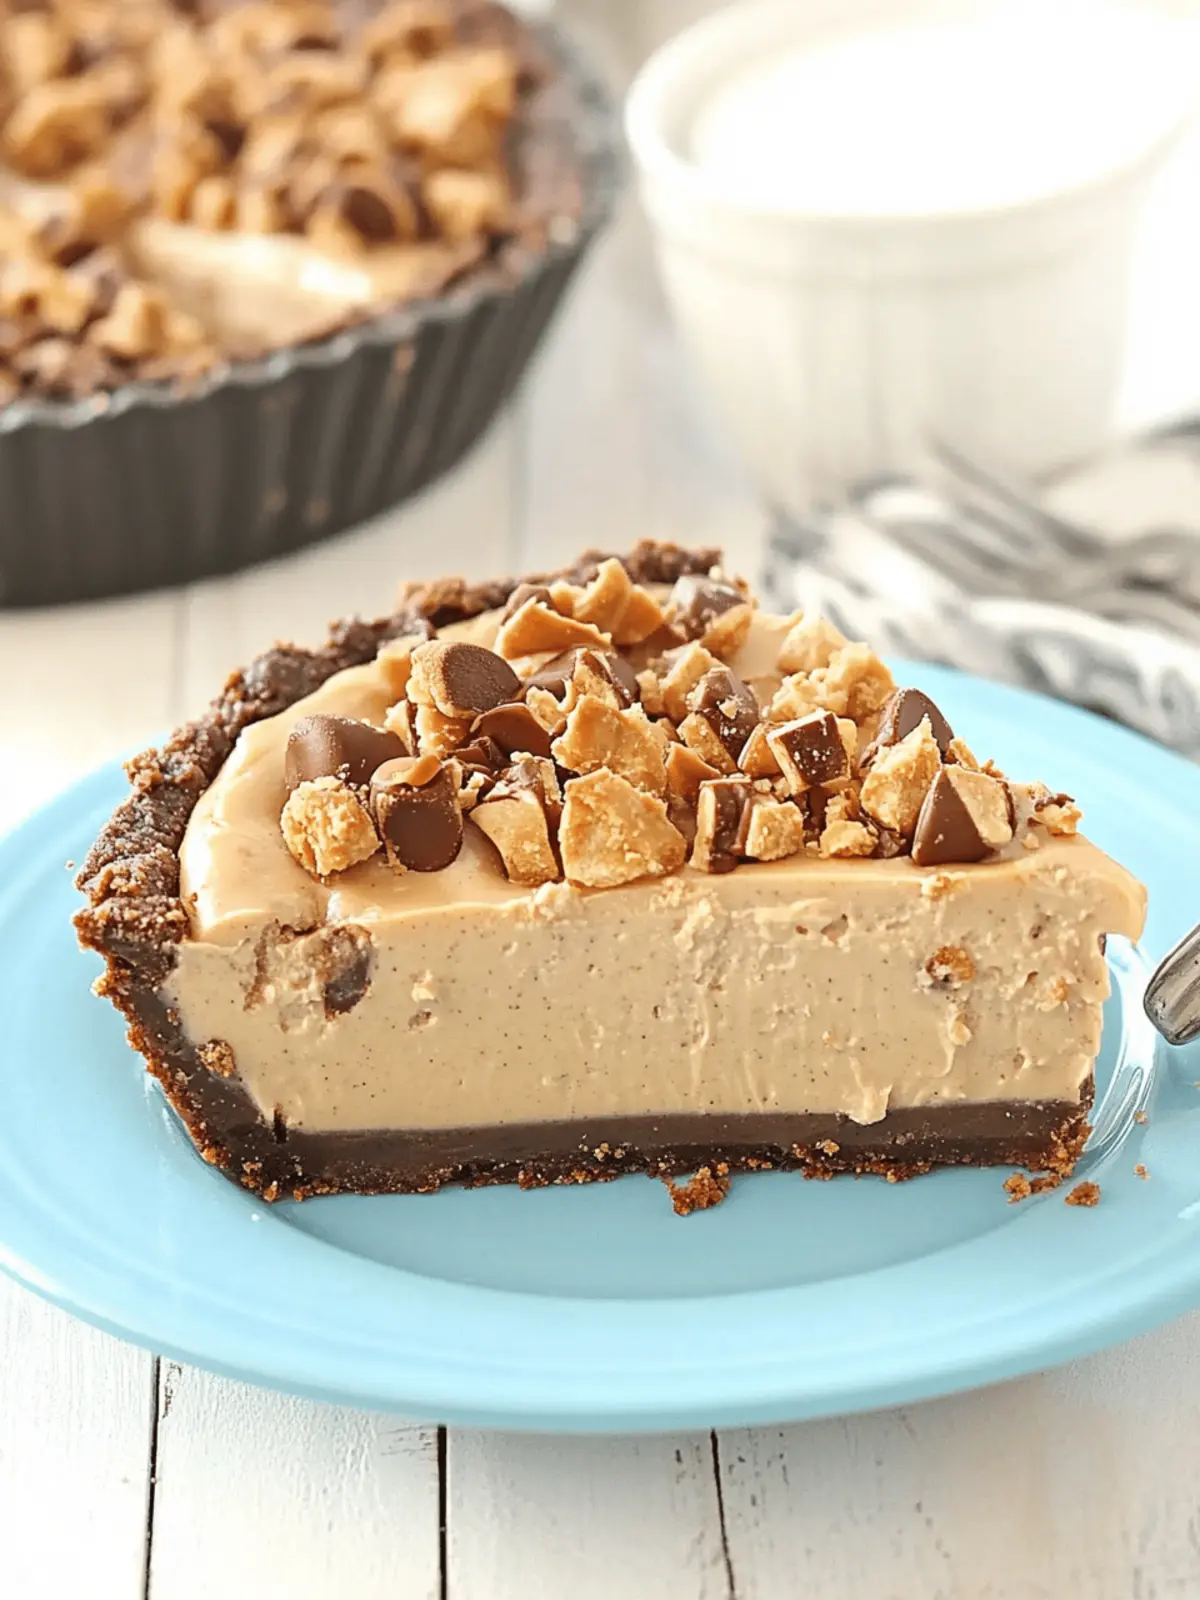
As summer heat rolls in, nothing hits the spot quite like a cool, creamy dessert that’s quick to whip up. I was inspired to create this No Bake Peanut Butter Pie after an afternoon spent at a friend’s poolside barbecue, where laughter and sunshine mingled in the air. The best part? This delicious pie comes together without an oven in sight!
Imagine a silky peanut butter filling that hugs the palate, enriched by fluffy whipped cream and nestled in a crunchy Oreo crust. Topped with delightful chunks of peanut butter cups, this pie is a crowd-pleaser whether you’re celebrating a birthday or simply want a sweet retreat from ordinary weeknight meals. Plus, it’s a wonderful way to share homemade goodness with friends and family, and it promises to have everyone asking for seconds. Dive into this easy recipe and let your taste buds savor the rich, nutty flavor you deserve!
Why is No Bake Peanut Butter Pie a Must-Try?
Simplicity makes this pie a breeze to prepare—no baking required, just mix and chill!
Irresistible Flavor combines creamy peanut butter and rich chocolate, creating a dessert dream.
Perfect Texture features a luscious filling set against a crunchy Oreo crust, a satisfying bite every time.
Versatile Delight easily adapts—swap in your favorite cookies or add layers of chocolate for extra indulgence.
Crowd-Pleaser for any occasion, it guarantees smiles and compliments, ensuring you shine at gatherings!
Dive into this easy recipe that promises pure joy in every slice!
No Bake Peanut Butter Pie Ingredients
• Here’s everything you need to whip up this delightful treat!
For the Crust
- Oreo Crumbs – Acts as a delicious, flavorful crust. Substitution: Use graham crackers, but add 2 additional tablespoons of butter to bind.
- Butter – Helps to hold the crust together. Use unsalted butter for better flavor control.
For the Filling
- Heavy Cream – Creates a light, airy texture in the filling. Can substitute with plant-based cream for dairy-free options.
- Cream Cheese – Forms the base of the filling, providing richness. Softened for easy mixing; can use low-fat cream cheese for a lighter version.
- Sugar – Balances the flavors of the peanut butter and cream cheese. Adjust quantity to taste, especially if using sweet peanut butter.
- Peanut Butter – Main flavor component, lending a rich, nutty essence. Any creamy peanut butter works; use natural for a healthier twist.
- Vanilla Extract – Adds depth to the filling. Real vanilla extract is preferable for better flavor.
- Peanut Butter Cups – Adds chunks of chocolate and a sweet bite. Optional: Use any chocolate candy or leave out for a simpler pie.
Get ready to indulge in the delicious chaos of flavors as you prepare your No Bake Peanut Butter Pie!
How to Make No Bake Peanut Butter Pie
-
Prepare the Crust: Mix Oreo crumbs and melted butter in a bowl until well combined. Press the mixture firmly into a 9-inch pie plate. Chill in the refrigerator for about 30 minutes until set.
-
Whip the Cream: In a separate bowl, whip the heavy cream until stiff peaks form. This will give the filling a light and airy texture. Once done, pop it back into the refrigerator to keep cool.
-
Blend the Filling: In the same bowl you used for the cream (no need to clean it), blend together the cream cheese, sugar, peanut butter, and vanilla extract. Mix until the mixture is completely smooth and creamy.
-
Fold in the Cream: Gently fold the whipped cream into the peanut butter mixture, ensuring no streaks remain. Carefully incorporate half of the chopped peanut butter cups for added flavor.
-
Fill the Crust: Pour the creamy filling into the prepared Oreo crust. Spread it evenly and then sprinkle the remaining peanut butter cups on top to create a delightful finishing touch.
-
Chill to Set: Cover the pie and chill in the refrigerator for at least 4 hours, or until it’s fully set. This step is crucial for achieving the perfect texture.
Optional: Drizzle with chocolate sauce just before serving for an extra touch of indulgence!
Exact quantities are listed in the recipe card below.
What to Serve with No Bake Peanut Butter Pie?
As you prepare for a delightful gathering, let’s complement the luscious layers of this creamy dessert with perfect pairings that will elevate your meal.
-
Fresh Berries: A vibrant medley of strawberries, blueberries, and raspberries adds a refreshing burst of flavor, balancing the richness of the pie.
-
Chocolate Sauce: Drizzling warm chocolate sauce over each slice enhances the indulgence, adding a silky touch that chocolate lovers will adore.
-
Whipped Cream: Light and fluffy, a dollop of freshly whipped cream brings the pie to life with extra creaminess and a light sweetness.
-
Ice Cream: Vanilla or chocolate ice cream creates a dreamy combination. The temperature contrast between the chilled pie and the cold scoop amplifies the enjoyment.
-
Nutty Granola: A sprinkle of wholesome nutty granola introduces delightful crunch and additional texture — a fun way to add a bit more flavor to each bite.
-
Iced Coffee: A rich, chilled coffee drink can serve as a delightful mixer, cutting through the dessert’s sweetness while providing a refreshing coffee boost.
-
Mint Leaves: For a touch of freshness, garnish each slice with mint leaves. They add a pop of color and a hint of herbal brightness that beautifully contrasts the pie’s creaminess.
Each of these companions amplifies the joy of your No Bake Peanut Butter Pie, creating a meal that’s as memorable as it is delicious.
How to Store and Freeze No Bake Peanut Butter Pie
-
Fridge: Store covered in the refrigerator for up to 5 days. This allows you to enjoy the creamy, rich flavors of the No Bake Peanut Butter Pie at its best.
-
Freezer: If you want to make it ahead of time, freeze the pie for up to 3 months. Wrap it tightly in plastic wrap and aluminum foil to prevent freezer burn.
-
Thawing: When ready to enjoy, transfer the pie to the fridge and let it thaw for a few hours before serving. This will help restore its creamy texture.
-
Reheating: There’s no need to reheat since this pie is served chilled. Just slice and serve with extra whipped cream for a special touch!
No Bake Peanut Butter Pie Variations
Feel free to get creative with your pie and explore these delightful twists on a classic!
- Nutter Butter Crust: Swap the Oreo crust for a Nutter Butter crust to amp up the peanut flavor.
- Chocolate Layer: Add a layer of hot fudge or chocolate ganache between the crust and the filling for a decadent surprise.
- Dairy-Free Delight: Use plant-based cream and vegan cream cheese for a delicious dairy-free option.
- Flavor Boost: Incorporate a tablespoon of powdered peanut butter into the filling for an extra punch of peanut flavor.
- Crunchy Texture: Fold in crushed pretzels or chopped nuts for added crunch and a sweet-salty twist.
- Fruit Fusion: Top with sliced bananas or strawberries to enhance the pie with a fresh, fruity note.
- Minty Fresh: Mix in a few drops of peppermint extract for a refreshing mint chocolate twist in the filling.
- Heat It Up: Sprinkle in some cayenne or crushed red pepper flakes for a surprising kick, balancing the sweetness with heat.
Make Ahead Options
This No Bake Peanut Butter Pie is perfect for meal prep and can easily become a part of your weekly routine! You can prepare the crust and filling up to 24 hours in advance, helping to eliminate morning-of chaos. Simply mix the Oreo crumbs and butter for the crust and press it into your pie plate; refrigerate it until set. For the filling, blend the cream cheese, sugar, peanut butter, and vanilla, then fold in the whipped cream—store it covered in the fridge. When it’s time to serve, simply pour the filling into the crust, sprinkle the top with peanut butter cups, and chill for at least 4 hours to achieve the perfect texture. This way, you’ll have a creamy, delightful dessert ready for those busy weeknights!
Expert Tips for No Bake Peanut Butter Pie
-
Cold Cream: Ensure the heavy cream is very cold before whipping; this helps achieve stiff peaks and a light texture in the filling.
-
Gentle Mixing: Avoid overmixing the whipped cream with the peanut butter mixture to maintain the dessert’s airy consistency; fold delicately until just combined.
-
Chill Time: Allow the pie to chill for at least 4 hours or overnight if possible; it helps the filling set beautifully, ensuring perfect slices.
-
Pie Storage: If making ahead, freeze the pie uncovered for 1 hour before wrapping; this prevents sticking and maintains the pie’s shape.
-
Flavor Tweaks: Experiment by adding a layer of hot fudge or using different flavored cookie crusts to personalize your No Bake Peanut Butter Pie!
No Bake Peanut Butter Pie Recipe FAQs
How do I select the best ingredients for my No Bake Peanut Butter Pie?
Absolutely! For the best results, make sure your cream cheese is softened to room temperature; this allows for easy mixing. When choosing peanut butter, opt for creamy varieties without added sugar or hydrogenated oils for a healthier twist. It’s important to pick fresh heavy cream—look for the “sell by” date to ensure quality. Lastly, if you choose Oreo cookies, ensure they’re fresh as well, avoiding any packages with broken or stale cookies.
What’s the best way to store my No Bake Peanut Butter Pie?
Very! To keep your pie’s creamy texture intact, store it covered in the refrigerator for up to 5 days. Make sure to use a pie cover or wrap it with plastic wrap to prevent it from absorbing any fridge odors.
Can I freeze my No Bake Peanut Butter Pie, and how do I do it?
Absolutely! You can freeze the pie for up to 3 months. First, place it in the freezer uncovered for about 1 hour to firm it up. Then, wrap the pie tightly in plastic wrap followed by aluminum foil to protect against freezer burn. Whenever you’re ready to enjoy, simply thaw it in the fridge for a few hours before serving.
What if my pie filling doesn’t set properly?
Ah, no worries! If your filling hasn’t set, it might be due to not chilling long enough; it needs at least 4 hours in the refrigerator. If you suspect you might not have whipped the cream enough to stiff peaks, try reintegrating it carefully without overmixing. If all else fails, don’t panic—just serve it as a delicious sundae with a scoop of ice cream!
Are there any dietary considerations for the No Bake Peanut Butter Pie?
Very! If you’re catering to dietary restrictions, you can easily swap ingredients. For a dairy-free version, use almond or coconut heavy cream and a dairy-free cream cheese alternative. Make sure to choose a peanut butter free of allergens if serving to people with nut allergies. The pie can be made gluten-free as well by simply substituting the Oreo crust with gluten-free cookies or using a graham cracker crust that meets gluten-free standards.
Can this pie be served to pets?
Oh, it’s not recommended! The pie contains ingredients like sugar and chocolate (from the peanut butter cups), which can be harmful to pets. Always keep tempting homemade desserts out of reach from your furry friends for their safety.

Decadent No Bake Peanut Butter Pie with Oreo Crust Delight
Ingredients
Equipment
Method
- Prepare the Crust: Mix Oreo crumbs and melted butter in a bowl until well combined. Press the mixture firmly into a 9-inch pie plate. Chill in the refrigerator for about 30 minutes until set.
- Whip the Cream: In a separate bowl, whip the heavy cream until stiff peaks form. This will give the filling a light and airy texture. Once done, pop it back into the refrigerator to keep cool.
- Blend the Filling: In the same bowl you used for the cream (no need to clean it), blend together the cream cheese, sugar, peanut butter, and vanilla extract. Mix until the mixture is completely smooth and creamy.
- Fold in the Cream: Gently fold the whipped cream into the peanut butter mixture, ensuring no streaks remain. Carefully incorporate half of the chopped peanut butter cups for added flavor.
- Fill the Crust: Pour the creamy filling into the prepared Oreo crust. Spread it evenly and then sprinkle the remaining peanut butter cups on top to create a delightful finishing touch.
- Chill to Set: Cover the pie and chill in the refrigerator for at least 4 hours, or until it’s fully set. This step is crucial for achieving the perfect texture.


