
There’s a curious joy in transforming a classic snack into something delightfully unexpected. When I first saw the concept of Oreo Sushi, I couldn’t help but wonder how such a simple ingredient list could create such a fun and whimsical treat. The sweet aroma of Oreo cookies fills the kitchen, igniting memories of carefree afternoons spent indulging in treats.
This easy-to-make recipe is perfect for anyone looking to add a sprinkle of creativity to their dessert repertoire. With just two main ingredients—Oreo cookies and milk—you’ll craft a delightful dish that not only satisfies your sweet tooth but also brings a touch of playfulness to any gathering. Imagine serving glistening, bite-sized sushi rolls made entirely of cookies, perfect for impressing guests or simply enjoying with the family.
So, if you’re tired of the usual desserts and want to whip up something extraordinary yet simple, this Oreo Sushi is your ticket to a delicious surprise. Let’s roll up our sleeves and dive into this tasty adventure!
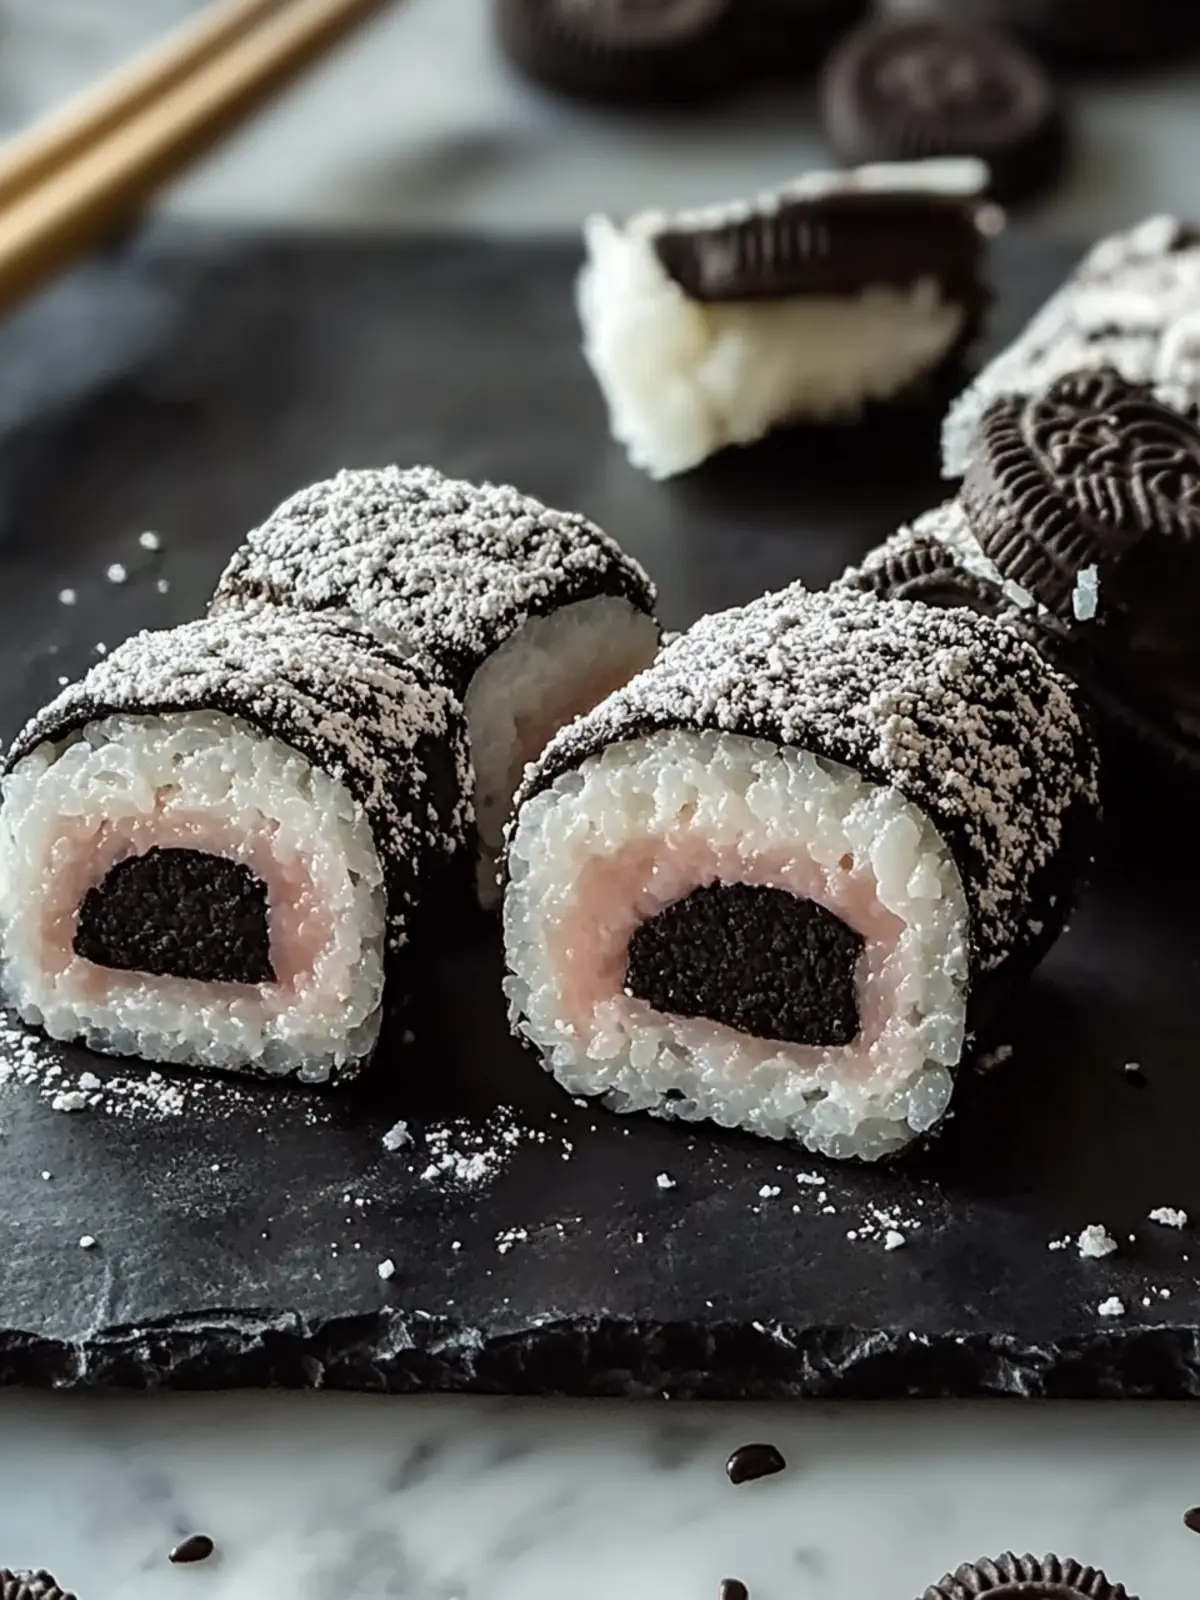
Why is Oreo Sushi a must-try dessert?
Easy to Make: This recipe requires minimal effort, making it perfect for both novice cooks and experienced chefs looking for a fun twist.
Endless Flavor Options: Customize your Oreo Sushi with different dipping sauces like chocolate or whipped cream to suit any taste preference.
Surprise Factor: Impress friends and family with a dessert that looks as good as it tastes—definitely a conversation starter!
Kid-Friendly Fun: Get the whole family involved in rolling and slicing these delightful treats. It’s an enjoyable way to bond over cooking!
Perfect for Gatherings: Whether it’s a birthday party or a casual get-together, these bite-sized treats are sure to be a crowd favorite.
Give it a try and bring a smile to everyone’s face!
Oreo Sushi Ingredients
• Get ready to roll with these simple ingredients!
For the Base
• Oreo cookies – the star of the show, providing that sweet crunch and flavor everyone loves.
• Milk – helps bind the crushed cookies into a thick paste, making it easy to roll.
For Serving
• Dipping sauces – choose from chocolate sauce or whipped cream for an added sweet touch; they perfectly complement the Oreo Sushi!
How to Make Oreo Sushi
-
Twist Apart: Carefully twist each Oreo cookie to separate the cream filling from the chocolate cookies. Place the cream filling into a bowl for later use.
-
Prepare the Cookies: Place the cookie halves into a zip-top bag, sealing it tightly to keep them fresh during crushing.
-
Crush the Cookies: Using a rolling pin, crush the cookies in the bag until they turn into fine crumbs. This should take about 2-3 minutes—aim for a velvety texture!
-
Mix with Milk: Transfer the cookie crumbs to a mixing bowl and gradually add in the milk. Stir until you get a thick and spreadable paste.
-
Spread the Base: Lay a piece of plastic wrap on a clean, flat surface. Then, spread the cookie paste evenly over the wrap to form a rectangle about ¼ inch thick.
-
Add the Cream Filling: Evenly distribute the cream filling over the cookie paste, creating a delightful layer of sweetness to complement the base.
-
Roll It Up: Carefully use the edges of the plastic wrap to roll the mixture tightly into a log shape. Make sure it’s snug so it holds together well.
-
Slice into Pieces: Once rolled, slice the log into bite-sized pieces, revealing your beautiful Oreo Sushi rolls!
-
Serve with Style: Arrange the sliced pieces on a plate, and don’t forget to offer dipping sauces like chocolate sauce or whipped cream for that extra indulgence.
Optional: Dust with powdered sugar for a sweet finishing touch.
Exact quantities are listed in the recipe card below.
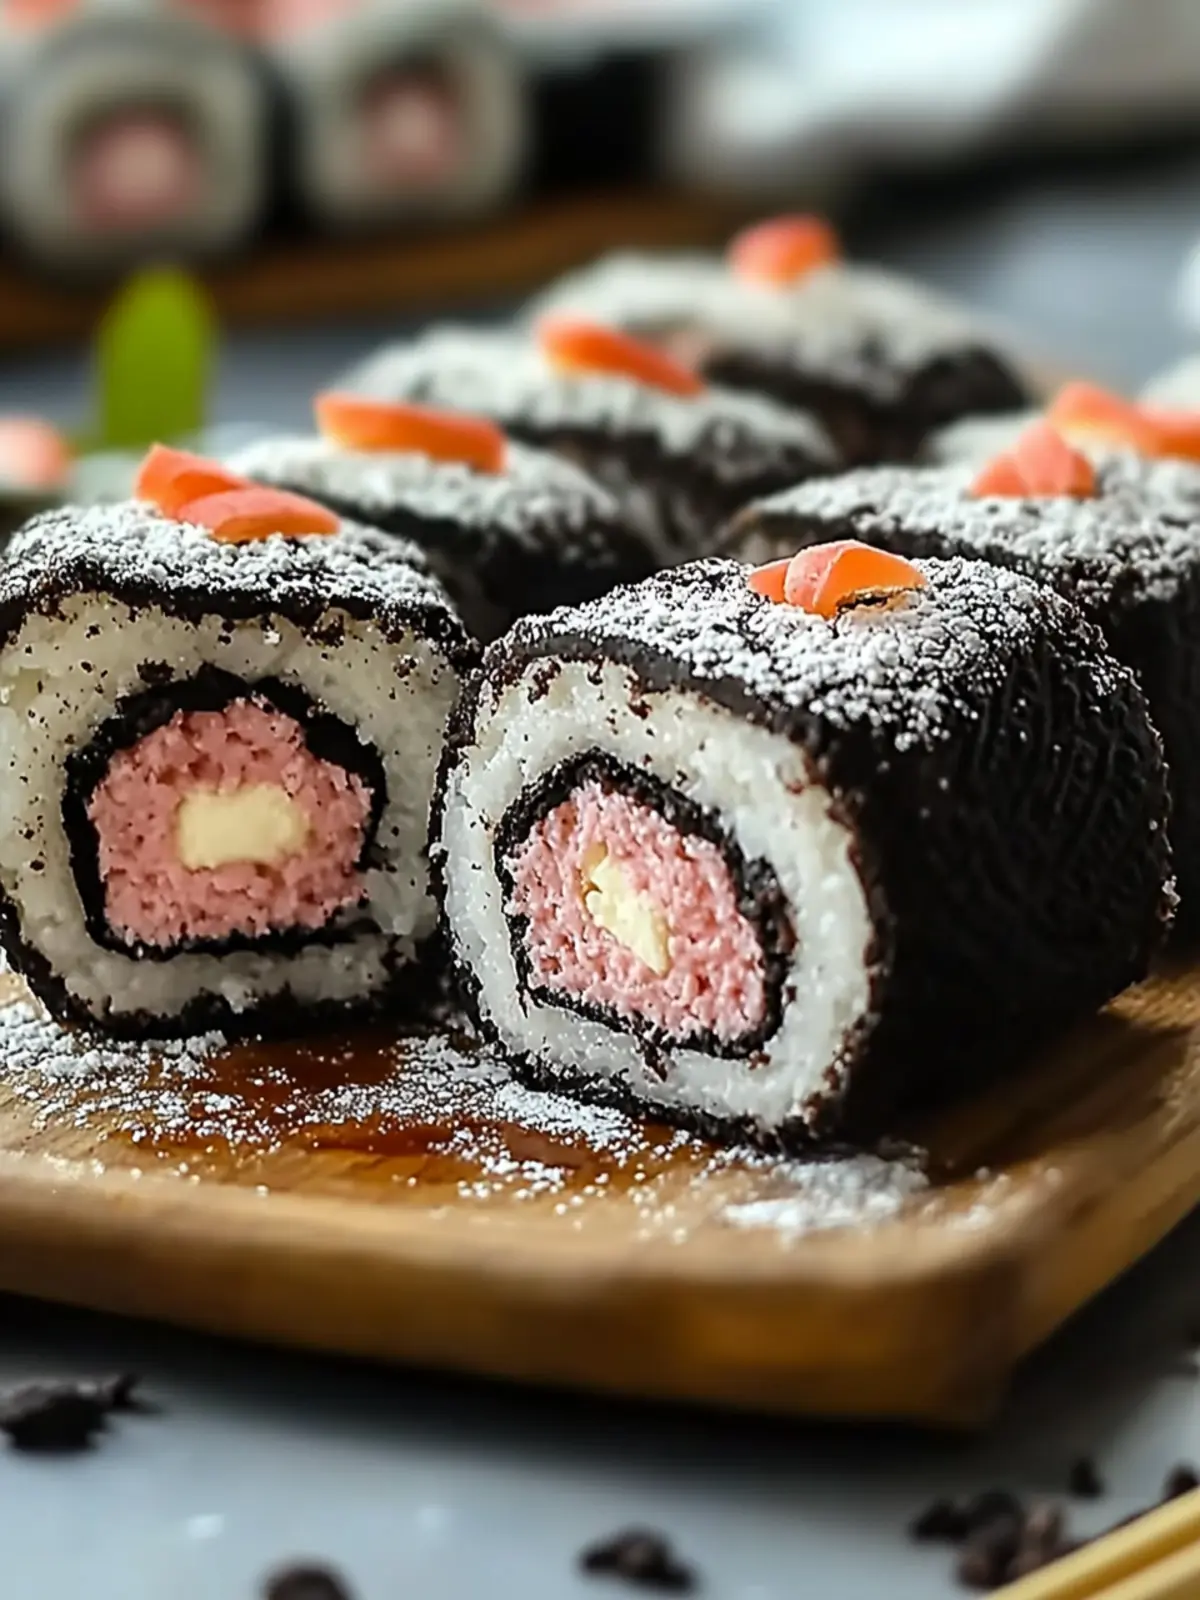
Storage Tips for Oreo Sushi
Room Temperature: You can keep Oreo Sushi at room temperature for up to 1 hour, ideal for serving at parties or gatherings.
Fridge: Store leftover Oreo Sushi in an airtight container in the fridge for up to 3 days. This keeps the flavors fresh and the texture enjoyable.
Freezer: If you want to make them ahead of time, freeze the sliced Oreo Sushi in a single layer on a baking sheet, then transfer to an airtight container for up to 1 month.
Reheating: There’s no need to heat Oreo Sushi; simply let the frozen pieces thaw in the fridge overnight before serving for the best taste and texture.
Tips for the Best Oreo Sushi
-
Crush Evenly: Ensure the cookie crumbs are fine and uniform. Larger chunks can make rolling difficult and spoil the texture.
-
Chill for Best Results: Let the rolled log chill in the fridge for at least 30 minutes before slicing. This helps everything hold together better.
-
Use Fresh Ingredients: Fresh Oreo cookies and milk will give your dessert the best flavor and texture, avoiding any stale or overly soft components.
-
Experiment with Fillings: Don’t be afraid to try flavored cream fillings or even add sprinkles or crushed nuts before rolling for an exciting twist on your Oreo Sushi.
-
Cut with Care: Use a sharp knife to slice the log into pieces. A sawing motion works best to prevent squishing your sushi rolls.
Make Ahead Options
These delightful Oreo Sushi rolls are perfect for meal prep, allowing you to save time on busy days! You can prepare up to 24 hours in advance by mixing the cookie paste and cream filling, rolling it into a log, and then wrapping it tightly in plastic wrap. To maintain their quality, refrigerate the rolled log until you’re ready to serve. When it’s time for dessert, simply slice the log into bite-sized pieces and arrange them on a plate. Serve alongside your favorite dipping sauces, and enjoy this fun treat just as delicious as if it were freshly made!
What to Serve with Oreo Sushi?
Elevate your homemade dessert experience with perfect pairings that delight the senses.
- Chocolate Sauce: Rich and creamy, it’s the ideal dip for your Oreo Sushi, enhancing the chocolatey goodness.
- Whipped Cream: Light and airy, this adds a soft texture that balances the dense cookie base. A dollop next to each slice creates an inviting presentation.
- Fresh Berries: Juicy strawberries or raspberries offer a burst of freshness that contrasts beautifully with the sweet flavors, adding a refreshing element to each bite.
- Ice Cream: Creamy vanilla or chocolate ice cream serves as a luscious side, inviting fun combinations and a chill to your dessert table.
- Fruit Salad: A medley of seasonal fruits brings vibrancy and a hint of natural sweetness, perfect for lightening up the indulgent treat.
- Milkshake: A thick, decadent milkshake echoes the flavors of Oreo, creating a comforting, nostalgic experience that is hard to resist.
- Coffee or Tea: A warm cup of coffee or a refreshing iced tea rounds out the sweetness, offering warmth and a touch of sophistication to your dessert time.
- Mini Cheesecakes: These delightful, soft desserts echo the creaminess of Oreo, making a sweet yet tangy contrast your guests will love.
- Nutella Drizzle: For those who can’t get enough chocolate, a drizzle of Nutella adds another layer of richness to your Oreo Sushi, making every slice more decadent.
Oreo Sushi Variations
Feel free to let your creativity flow and personalize this dessert with delightful twists!
-
Nutty Crunch: Add crushed nuts like almonds or walnuts to the cookie mixture for a satisfying crunch and nutty flavor.
-
Cookie Butter Swirl: Substitute the cream filling with cookie butter for an unexpectedly rich and creamy filling that takes it to the next level.
-
Fruity Goodness: Layer in some sliced bananas or strawberries before rolling for a fresh burst of flavor and a nutritious twist.
-
Minty Fresh: Incorporate mint extract into the cookie mixture, giving your Oreo Sushi a refreshing minty kick that chocolate lovers will adore.
-
Dark Chocolate Delight: Use dark chocolate Oreos instead of regular ones for a bold flavor contrast that’s decadent and delicious.
-
Spicy Kick: Add a sprinkle of cayenne pepper or chili powder to the cookie crumbs for a surprising heat that pairs surprisingly well with the sweetness.
-
Rainbow Sprinkles: Before rolling, mix in colorful sprinkles to the cookie paste for a fun and festive touch that’s perfect for celebrations.
-
Caramel Drizzle: Drizzle melted caramel over the sliced pieces right before serving for an extra indulgent layer of sweetness.
Experiment and enjoy your own unique take on Oreo Sushi!
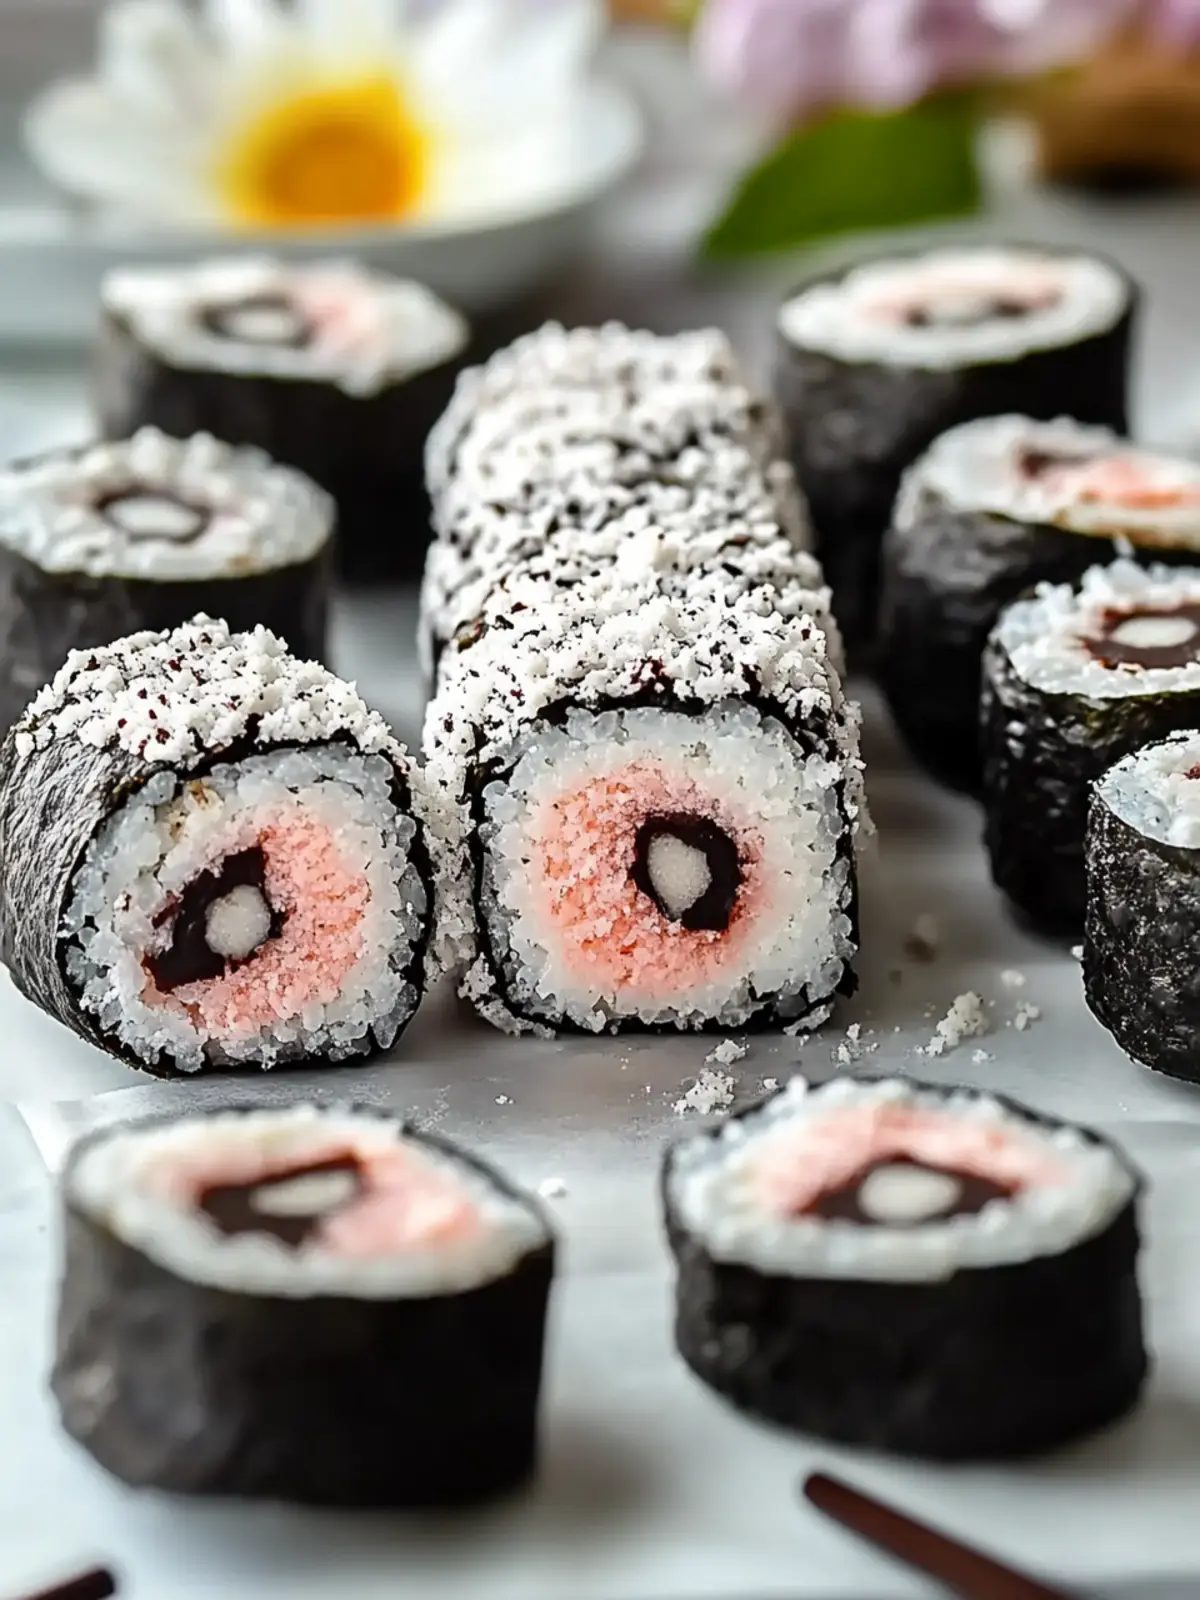
Oreo Sushi Recipe FAQs
How do I select the right Oreo cookies for Oreo Sushi?
Absolutely! For the best results, choose Oreo cookies that are fresh and without any damage. Check for dark spots on the packaging which could indicate staleness, and opt for a package that hasn’t been opened. It’s best to use standard Oreo cookies for a consistent flavor and texture, but feel free to experiment with different varieties like Double Stuff if you prefer extra creaminess!
What is the best way to store leftover Oreo Sushi?
Very simple! To maintain freshness, store leftover Oreo Sushi in an airtight container in the refrigerator for up to 3 days. This keeps the flavors intact and prevents the sushi from drying out. You can layer parchment paper between pieces if you want to avoid them sticking together. Just remember to enjoy them within that time for the best experience!
Can I freeze Oreo Sushi, and how do I do it?
Of course, freezing is a great way to enjoy Oreo Sushi longer! Start by slicing your rolled sushi into pieces, then lay them out on a baking sheet in a single layer. Freeze them for about 1 hour until firm. After that, transfer the pieces to an airtight container, with parchment paper between layers if needed. They can be kept in the freezer for up to 1 month. When you’re ready to indulge, simply thaw them in the refrigerator overnight.
What should I do if my cookie paste is too dry?
If you find your cookie paste is a bit too dry and difficult to spread, don’t worry! Just gradually add a little more milk, a tablespoon at a time, until you reach a thick but spreadable consistency. Make sure to mix well after each addition so that the paste becomes uniform without lumps.
Are there any dietary considerations for Oreo Sushi?
Definitely! For those with gluten allergies, unfortunately, traditional Oreos contain wheat, so you might want to look for gluten-free alternatives. Additionally, ensure that any dipping sauces you choose are also allergy-friendly. And remember, Oreo cookies are high in sugar, so if you’re making this dessert for kids or those monitoring their sugar intake, be sure to enjoy in moderation!
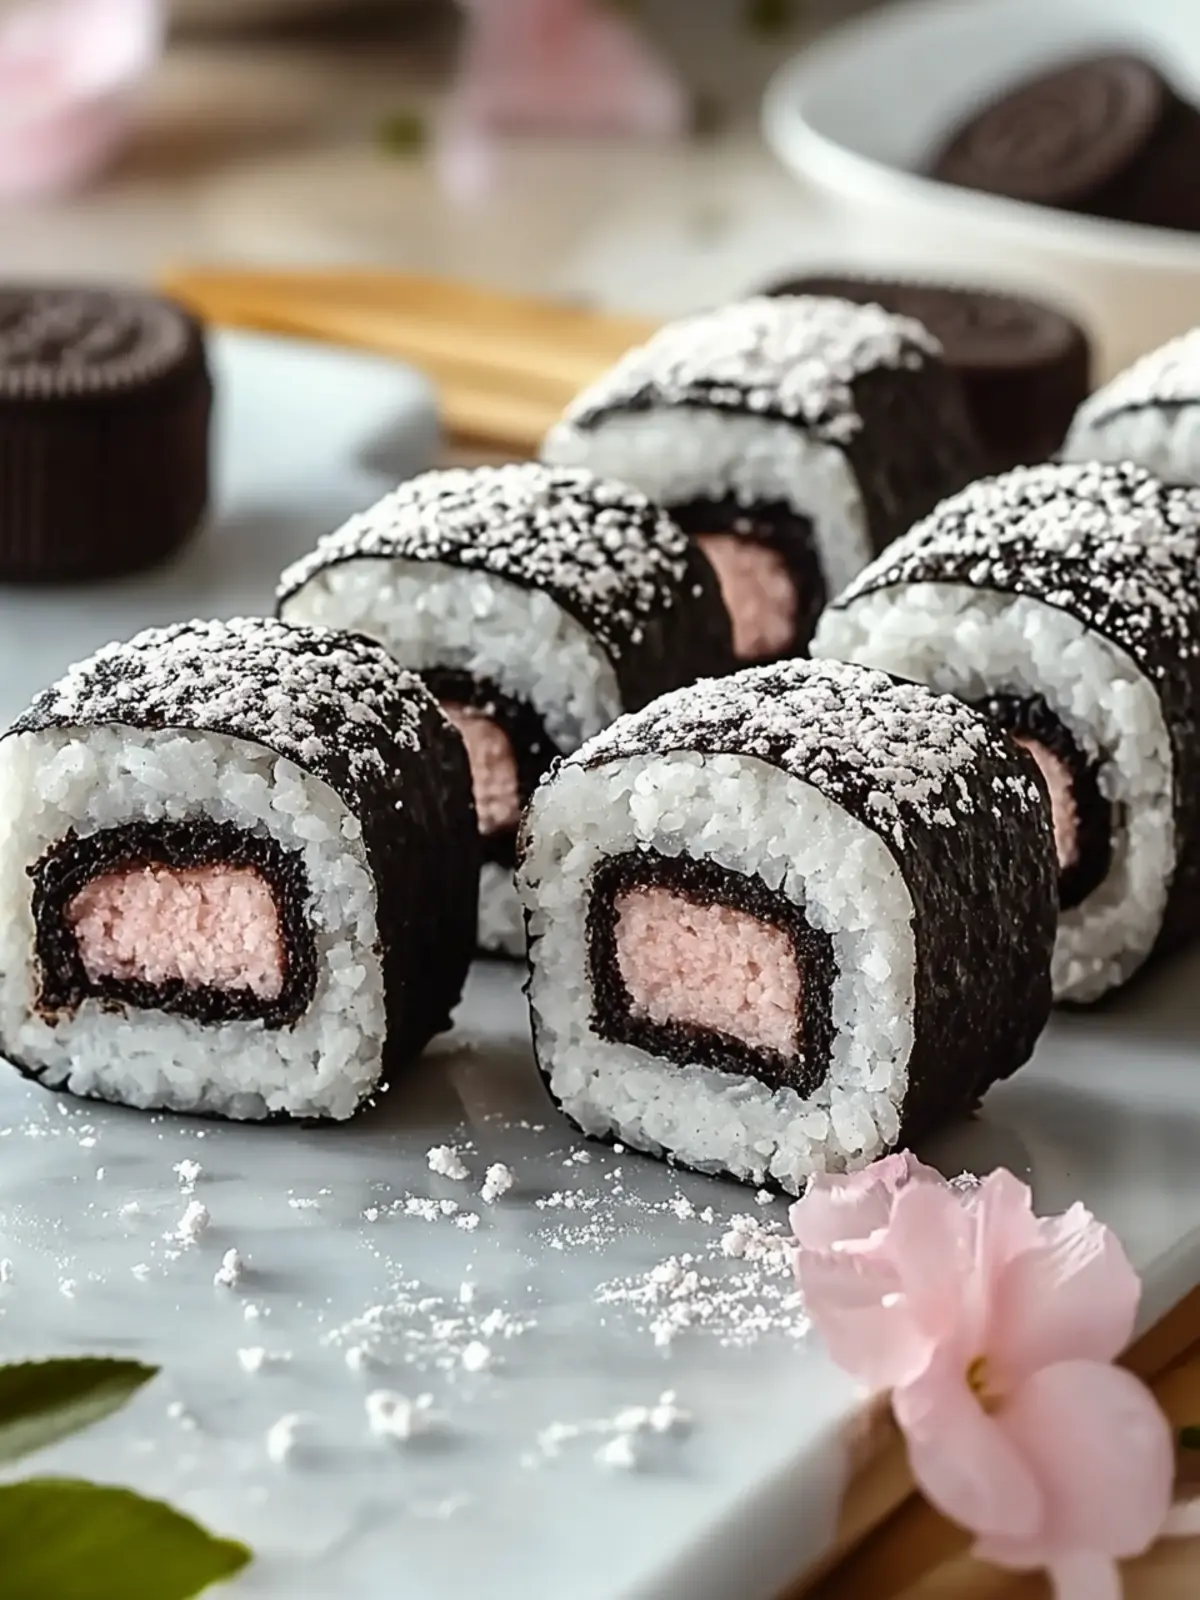
Delight in Oreo Sushi: A Fun Twist on Dessert Time!
Ingredients
Equipment
Method
- Twist Apart: Carefully twist each Oreo cookie to separate the cream filling from the chocolate cookies. Place the cream filling into a bowl for later use.
- Prepare the Cookies: Place the cookie halves into a zip-top bag, sealing it tightly to keep them fresh during crushing.
- Crush the Cookies: Using a rolling pin, crush the cookies in the bag until they turn into fine crumbs.
- Mix with Milk: Transfer the cookie crumbs to a mixing bowl and gradually add in the milk. Stir until you get a thick and spreadable paste.
- Spread the Base: Lay a piece of plastic wrap on a clean, flat surface. Then, spread the cookie paste evenly over the wrap to form a rectangle about ¼ inch thick.
- Add the Cream Filling: Evenly distribute the cream filling over the cookie paste, creating a delightful layer of sweetness to complement the base.
- Roll It Up: Carefully use the edges of the plastic wrap to roll the mixture tightly into a log shape.
- Slice into Pieces: Once rolled, slice the log into bite-sized pieces, revealing your beautiful Oreo Sushi rolls!
- Serve with Style: Arrange the sliced pieces on a plate and offer dipping sauces like chocolate sauce or whipped cream.