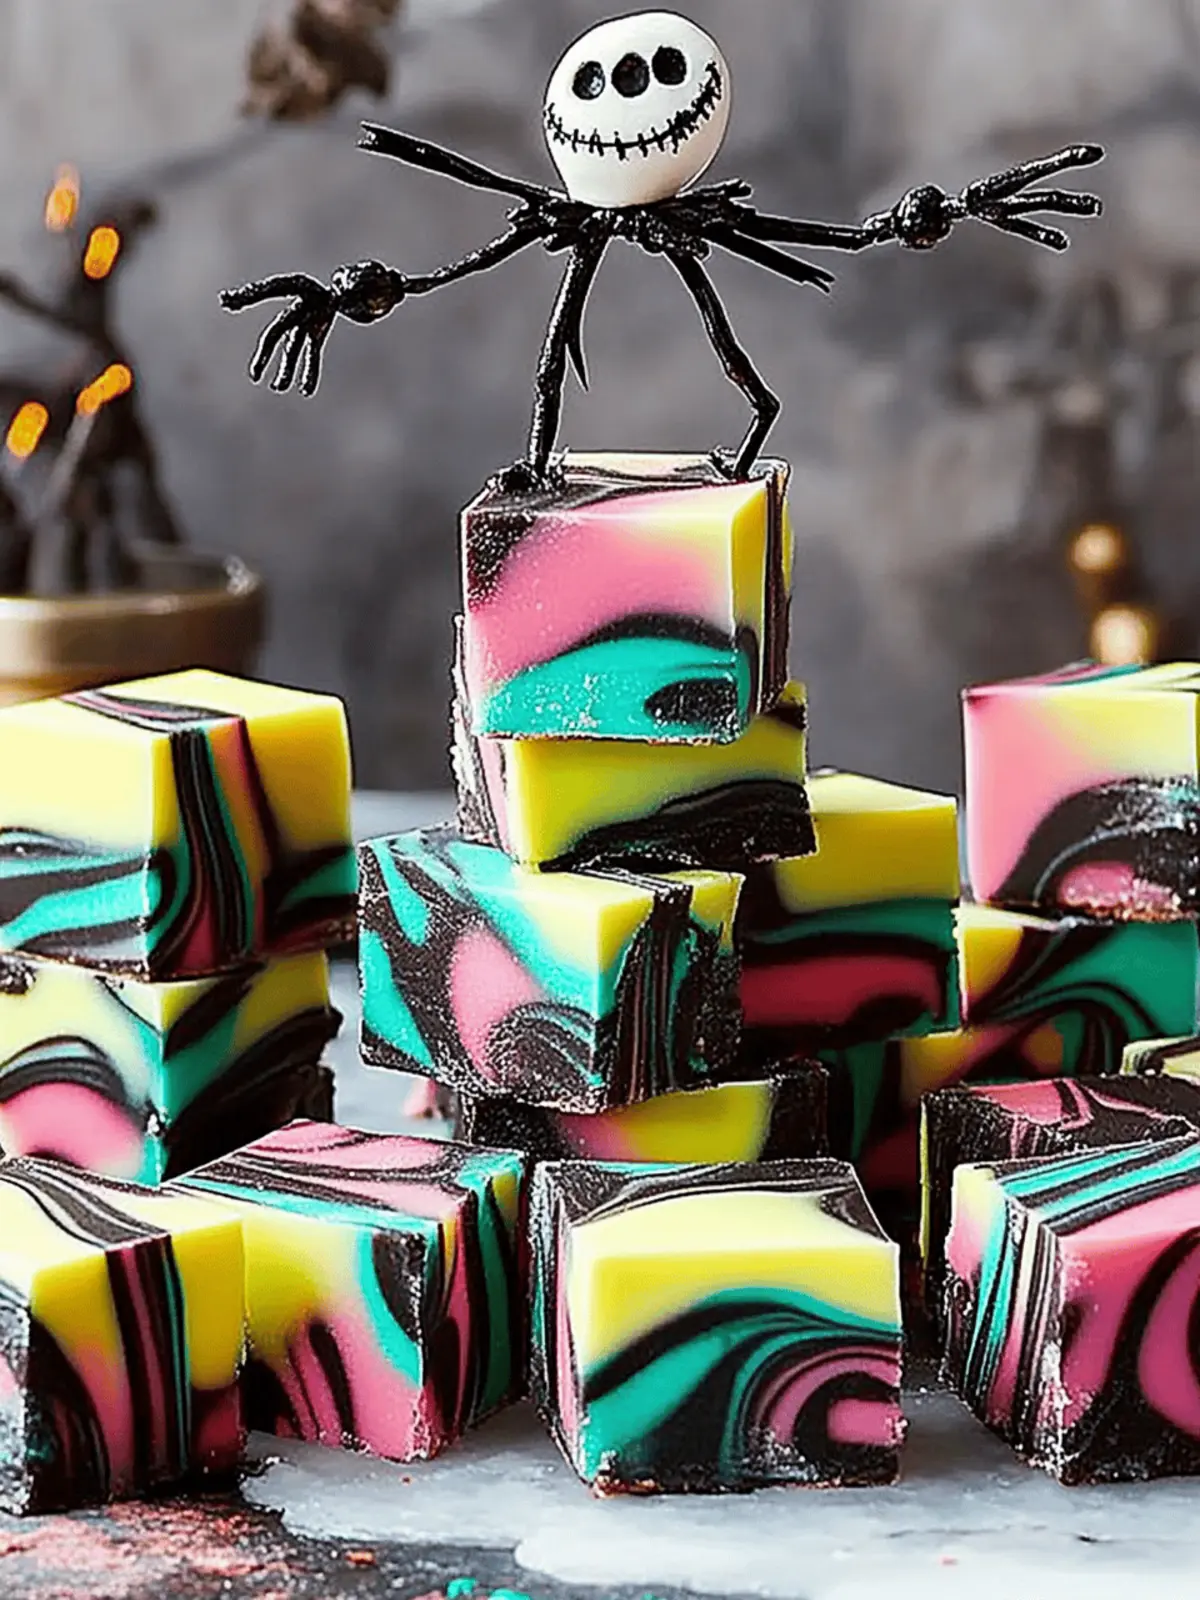
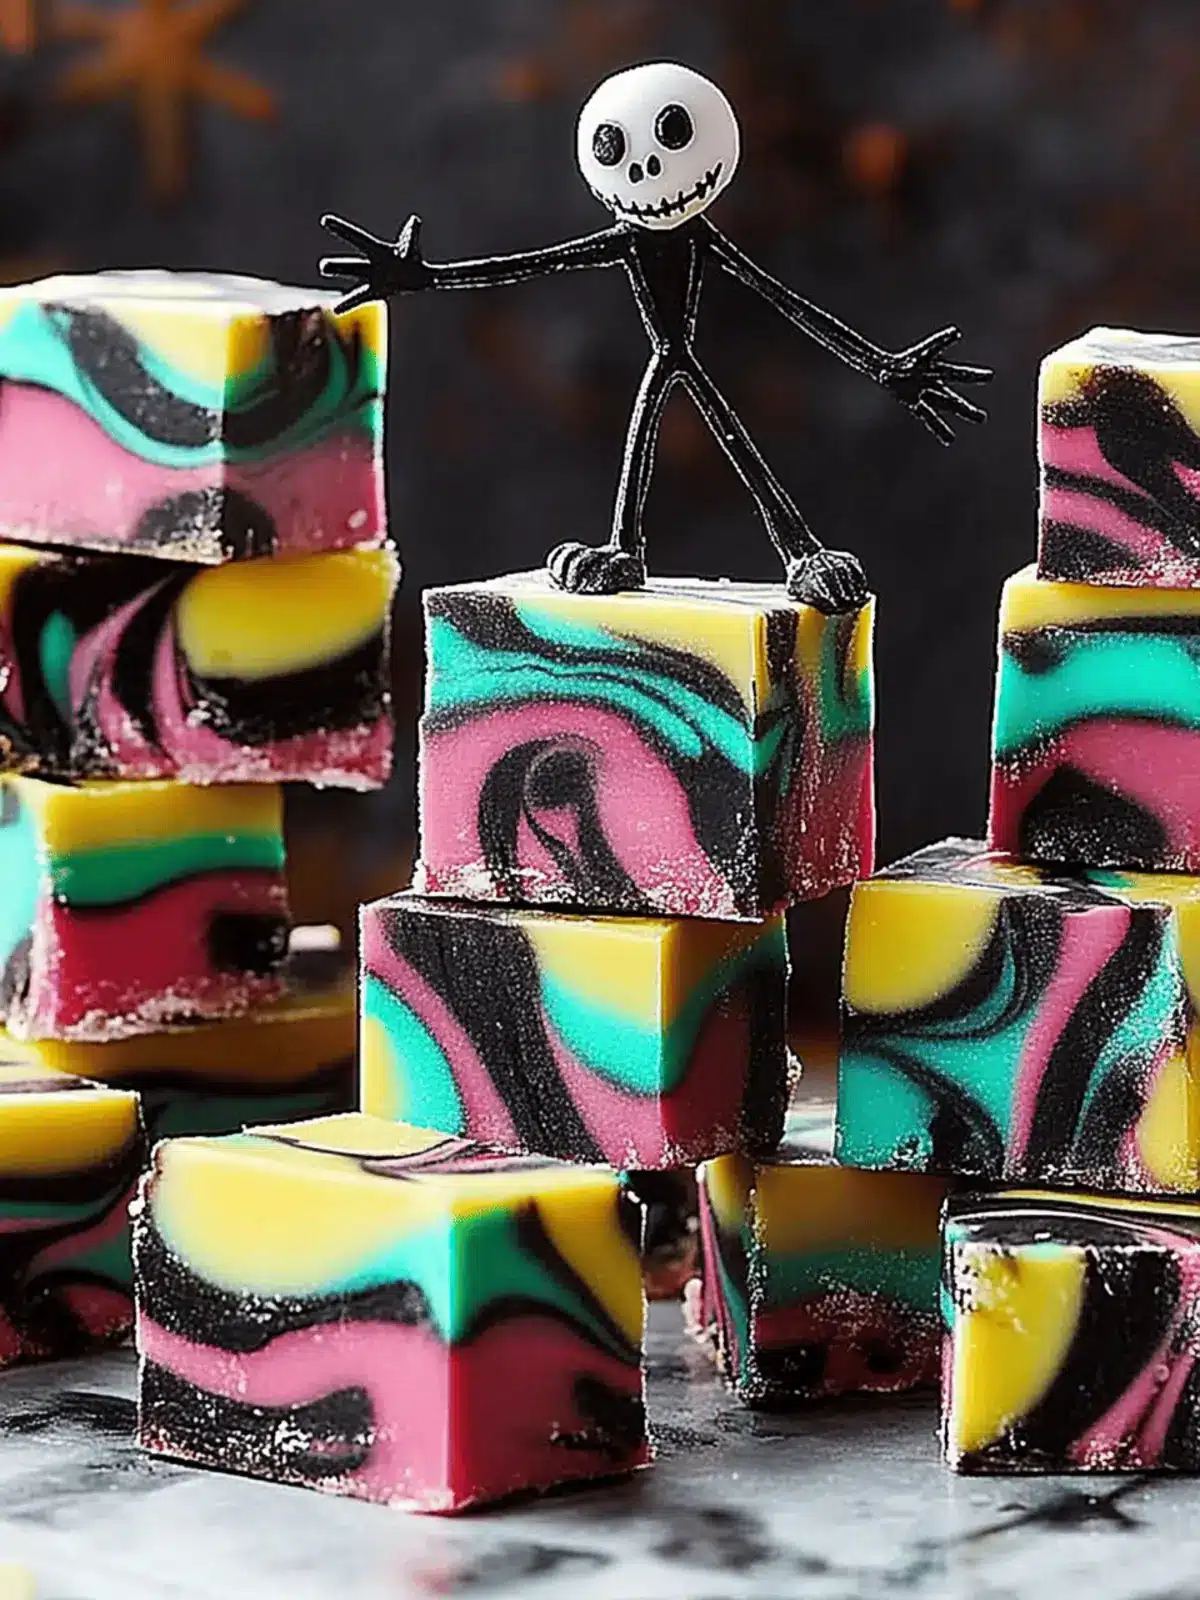
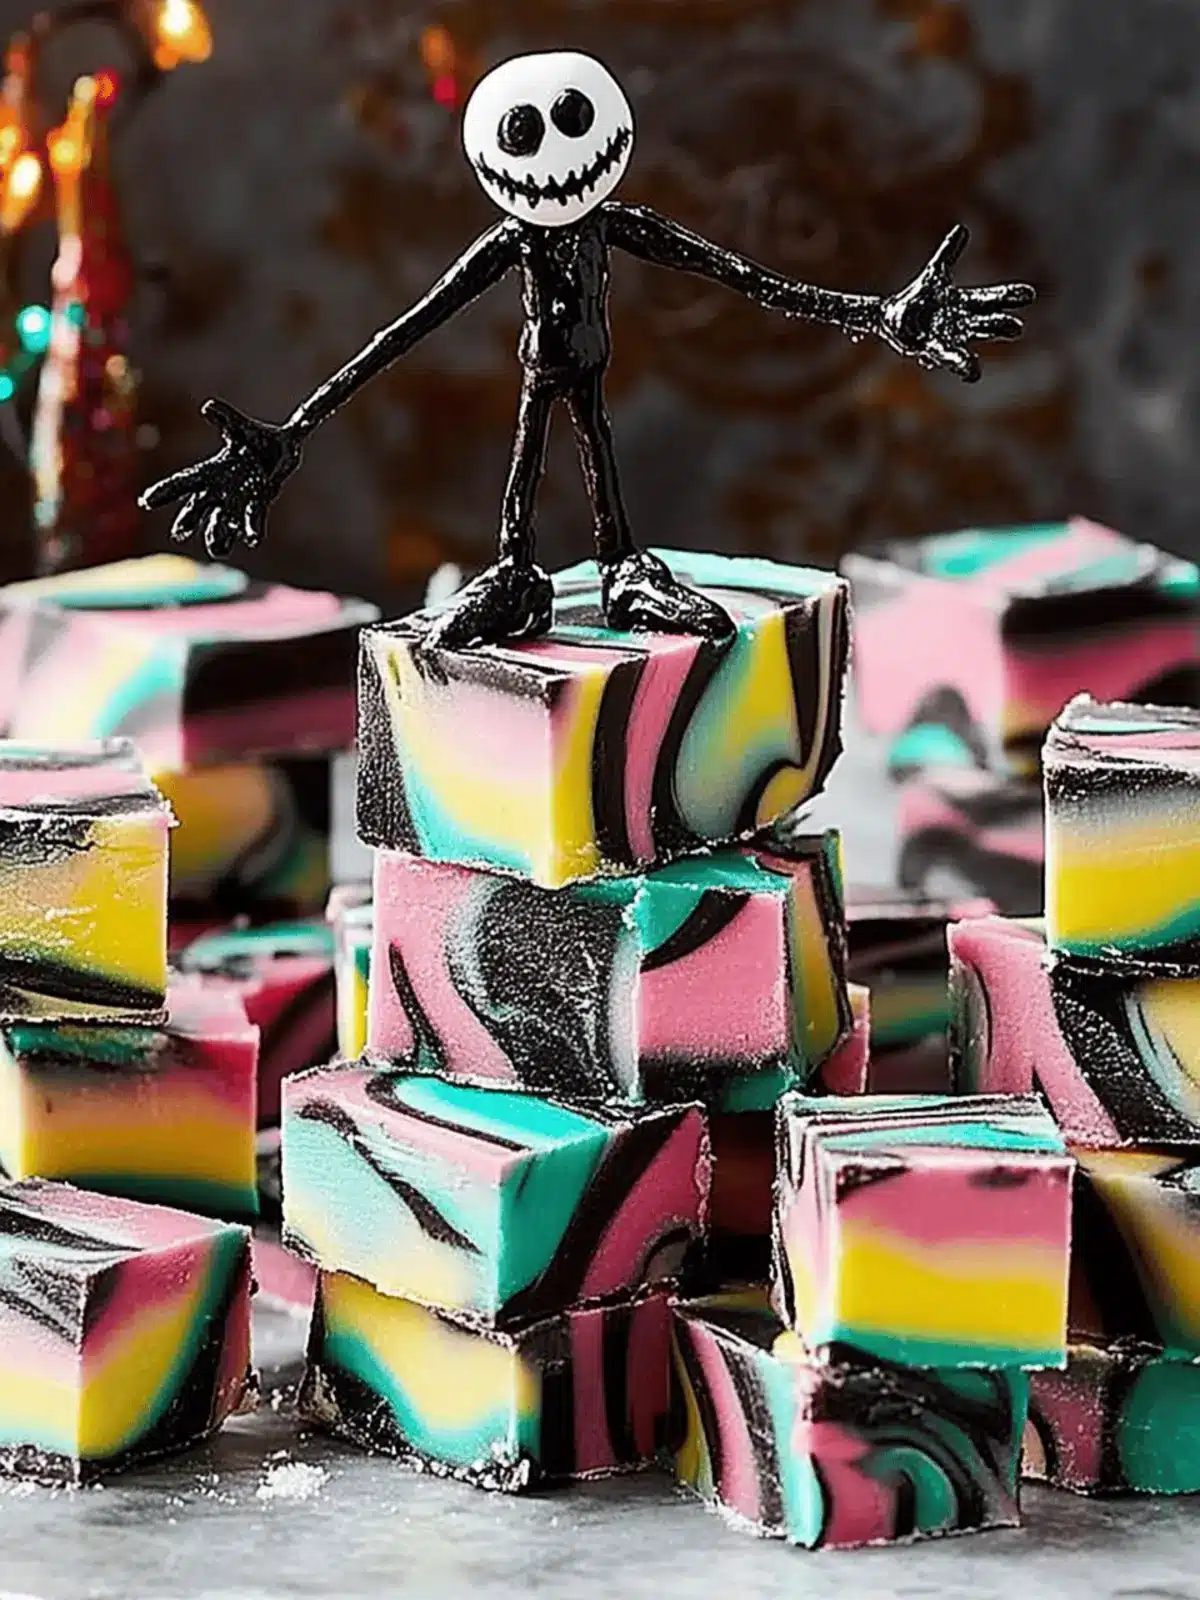
There’s something enchanting about the holiday season that invites us to create and indulge in sweet treats that evoke joy and nostalgia. As I was flipping through my favorite recipes, I stumbled upon a delightful inspiration straight out of the beloved classic, “The Nightmare Before Christmas.” This Nightmare Before Christmas Fudge is not just a dessert; it’s a canvas for your festive imagination. With only six simple ingredients, this creamy, chocolatey fudge captures the essence of Halloween and Christmas, blending whimsical flavors and vibrant colors that bring a smile to anyone’s face.
You don’t have to be an expert baker to whip up this crowd-pleasing treat! Ideal for holiday gatherings or thoughtful gifts, this fudge not only satisfies a sweet tooth but also brings a charming flair to your dessert table. So, grab your mixing bowls and let’s conjure up a little magic as we embark on this sweet journey together!
Why is Nightmare Before Christmas Fudge a must-try?
Simplicity at its finest: With just six ingredients, this fudge is incredibly easy to make, even for beginners.
Festive flair: The vibrant colors and flavors perfectly embody the joy and whimsy of both Halloween and Christmas.
Versatile options: Customize your fudge by swapping flavors or adding fun mix-ins like crushed candies or nuts.
Crowd-pleaser: This treat is sure to impress at any holiday gathering, making it a hit with both kids and adults.
Gift-worthy: Perfectly packaged, it makes a thoughtful and delightful present for friends and family during the festive season.
Nightmare Before Christmas Fudge Ingredients
• Here’s everything you need to create this delightful treat!
For the Fudge Base
- White Chocolate Chips – the base of your fudge, providing sweetness and a creamy texture.
- Sweetened Condensed Milk – adds richness and binds the ingredients together for that luscious fudge experience.
- Unsalted Butter – ensures a smooth and creamy fudge, enhancing the overall flavor.
For the Flavors
- Vanilla Bean Paste or Extract – introduces aromatic vanilla notes; if you’re in a pinch, use standard vanilla extract.
- Peppermint Extract – delivers a refreshing minty taste that reinforces the festive spirit of the fudge.
For Customization
- Gel Food Coloring (Black, Pink, Yellow, Teal) – use to create those iconic vibrant colors that make this fudge as fun to look at as it is to eat!
- Marshmallow Fluff (optional) – contributes extra sweetness and decadence but can be omitted for anyone with egg allergies.
Now that you have all your ingredients ready, you’re just one step away from conjuring the magic of Nightmare Before Christmas Fudge!
How to Make Nightmare Before Christmas Fudge
-
Combine Ingredients: In a large saucepan, mix together white chocolate chips, sweetened condensed milk, and unsalted butter over medium heat. Stir until fully melted and smooth—this should take about 5-7 minutes.
-
Flavoring: Once melted, remove from heat and stir in the vanilla bean paste and peppermint extract, mixing well to ensure the flavors meld beautifully.
-
Add Color: Divide the warm fudge mixture into separate bowls. Then, add gel food coloring (black, pink, yellow, teal) to each bowl. Stir until you achieve the vibrant hues reminiscent of Sally’s dress.
-
Layer Mixtures: Line a baking dish with parchment paper for easy removal. Layer the colorful fudge mixtures in the dish, swirling them together to create a striking marbled effect.
-
Chill to Set: Place the layered fudge in the refrigerator and chill for about 2 hours, or until firm and ready to serve.
-
Cut and Serve: After chilling, lift the fudge out using the parchment paper. Cut into desired shapes and sizes, perfect for serving or gifting.
Optional: Garnish with crushed peppermint candies for an added festive crunch.
Exact quantities are listed in the recipe card below.
What to Serve with Nightmare Before Christmas Fudge?
Creating a festive spread around your sweet treat can elevate your holiday gatherings to unforgettable heights!
-
Hot Cocoa Bar: Piping hot cocoa, topped with whipped cream or marshmallows, complements the rich flavors of fudge perfectly.
-
Gingerbread Cookies: The spicy, warm flavors of gingerbread cookies contrast beautifully with the sweetness of the fudge, offering a delightful variation.
-
Sugary Popcorn: Sweet popcorn drizzled with chocolate adds a crunchy texture that balances the creaminess of the fudge, making for an exciting combination.
-
Fruit Platter: Fresh fruits like strawberries and oranges offer a refreshing contrast to the sweet and rich fudge, adding vibrant color to your presentation.
-
Nutty Snack Mix: A salty blend of nuts and chocolate-covered treats can enhance the flavor experience, striking that perfect sweet-salty harmony.
-
Eggnog or Spiced Cider: These festive drinks are a flavorful accompaniment to the fudge and help create a cozy atmosphere during the holidays.
-
Decorated Sugar Cookies: Colorful sugar cookies can echo the vibrant colors of the fudge, making a visually stunning dessert table while providing a different texture.
How to Store and Freeze Nightmare Before Christmas Fudge
- Room Temperature: Keep fudge in an airtight container for up to 4 days. It’s best enjoyed fresh but can last a little longer at room temp.
- Fridge: Store in an airtight container in the refrigerator for up to 2 weeks. The cool environment helps maintain its creamy texture.
- Freezer: Wrap individual pieces in plastic wrap and place them in a freezer-safe container. It will stay fresh for up to 3 months.
- Reheating: When ready to enjoy frozen fudge, let it thaw in the fridge overnight, then serve chilled or at room temperature for the best taste.
Nightmare Before Christmas Fudge Variations
Feel free to unleash your creativity and customize this fudge to suit your taste buds!
-
Dark Chocolate: Swap white chocolate chips for dark chocolate for a richer, more decadent flavor. The contrast of flavors adds a gourmet touch.
-
Milk Chocolate: Use milk chocolate chips for a sweeter, creamier fudge that caters to those who love less intense cocoa notes. It’s a delightful twist.
-
Almond Extract: Substitute peppermint extract with almond extract for a unique, nutty flavor that complements the sweetness beautifully. This twist transforms the fudge into something unexpectedly delightful.
-
Add Crunch: Include crushed nuts or peppermint candies into the fudge mixture before chilling for a delightful texture contrast. It adds an exciting bite in every piece!
-
Spicy Kick: Add a pinch of cayenne pepper for those who love some heat in their treats. It gives the fudge an unexpected but exciting flavor profile.
-
Fruit Swirl: Consider swirling in fruit-flavored jam or puree (like raspberry) for a fruity twist that adds a festive and colorful flair. It’s not only beautiful but makes each piece unique.
-
Vegan Version: Use dairy-free chocolate chips and coconut cream instead of sweetened condensed milk for a vegan-friendly fudge that doesn’t compromise on flavor or creaminess.
-
Nut Butter Fusion: Swirl in creamy peanut butter or almond butter for a rich, nutty variation that makes each bite even more indulgent and satisfying.
Make Ahead Options
These Nightmare Before Christmas Fudge treats are fantastic for busy home cooks looking to save time! You can prepare the fudge base up to 3 days in advance by following the first few steps of melting and combining the ingredients, then refrigerating the mixture until needed. When you’re ready to serve, simply take it out, color, layer, and chill as directed. To maintain quality, ensure you store any prepped fudge base in an airtight container to prevent it from drying out. This way, you’ll have a festive dessert ready to charm your guests with minimal effort and maximum delight, perfect for both spontaneous gatherings and planned celebrations!
Expert Tips for Nightmare Before Christmas Fudge
- Cooling Time: Allow the fudge to cool completely before cutting; this ensures cleaner edges and a more polished presentation.
- Spatula Help: Use a silicone or plastic spatula for spreading and swirling the fudge mixtures evenly, making it easier to achieve the perfect marbled look.
- Parchment Paper: Always line your baking dish with parchment paper to guarantee effortless removal and minimize cleanup after indulgence.
- Color Mixing: When adding gel food coloring, start with a little and gradually add more until you achieve your desired vibrancy; it’s easier to darken than to lighten!
- Flavor Variations: Feel free to experiment with different flavored extracts or chocolate types; it’s a great way to personalize your Nightmare Before Christmas Fudge.
Nightmare Before Christmas Fudge Recipe FAQs
What kind of white chocolate should I use for the fudge?
Absolutely! I recommend using high-quality white chocolate chips for the best melt and creaminess. Look for brands that have cocoa butter as an ingredient. Avoid baking white chocolate as it can be overly sweet and may not melt well.
How long does Nightmare Before Christmas Fudge last?
Very! If stored in an airtight container at room temperature, it can last for up to 4 days. However, for optimal freshness, keep it in the refrigerator where it can stay good for up to 2 weeks! Just make sure it’s kept sealed tight to prevent it from drying out.
Can I freeze this fudge?
Absolutely! If you want to store your fudge for longer, wrap individual pieces tightly in plastic wrap and place them in a freezer-safe container. It will stay fresh for up to 3 months in the freezer. When you’re ready to enjoy, simply let the fudge thaw in the fridge overnight.
What if my fudge doesn’t set properly?
No worries! If your fudge doesn’t seem to be setting properly, it may need a bit more chilling time. Give it another hour in the refrigerator. If it’s still too soft, you could try remelting it on low heat with a bit more sweetened condensed milk, then re-chill it.
Is this fudge suitable for people with egg allergies?
Yes, indeed! The concoction can be made without marshmallow fluff, making it a safe choice for those with egg allergies. Just ensure all other ingredients used are allergen-free or suitable for your needs.
Can I make variations of this fudge?
Absolutely! Get creative! You can swap out the white chocolate for milk or dark chocolate, or even better, experiment with flavored extracts like almond or hazelnut for a unique twist! Adding nuts or crushed peppermint candies can also create delightful textures.
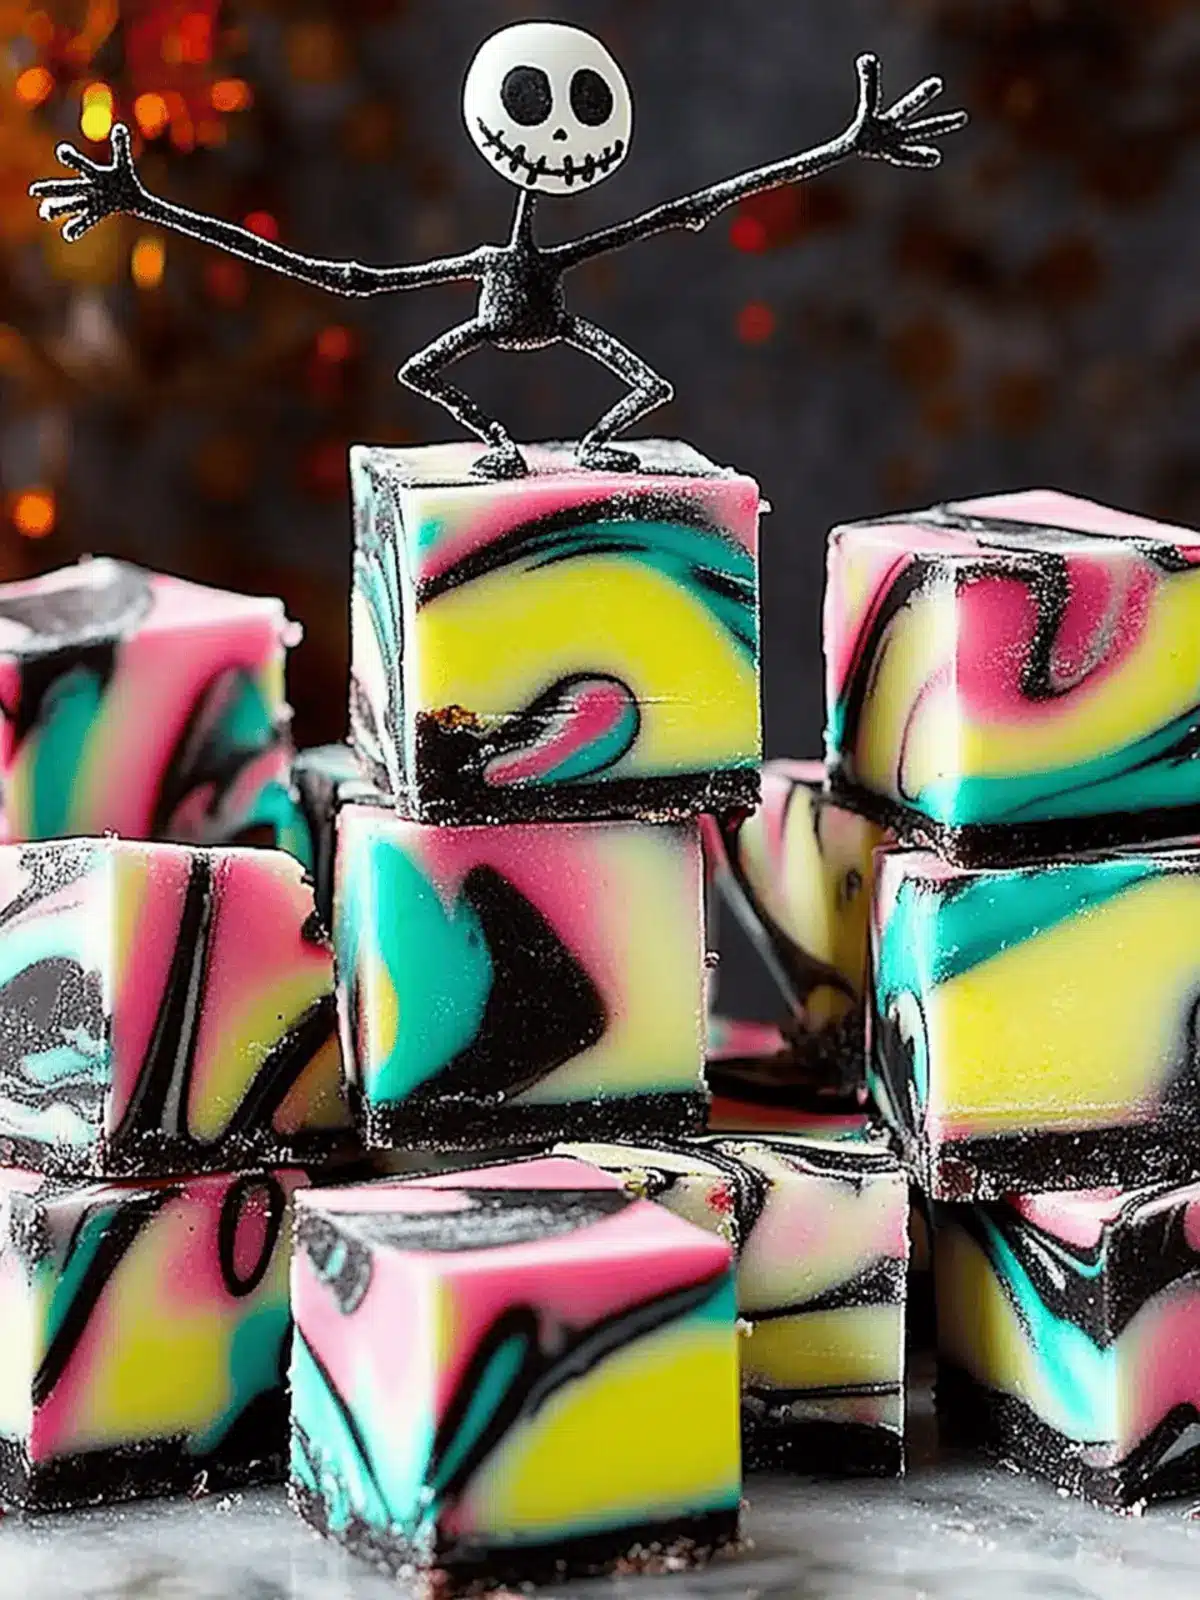
Irresistible Nightmare Before Christmas Fudge You’ll Love
Ingredients
Equipment
Method
- In a large saucepan, mix together white chocolate chips, sweetened condensed milk, and unsalted butter over medium heat. Stir until fully melted and smooth—this should take about 5-7 minutes.
- Once melted, remove from heat and stir in the vanilla bean paste and peppermint extract, mixing well to ensure the flavors meld beautifully.
- Divide the warm fudge mixture into separate bowls. Then, add gel food coloring (black, pink, yellow, teal) to each bowl. Stir until you achieve the vibrant hues.
- Line a baking dish with parchment paper for easy removal. Layer the colorful fudge mixtures in the dish, swirling them together to create a marbled effect.
- Place the layered fudge in the refrigerator and chill for about 2 hours, or until firm and ready to serve.
- After chilling, lift the fudge out using the parchment paper. Cut into desired shapes and sizes.

