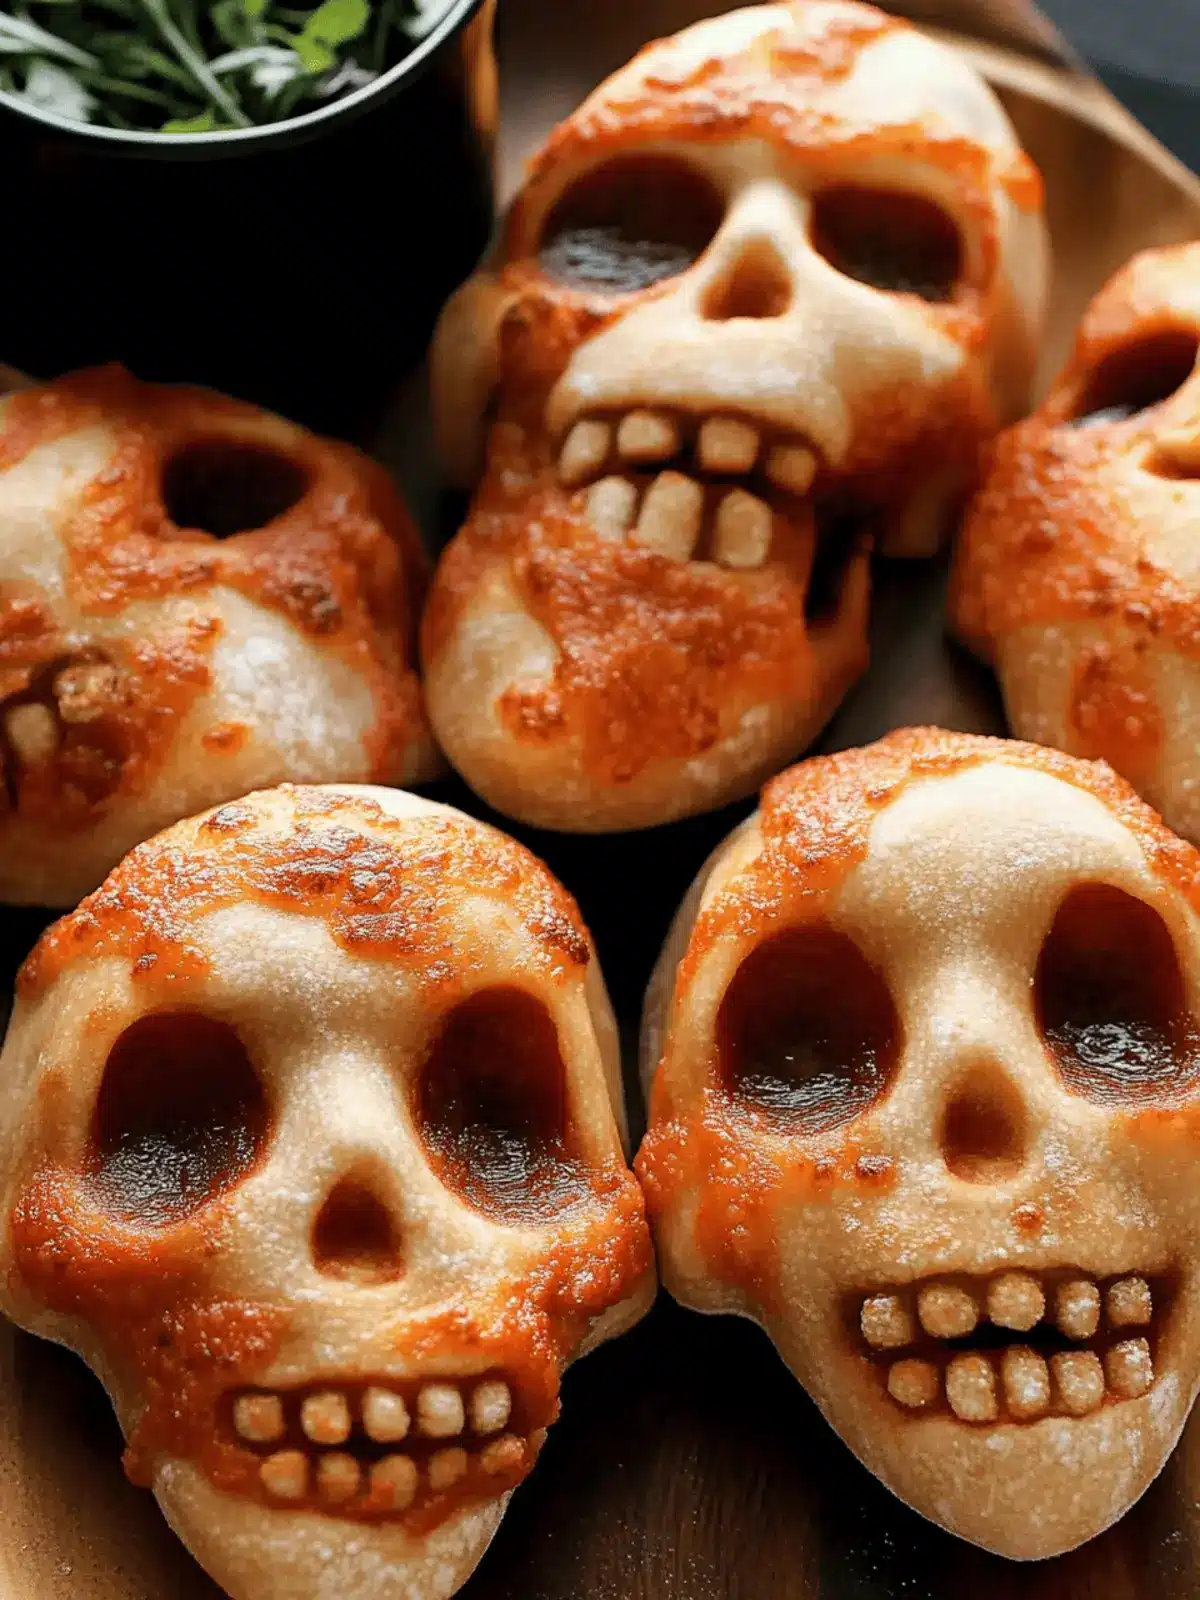
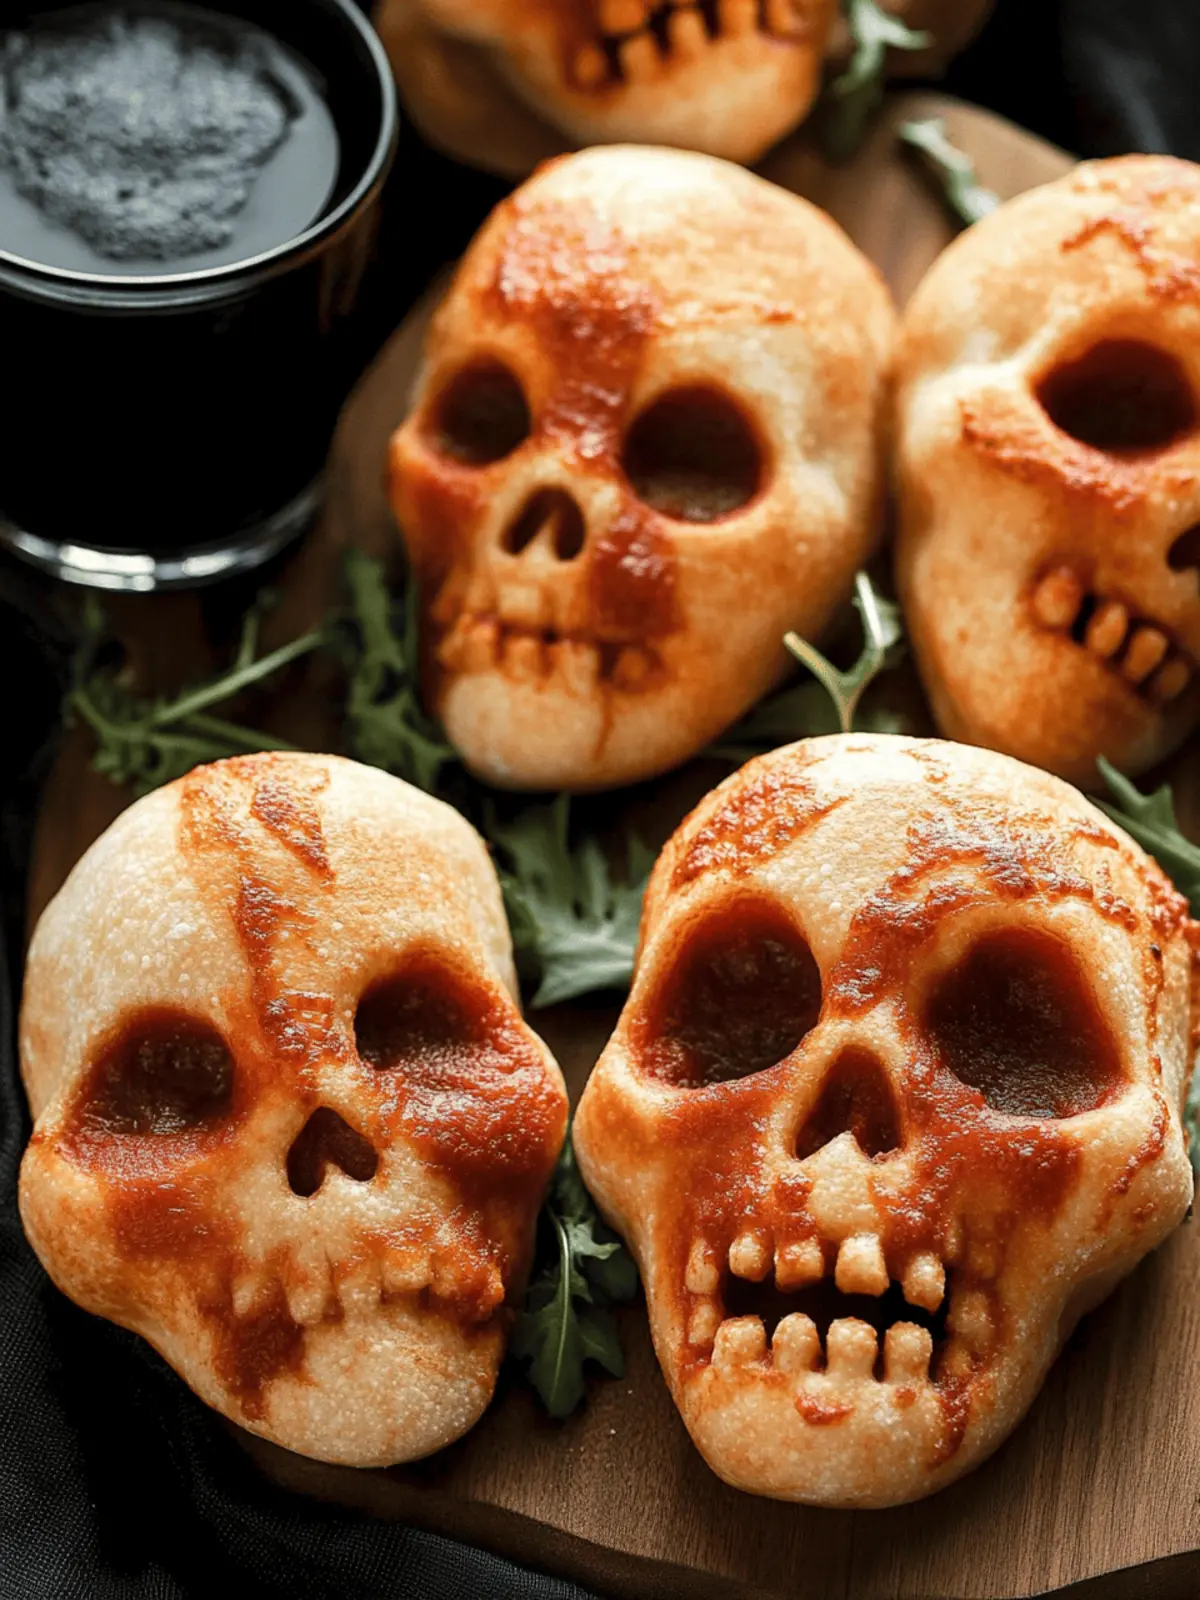
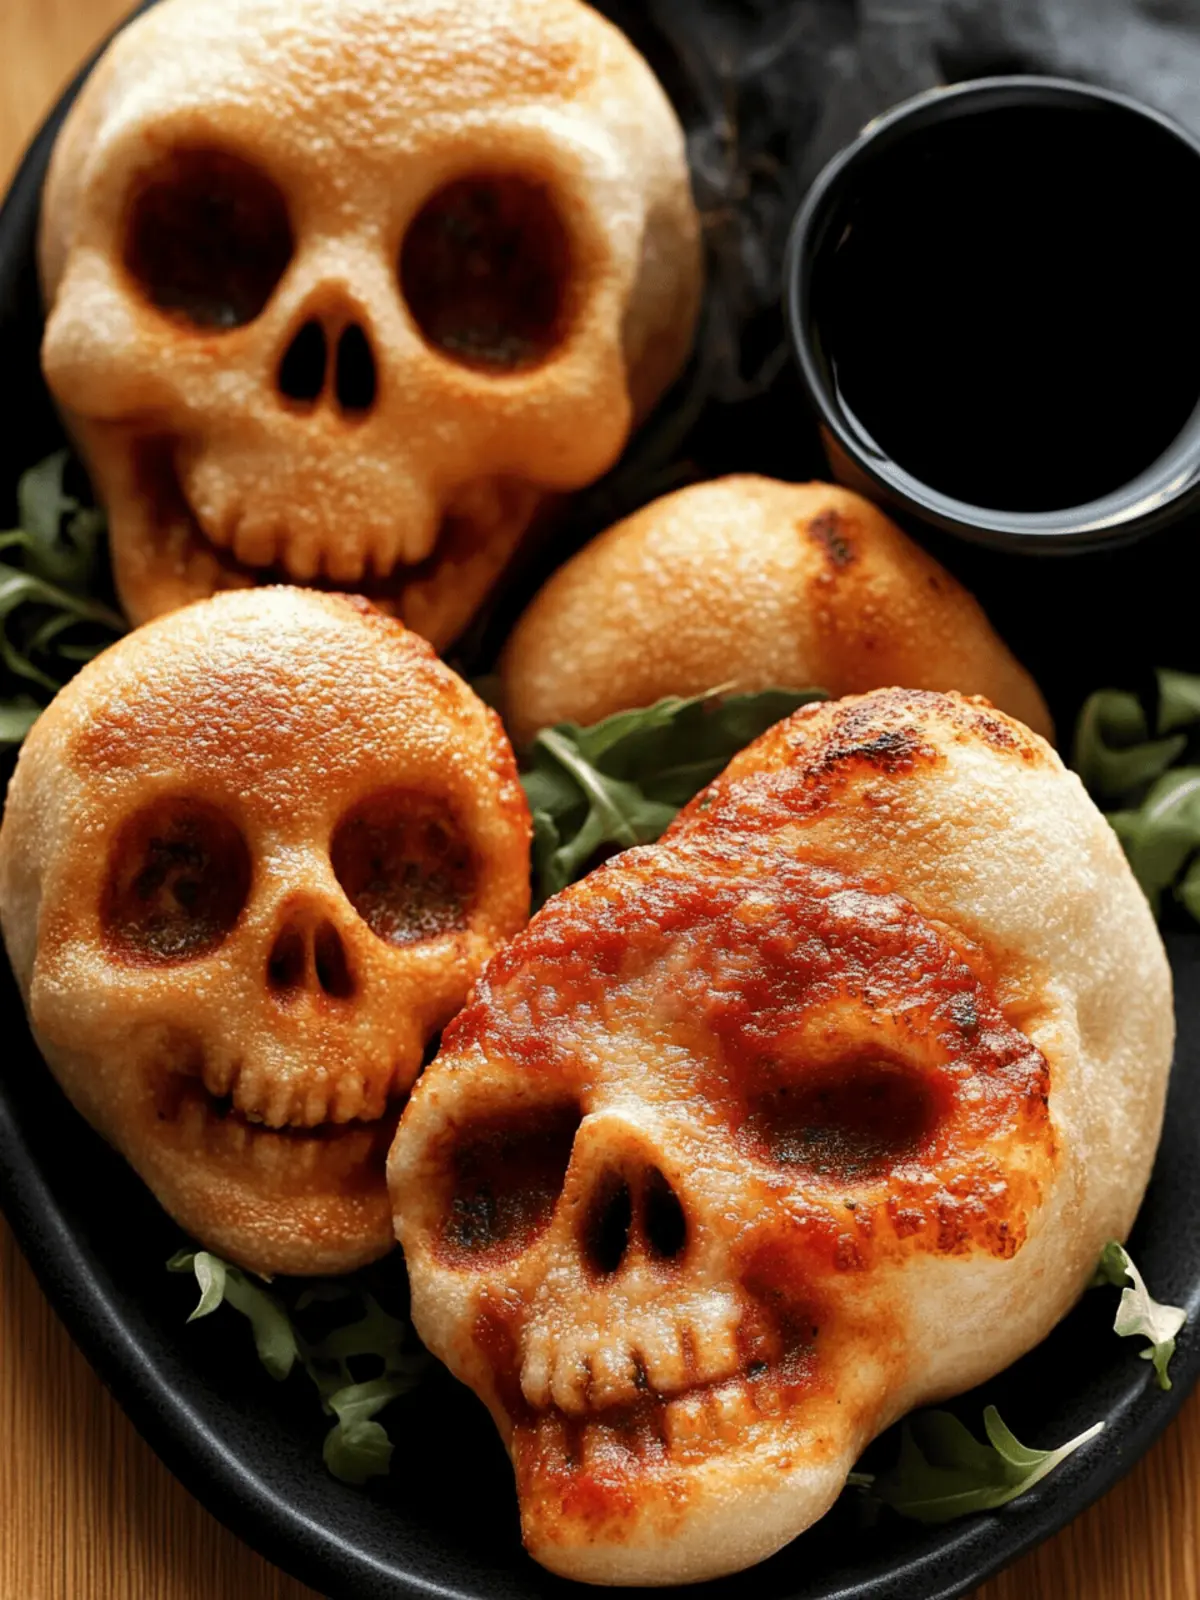
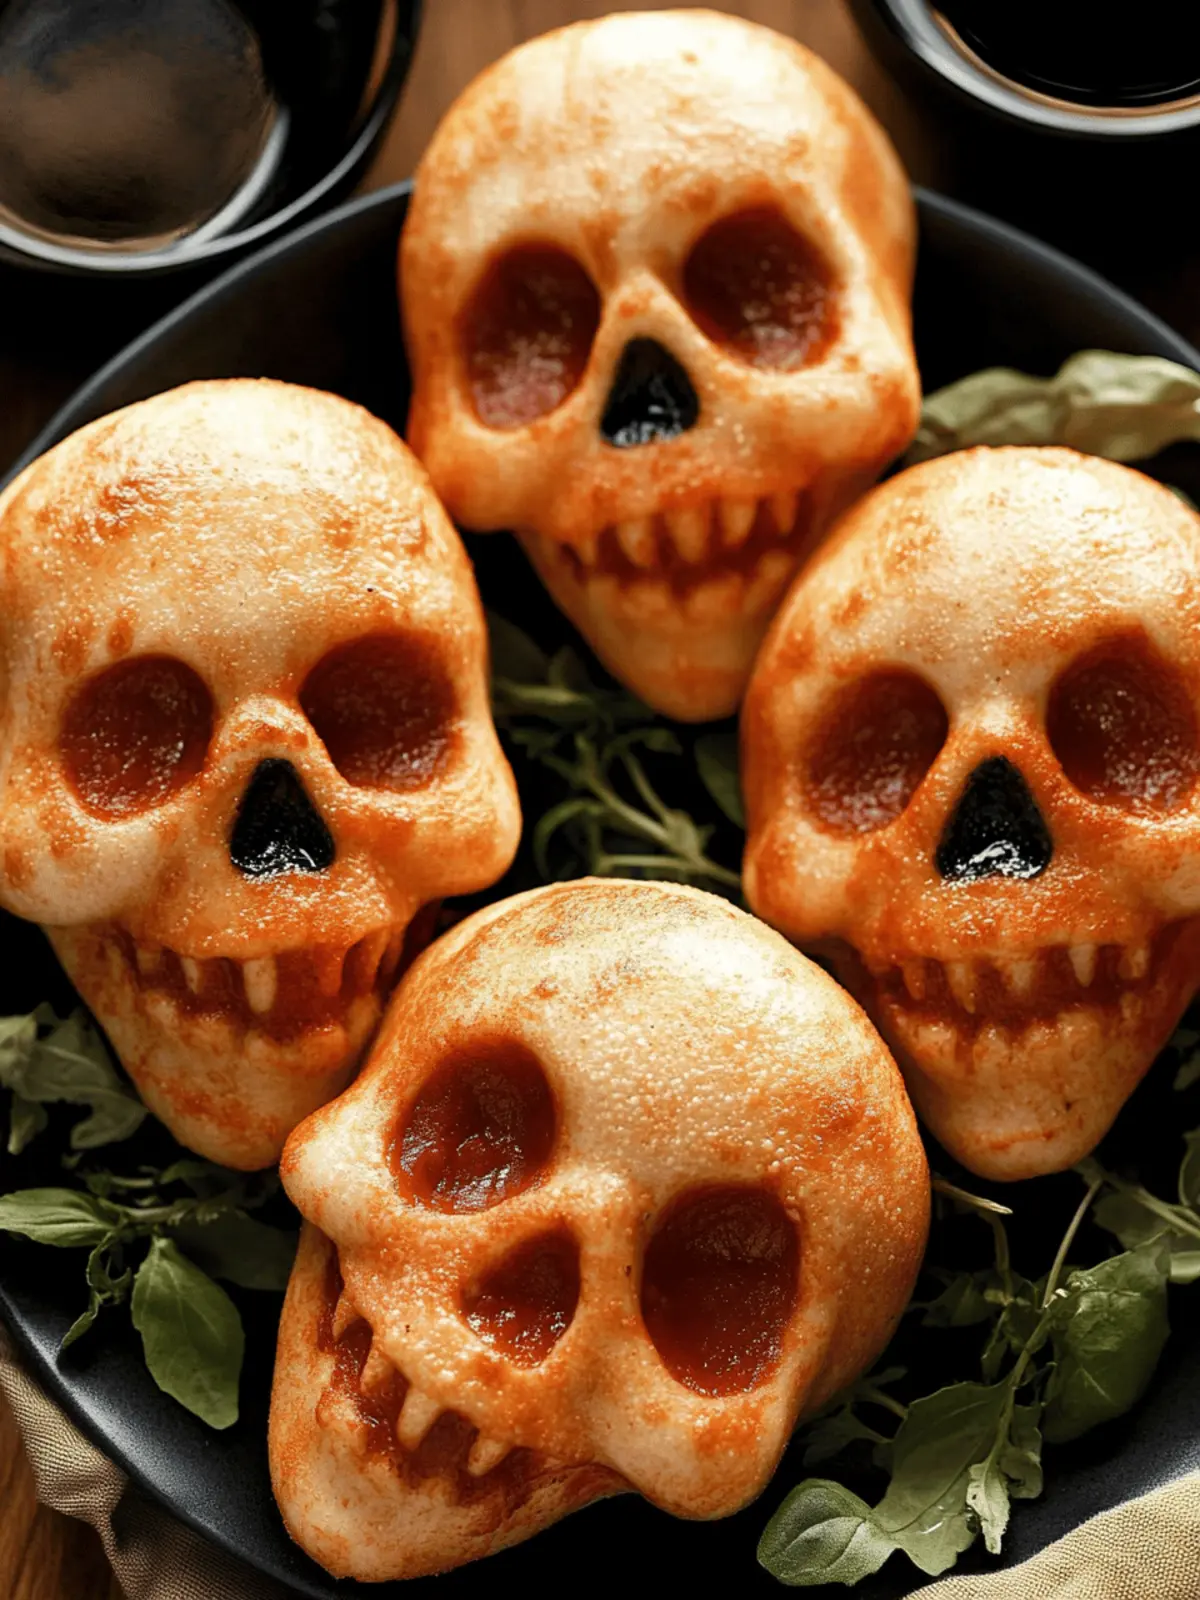
As the air turns crisp and leaves begin to dance to the ground, I find myself yearning for those cozy, festive flavors that October brings. Picture this: a gathering of friends, laughter echoing in the kitchen, and the smell of melted cheese melting into warm pizza dough. Enter my Cheesy Halloween Pizza Skulls! These whimsical treats are not only an adorable homage to the spooky season, but they also offer an enticing canvas for your favorite fillings. Whether it’s gooey cheese, spicy pepperonis, or vibrant veggies, the customizable nature of these pizza skulls makes them perfect for everyone at the table. With their crispy exterior and steaming interior, they’re sure to be the highlight of your Halloween celebration—especially when served with a rich marinara dip. So roll up your sleeves, grab your mini skull baking tin, and let’s create a deliciously haunting experience that will delight both kids and adults alike!
Why Love These Halloween Pizza Skulls?
Cheesy Halloween Pizza Skulls bring a playful twist to traditional pizza.
- Customizable fillings mean you can cater to everyone’s tastes—load them up with your favorite toppings!
- Kid-friendly fun: crafting these spooky delights is an engaging activity for little chefs.
- Perfect for parties: their unique shape and shareable size make them a crowd-pleasing hit.
- Easy to prepare, you’ll enjoy minimal hassle in the kitchen while maximizing flavor and fun.
- Deliciously versatile: whether you make them savory or slightly sweet, the possibilities are endless!
Enjoy a spooky treat that everyone will adore!
Halloween Pizza Skulls Ingredients
• Get ready to craft these delightful treats!
-
For the Dough
-
Pre-made Pizza Dough – A convenient base for shaping those spooky skulls; feel free to use homemade dough or crescent dough for a different twist.
-
For the Sauce
-
Pizza Sauce (3/4 to 1 cup) – Lends essential flavor and moisture, and you can swap it with your favorite marinara.
-
For the Cheesy Filling
-
Shredded Mozzarella (2 cups) – Delivers that classic, stretchy cheese goodness that everyone loves.
-
Parmesan Cheese (1/4 cup) – Adds a rich, savory note that enhances the overall flavor profile.
-
For the Savory Add-ins
-
Cooked Sausage (8 ounces) – Boosts protein and flavor; substitute with your choice of meat or omit for a vegetarian version.
-
Mini Pepperoni (6 ounces) – A classic topping that adds fun and flavor.
-
Black Olives – For a briny kick that balances the richness of the cheese.
-
Sliced Ham – Introduces a deliciously smoky flavor to your filling.
-
Crispy Bacon – Adds satisfying crunch and an extra layer of flavor.
-
Mini Italian Meatballs – An alternative protein option that’s great for meat lovers.
-
For a Touch of Sweetness
-
Cooked Corn Kernels – Brings a hint of sweetness that pairs beautifully with savory elements.
-
For Freshness
-
Baby Spinach / Fresh Basil – Adds vibrant color and nutritious appeal to your pizza skulls.
-
Chopped Parsley or Basil – Use for garnish, enhancing taste and visual charm.
-
For Dipping
-
Marinara Sauce (for dipping) – This pairs perfectly with your baked skulls, complementing all those delicious flavors.
These Halloween Pizza Skulls are sure to become a family favorite, allowing for endless creativity in your kitchen!
How to Make Cheesy Pizza Skulls
-
Prepare the Skull Pan: Spray your mini skull baking tin with cooking spray to ensure easy removal later. This step is crucial for achieving those perfect, spooky shapes!
-
Roll the Dough: Dust your work surface with flour and roll out the pre-made pizza dough to about 1/4 inch thick. Cut the dough into 6 rectangles to fit into the skull cavities.
-
Assemble the Pockets: Place each rectangle in the skull cavity, then layer pizza sauce, shredded mozzarella, Parmesan, and your choice of toppings. Don’t forget a spoonful of sauce before sealing for extra flavor!
-
Seal the Dough: Fold the top of the dough over the fillings and pinch the edges together securely to keep all that goodness inside while it bakes.
-
Preheat Oven: Refrigerate the filled molds while preheating your oven to 400°F. This helps the dough firm up a bit before baking.
-
Bake: Place the molds in the oven and bake for 16-20 minutes or until they turn a lovely golden brown. Keep an eye on them; they should smell divine!
-
Cool and Serve: Let the skulls cool for about 5 minutes before gently unmolding them. Serve warm with marinara sauce and garnish with fresh parsley or basil for a pop of color.
Optional: For extra flavor, serve with ranch or garlic butter for dipping.
Exact quantities are listed in the recipe card below.
Make Ahead Options
These Cheesy Halloween Pizza Skulls are perfect for busy home cooks looking to save time during the festive season! You can prepare the skulls up to 24 hours in advance by assembling them and sealing them tightly before refrigerating. Make sure to keep the assembled pizza skulls in an airtight container to maintain their quality overnight. When ready to bake, simply preheat your oven to 400°F and pop them in for about 16-20 minutes. This way, you can enjoy delicious and freshly baked pizza skulls with minimal effort come party time, delighting your guests with scrumptious flavors and a memorable Halloween experience!
What to Serve with Cheesy Halloween Pizza Skulls?
For a festive and fun meal experience, consider pairing these playful Pizza Skulls with delightful sides and beverages that enhance the overall treat.
- Fresh Garden Salad: A colorful mix of greens, tomatoes, and cucumbers with a light vinaigrette balances the richness of the cheesy skulls perfectly.
- Garlic Breadsticks: Their buttery, garlic-kissed flavor complements the vibrant pizza taste, adding a satisfying crunch to your Halloween spread.
- Spooky Fruit Platter: An assortment of seasonal fruits like orange slices and blackberries, arranged into ghoulish shapes, brings a refreshing and sweet contrast to the savory skulls.
- Pumpkin Soup: This warm, creamy soup not only warms the belly but also ties in the fall theme beautifully while providing a cozy addition to your meal.
- Crispy Potato Wedges: Seasoned with herbs or spices, these golden wedges deliver both texture and flavor, making them an irresistible companion for the skulls.
- Halloween Punch: A fun and colorful drink, perhaps with floating “eyeballs” made from lichees and blueberries, keeps the festive spirit alive and quenches everyone’s thirst.
- Caramel Apple Slices: These sweet, sticky treats provide a nice dessert option following the meal, finishing off the seasonal theme with a touch of nostalgia.
With these pairing ideas, your Halloween gathering is sure to be a deliciously memorable one!
Halloween Pizza Skulls Variations
Explore exciting ways to tailor these delightful pizza skulls to your taste!
- Veggie Delight: Swap meat toppings for your favorite sautéed veggies like bell peppers, mushrooms, and zucchini for a fresh twist.
- Spicy Kick: Add sliced jalapeños or crushed red pepper flakes to ramp up the heat level and awaken your taste buds.
- Cheesy Blend: Mix different cheeses such as cheddar, gouda, or feta with the mozzarella for a flavor explosion in every bite.
- Herb Infusion: Incorporate fresh herbs like oregano or thyme into the fillings for an aromatic lift that tantalizes the senses.
- Dough Alternatives: Use whole wheat dough, gluten-free options, or even puff pastry for a delightful change in texture and flavor.
- Sweet Surprise: Create a dessert version by substituting savory fillings for sweet options like chocolate chips or Nutella and serve with caramel sauce.
- Protein Power: Try shredded chicken, turkey, or tofu as alternative protein sources for diverse dietary preferences.
- Umami Boost: Add sun-dried tomatoes or pesto to your filling for an enchanting depth of flavor that steals the show!
Let your creativity run wild and make these Halloween Pizza Skulls uniquely yours!
How to Store and Freeze Halloween Pizza Skulls
Fridge: Store your assembled Halloween Pizza Skulls in an airtight container for up to 3 days. Make sure they are cooled completely before sealing to avoid moisture buildup.
Freezer: For long-term storage, freeze the unbaked pizza skulls on a baking sheet until solid, then transfer to a freezer bag for up to 3 months. Bake them straight from frozen, adding a few extra minutes to the cooking time.
Reheating: If you’ve baked them ahead of time, reheat your pizza skulls in a 350°F oven for about 10-15 minutes to restore their crispy exterior before serving.
Make-Ahead Tips: These Halloween Pizza Skulls can be assembled a day in advance, making them perfect for easy entertaining. Just store them in the fridge until you’re ready to bake!
Expert Tips for Halloween Pizza Skulls
-
Dough Consistency: Ensure your pizza dough isn’t too sticky; dust with flour as needed to prevent sticking during rolling and assembly.
-
Filling Balance: Avoid overfilling your Halloween Pizza Skulls. Too much filling can cause them to spill over while baking, ruining the spooky design.
-
Pan Type Matters: Prefer metal baking pans over silicone ones. Metal distributes heat better, ensuring even browning for your pizza skulls.
-
Creative Fillings: Don’t hesitate to experiment! Use different cheeses or sautéed veggies to customize your skulls, making them unique for every gathering.
-
Prep Ahead: Preparing the skulls a day in advance can save you time on party day! Just store them in the fridge and bake when needed.
Cheesy Halloween Pizza Skulls Recipe FAQs
How do I know if my pizza dough is fresh?
Absolutely! When selecting pre-made pizza dough, look for packaging dates and choose the freshest option available. The dough should be pliable without any dark spots or overly dry areas. If you’re using homemade dough, make sure it has risen well and has a pleasant yeasty smell.
What is the best way to store leftover pizza skulls?
Very good question! For storing your Halloween Pizza Skulls, place them in an airtight container. In the fridge, they’ll keep for up to 3 days. Make sure they’re completely cooled before sealing, to prevent moisture from making them soggy. If you have any uneaten skulls, it’s best to enjoy them fresh!
Can I freeze the Halloween Pizza Skulls? How should I do it?
Indeed, you can! To freeze your unbaked Pizza Skulls, first arrange them on a baking sheet and freeze until solid. Then, transfer them to a freezer bag, squeezing out excess air. They’ll keep well for up to 3 months. When you’re ready to bake them, there’s no need to thaw—just add a few extra minutes to the baking time.
What should I do if my pizza skulls are spilling over while baking?
Don’t worry! If your skulls are overflowing, it often means you’ve overfilled them with goodies. For the next batch, check that you’re using just the right amount of toppings—about a spoonful should do it. Additionally, make sure the skull cavities are well-sealed when you pinch the dough edges together before baking.
Are there any allergy considerations with these Halloween Pizza Skulls?
Yes, indeed! When customizing your Pizza Skulls, consider common allergens such as dairy and gluten. You can easily make these gluten-free by using a gluten-free pizza dough. For dairy-free options, consider vegan cheese alternatives. Always inform your guests about the ingredients used to ensure a safe eating experience!

Cheesy Halloween Pizza Skulls You Can Customize for Fun
Ingredients
Equipment
Method
- Prepare the Skull Pan: Spray your mini skull baking tin with cooking spray.
- Roll the Dough: Dust your surface with flour and roll out the pizza dough to about 1/4 inch thick.
- Assemble the Pockets: Place each rectangle in the skull cavity and layer with pizza sauce and fillings.
- Seal the Dough: Fold the top of the dough over the fillings and pinch edges together.
- Preheat Oven: Refrigerate the filled molds while preheating your oven to 400°F.
- Bake: Place molds in the oven and bake for 16-20 minutes until golden brown.
- Cool and Serve: Let the skulls cool for about 5 minutes before unmolding and serve with marinara sauce.


