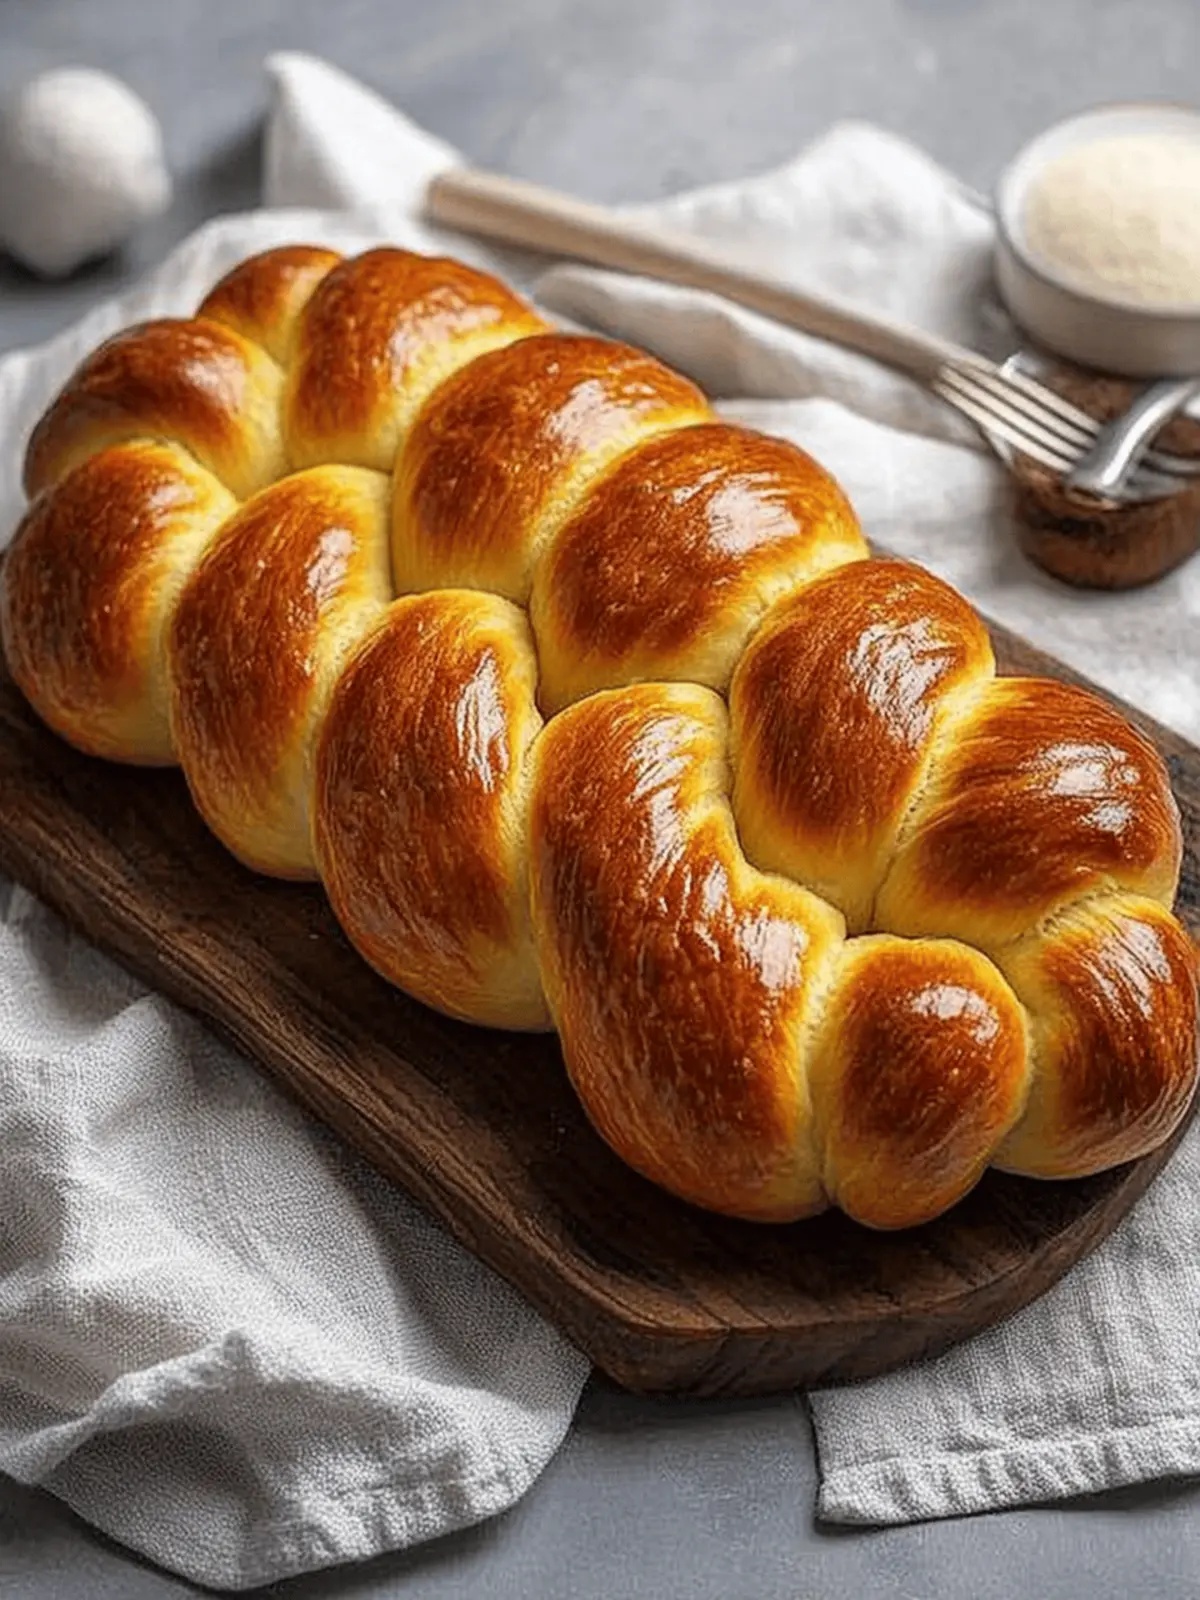
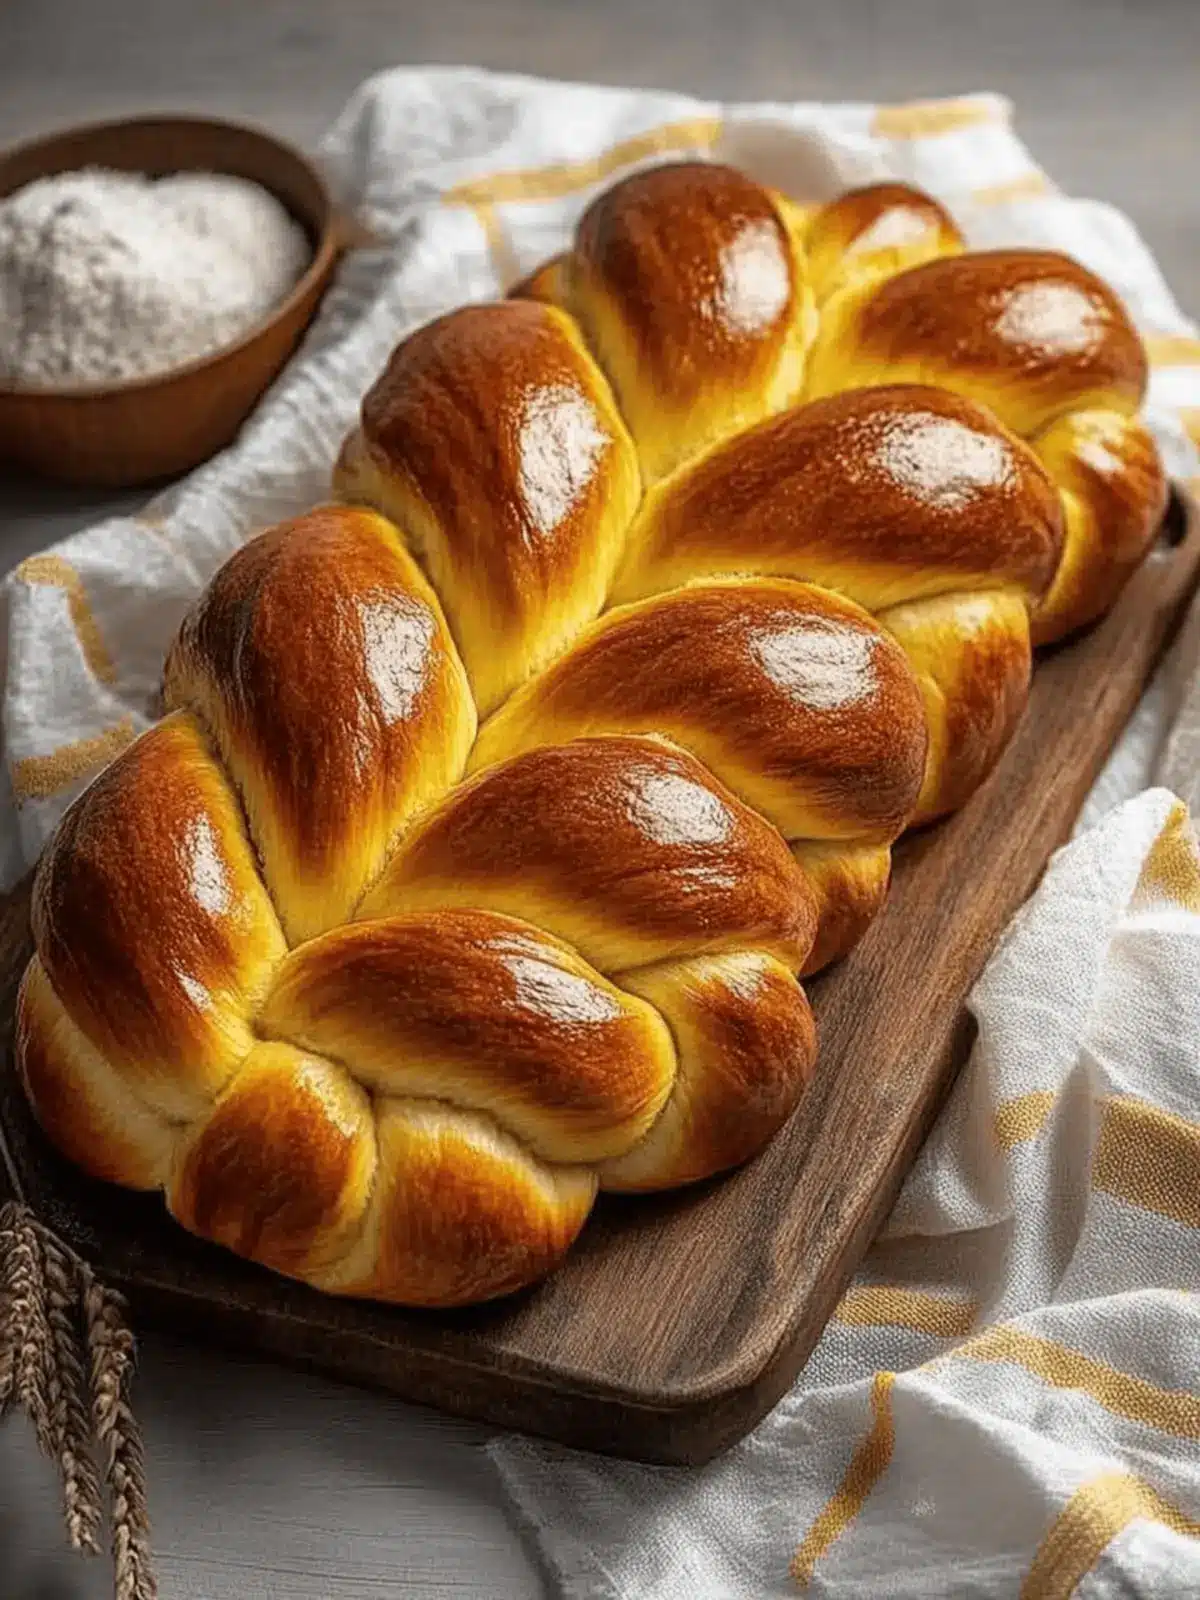
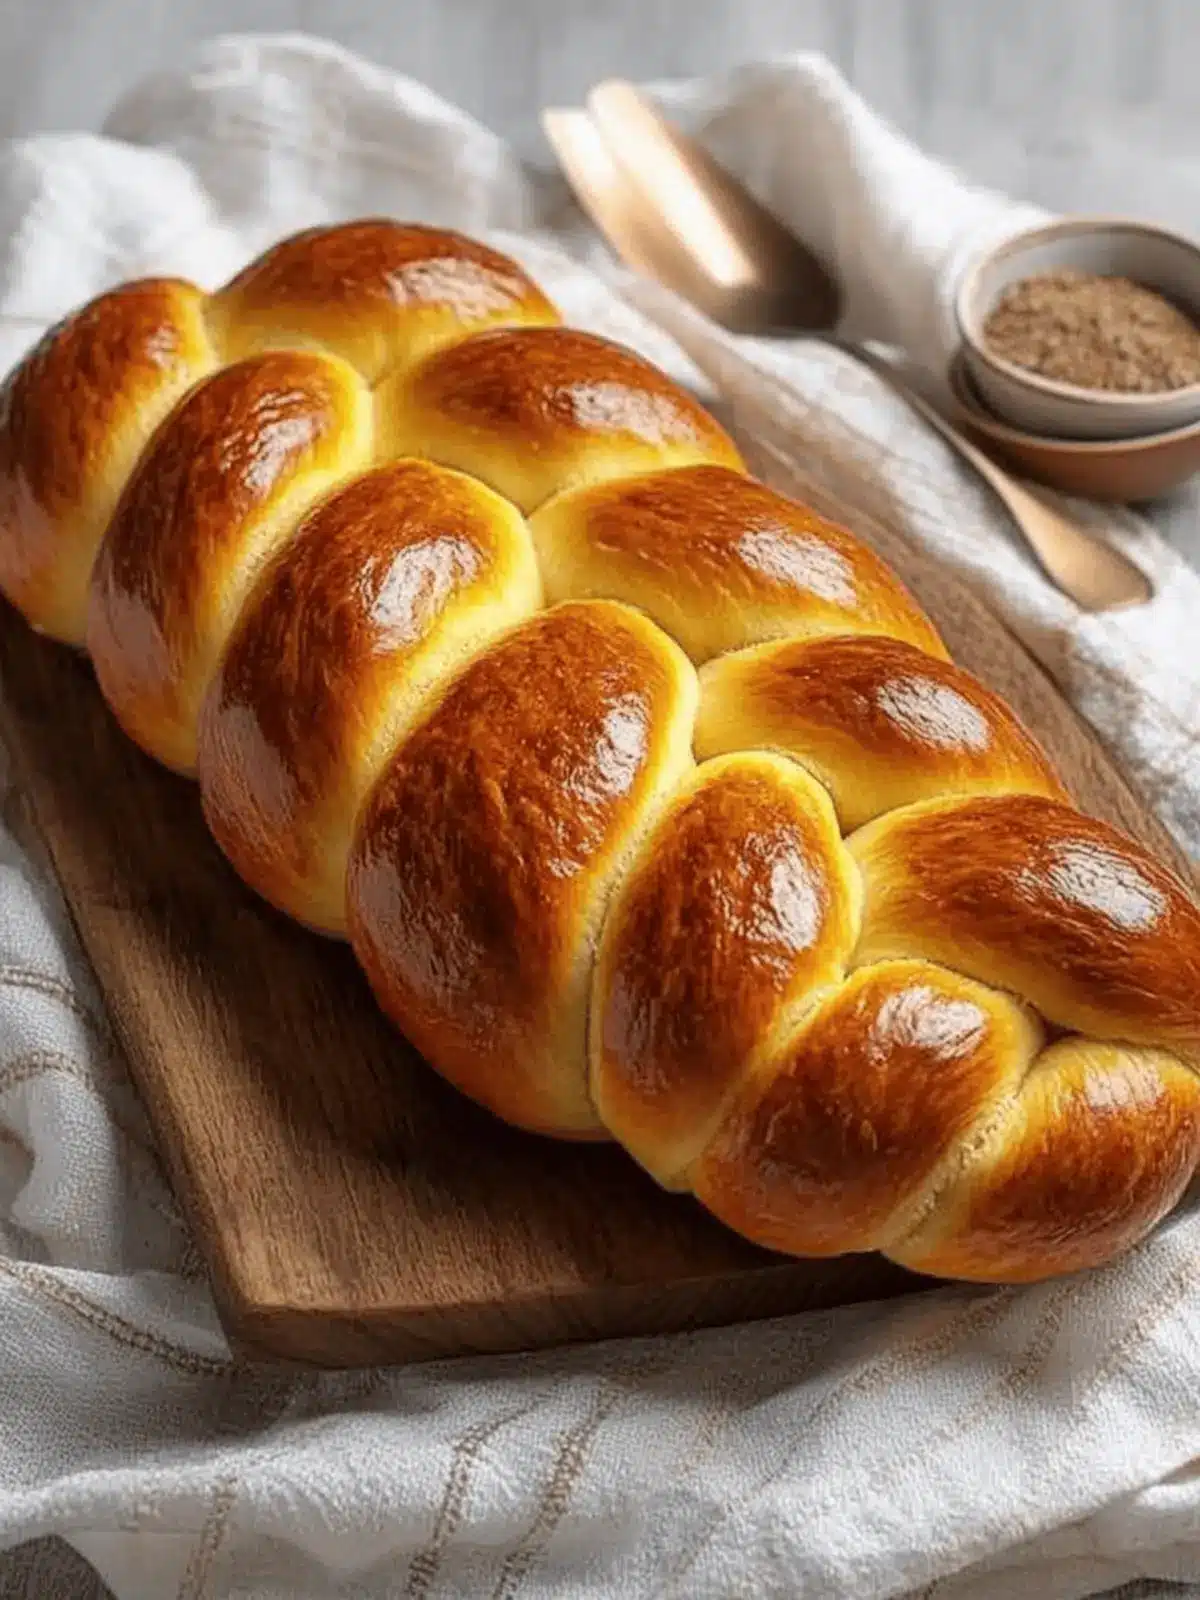
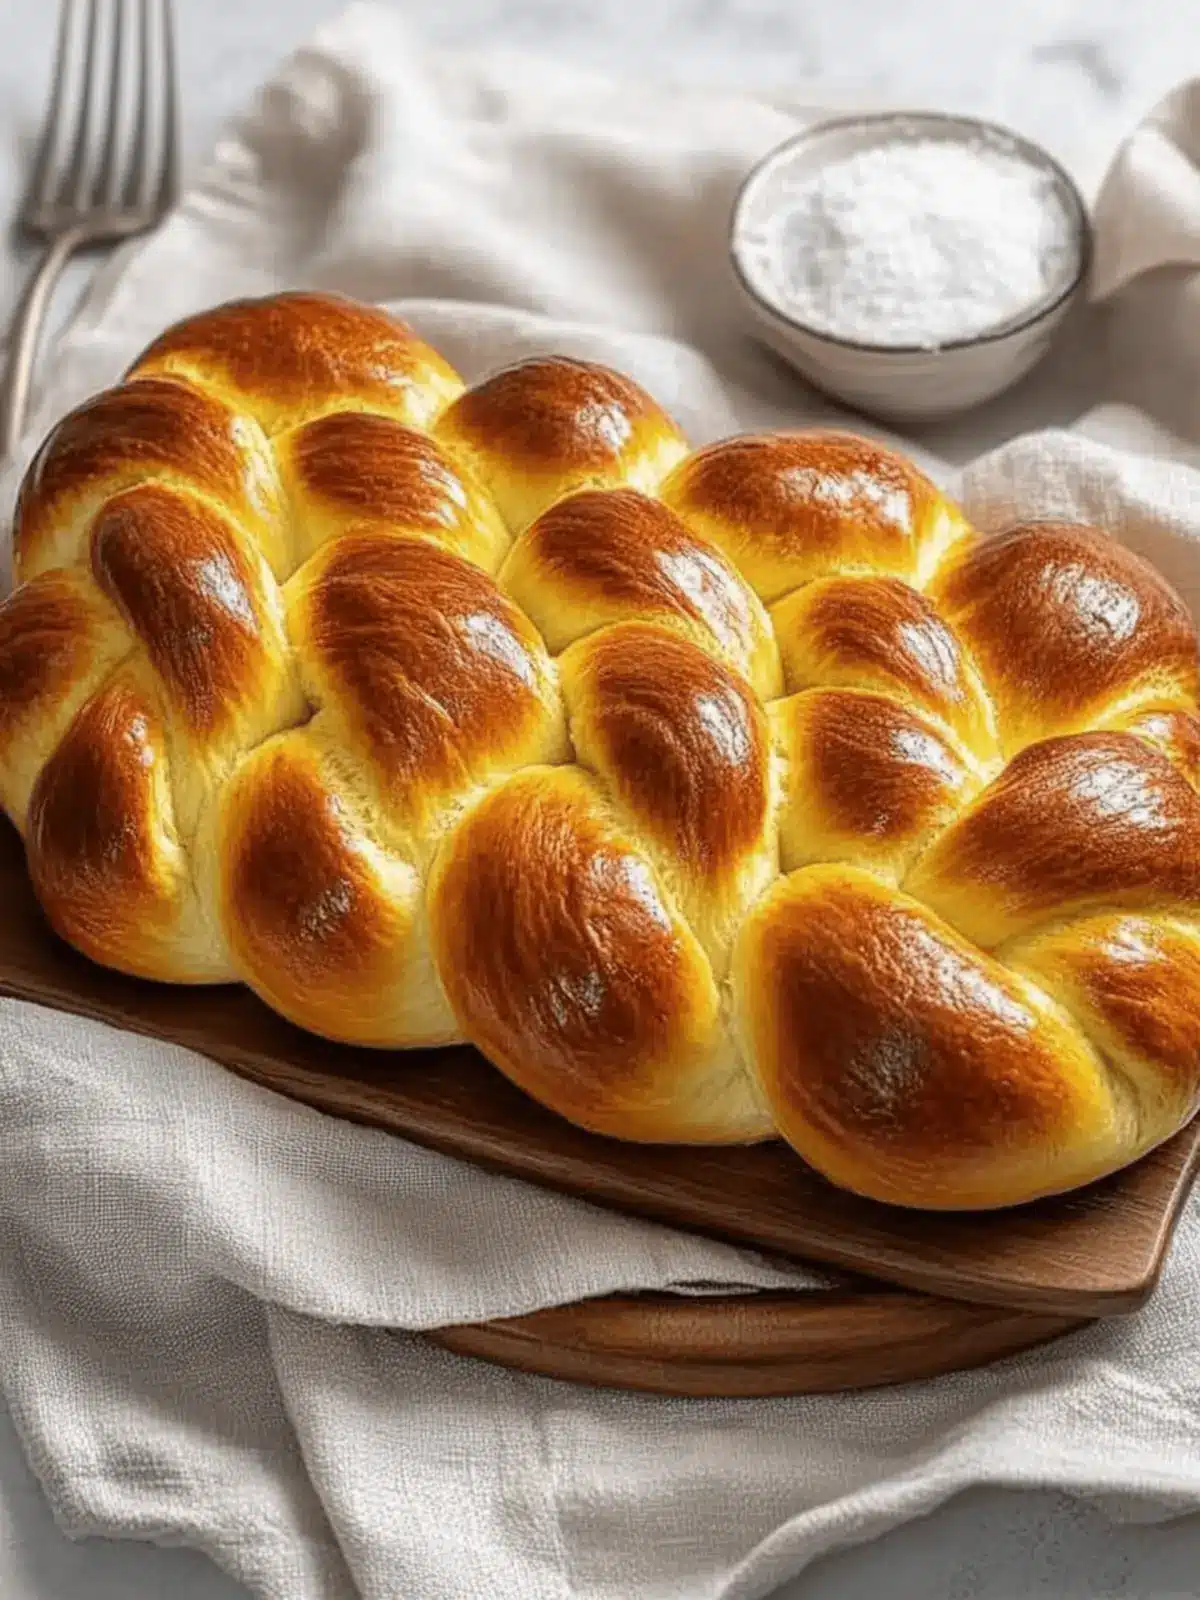
There’s something truly enchanting about the process of making Challah bread. As I knead the dough, the delicate scent of yeast mingling with the sweetness from the sugar fills my kitchen, transforming it into a haven of warmth and comfort. It’s a recipe that invites patience and love, rewarding you with a beautifully braided loaf that looks as impressive as it tastes.
This traditional Jewish bread, with its golden-brown crust and soft, pillowy interior, is not just about satiating hunger; it’s steeped in culture and celebration. Whether it’s for a festive holiday gathering or a cozy family dinner, crafting Challah from scratch is an experience that transcends the mundane, reminding us of shared moments and cherished traditions.
With just a few ingredients and some simple braiding techniques, you’ll not only impress your guests but also delight in the rich, eggy flavor reminiscent of brioche. So roll up your sleeves, and let’s bring home the spirit of togetherness and joy with this delightful bread!
Why is Challah a Must-Try Recipe?
Tradition: Challah is steeped in rich Jewish culture, making it perfect for celebrations.
Versatile: Enjoy it fresh, transform leftovers into French toast, or serve it alongside meats.
Easy Techniques: With simple braiding and kneading methods, anyone can master this delightful bread.
Nostalgic Aroma: Filling your kitchen with the sweet scent of yeast creates a cozy atmosphere
Crowd-Pleaser: Its stunning appearance and soft texture make it a hit with family and friends.
Making homemade Challah is not just about the bread—it’s about crafting memories. Don’t miss the chance to create something truly special!
Challah Bread Ingredients
• This list covers everything you’ll need to create a delightful homemade Challah!
For the Dough
- Active Dry Yeast – Essential for leavening; always use fresh yeast for the best rise.
- Warm Water – Activates the yeast; should be between 110° to 115°F for optimal results.
- Canola Oil – Provides moisture without dairy, perfect for kosher meals.
- Sugar – Sweetens and nourishes the yeast, enhancing fermentation.
- Salt – Improves flavor and regulates yeast activity to prevent over-proofing.
- Eggs – Essential for structure and richness, lending a beautiful golden hue to the loaf.
- All-Purpose Flour – Forms the dough base; adjust according to humidity for the perfect texture.
For the Egg Wash
- 1 egg + 1 tsp cold water – This mixture gives the bread its shiny, golden crust.
Optional Toppings
- Sesame or Poppy Seeds – Sprinkle these on top for added flavor and decoration, if desired.
With these ingredients at your fingertips, you’re well on your way to creating a magnificent loaf of challah that will surely impress!
How to Make Challah
-
Proof Yeast: Dissolve the active dry yeast in warm water, letting it sit until frothy (about 5 minutes). This helps to activate the yeast for perfect rising.
-
Mix Ingredients: In a large bowl, combine the proofed yeast with canola oil, sugar, salt, eggs, and 4 cups of flour. Mix until smooth and well-combined.
-
Knead Dough: Gradually add more flour to create a firm dough. Knead for 6-8 minutes until the dough is smooth and elastic—this enhances the texture of your challah.
-
First Rise: Transfer the dough to a greased bowl, cover it, and place it in a warm area. Let it rise until doubled in size (about 1 hour). A cozy spot helps achieve the best results.
-
Shape Dough: Once risen, punch down the dough gently, divide it into 6 pieces, then roll each piece into a 15-inch rope. Braid three ropes together to form each loaf, being gentle to keep that airy texture.
-
Second Rise: Place the braided loaves on a greased baking sheet, cover them, and allow them to rise again until doubled in size (about 1 hour). This second rise is crucial for a fluffy bread.
-
Preheat Oven: Preheat your oven to 350°F, getting ready for baking while the dough is rising.
-
Prepare Egg Wash: In a small bowl, mix the egg and cold water. Brush this mixture over the braided loaves for a glossy, golden crust. Sprinkle sesame or poppy seeds on top if you like.
-
Bake: Bake your challah in the preheated oven until it’s golden brown, about 30-40 minutes. The heavenly aroma will fill your kitchen as it bakes!
-
Cool: Once baked, remove the challah from the oven and allow it to cool on a wire rack. This step helps preserve that perfect texture.
Optional: For extra flair, serve your challah with honey or jam for a delightful treat!
Exact quantities are listed in the recipe card below.
Challah Variations & Substitutions
Transform your Challah into something uniquely yours with these delightful twists!
- Dairy-Free: Substitute canola oil with almond or coconut oil for a different flavor while keeping it dairy-free.
- Whole Wheat: Swap half the all-purpose flour for whole wheat flour to add extra nutrients and a nutty taste. Remember, it may alter the texture slightly but will increase its health benefits!
- Sweet Add-ins: Mix in chocolate chips or dried fruits like cranberries or apricots for bursts of sweetness throughout the bread. Your guests will be pleasantly surprised by each delicious bite!
- Savory Touch: Add herbs such as rosemary or thyme to the dough for a savory version that’s perfect for accompanying soups or stews. This twist elevates the simple challah into a sophisticated bread!
- Egg-Free: To create a vegan version, replace eggs with a flaxseed meal mixture (1 tbsp flaxseed meal mixed with 2.5 tbsp water for each egg) to maintain moistness.
- Spiced Delight: Incorporate spices like cinnamon or nutmeg into the dough for a warm, autumn-inspired flavor that’s especially comforting on cooler days. This will fill your kitchen with an inviting aroma!
- Seed Variations: Try different toppings like sunflower seeds or sesame seeds for a crunchy texture and varied flavor profile. Experimenting can lead you to your next favorite combination!
- Braiding Styles: Combine multiple braiding techniques, like a four-strand braid for one loaf and a six-strand braid for another, to impress your family and friends with your creativity! Mixing braids adds an artistic touch to the table.
How to Store and Freeze Challah
Room Temperature: Store leftover challah in a bread box or a paper bag for up to 3 days to maintain its freshness and avoid staling.
Fridge: If you need to store challah for a longer period, you can keep it in the fridge for up to a week. Make sure it’s wrapped tightly to prevent it from drying out.
Freezer: For extended storage, freeze sliced or whole challah in an airtight container or freezer bag for up to 3 months. Thaw overnight in the fridge when ready to enjoy.
Reheating: To reheat, wrap slices in foil and warm in a 350°F oven for about 10 minutes or toast for a delightful, crisp texture.
Make Ahead Options
These Challah bread loaves are perfect for meal prep, making it easy to enjoy homemade goodness without all the last-minute hustle. You can prepare the dough up to 24 hours in advance by following steps 1-5 before the second rise. After shaping the braids, wrap them tightly in plastic wrap and refrigerate. Just remember to allow the dough to come back to room temperature before proceeding with the second rise (about 30 minutes). If you want to stretch your prep even further, you can freeze unbaked braided loaves for up to 3 months. When it’s time to bake, simply let them thaw overnight in the fridge and rise for 1 hour before applying the egg wash and baking. This way, your Challah will be just as delicious, saving you precious time on busy days!
Expert Tips for Perfect Challah
- Yeast Activation: Ensure the yeast is fresh and dissolved in warm water between 110° to 115°F; if it doesn’t froth, your dough won’t rise.
- Flour Adjustments: Depending on humidity, you may need to adjust the amount of flour. Ensure the dough is not too sticky for easy handling.
- Kneading Technique: Perform the windowpane test while kneading; the dough should stretch without tearing for the best texture.
- Rising Environment: Use a warm, draft-free area for rising to achieve optimal dough expansion, ensuring a light and fluffy challah.
- Braiding Variations: Don’t shy away from trying different braiding techniques—experimenting with 4 or 6 strands can create stunning visuals and textures.
What to Serve with Challah Bread?
Bring your homemade creation to the next level by pairing it with delightful accompaniments that enhance its flavor and enjoyability.
-
Creamy Chicken Soup: This warm, comforting soup is a tradition in many households. Its savory depth pairs beautifully with the soft sweetness of challah.
-
Honey or Jam: Drizzling a little honey or spreading your favorite jam adds a delicious sweetness. It highlights the bread’s flavors, creating a sublime breakfast treat.
-
Roasted Vegetables: The earthiness of roasted carrots, potatoes, and bell peppers balances challah’s rich texture, creating a symphony of flavor and color on your table.
-
Cheese Platter: Pair your challah with an assortment of cheeses. A sharp cheddar or creamy brie complements the bread’s eggy richness beautifully.
-
French Toast: Transform leftovers into a decadent breakfast by dipping slices in an egg mixture and frying until golden. Serve with syrup for a delightful twist!
-
Olive Oil and Balsamic Vinegar: For a simple yet elegant touch, serve slices with a dipping plate of olive oil and balsamic vinegar. The sharpness cuts through the sweetness of the bread.
-
Fresh Fruit Salad: Bright, juicy fruits add a refreshing contrast to the bread’s warm texture, making it a delightful side for any meal or brunch gathering.
Challah Bread Recipe FAQs
**What kind of yeast should I use for **Challah?
Absolutely! I recommend using active dry yeast, as it’s perfect for achieving that light, airy texture in your challah. Just be sure to check the expiration date for freshness, and activate it in warm water (110° to 115°F) until it’s frothy—this is crucial for a good rise!
**How should I store my leftover **Challah?
To keep your beautiful challah fresh, store it in a bread box or wrapped in a paper bag at room temperature for about 3 days. This will help prevent it from staling quickly. If you need to store it longer, you can place it in the refrigerator for up to a week—just be sure to wrap it tightly to stave off any dryness!
**Can I freeze **Challah? How do I do that?
Absolutely! Freezing is a great option if you want to enjoy your challah later. Start by slicing it if you prefer individual pieces; then wrap it tightly in plastic wrap and place it in an airtight container or freezer bag. This will keep it fresh for up to 3 months! When you’re ready to enjoy, simply thaw it overnight in the fridge and reheat in a 350°F oven for about 10 minutes until warm and delightful!
**What should I do if my *Challah* dough isn’t rising?**
If your dough isn’t rising, there are a couple of troubleshooting steps you can take. First, check that your yeast is active; if it didn’t froth in warm water, it may be dead. Also, ensure you’re allowing the dough to rise in a warm, draft-free spot. If you encounter sticky dough during kneading, it may need a little more flour until it’s smooth and elastic, passing the windowpane test!
**Is there anything I should consider for allergies when making **Challah?
Very! The main allergens in traditional challah are eggs and wheat. If you’re cooking for someone with egg allergies, you might try egg substitutes available on the market, though it will alter the texture slightly. It’s also best to use gluten-free flour if you’re accommodating a gluten intolerance—there are gluten-free flour blends designed for baking that can work well!

Master Homemade Challah: Easy Steps for Perfect Bread
Ingredients
Equipment
Method
- Proof Yeast: Dissolve the active dry yeast in warm water, letting it sit until frothy (about 5 minutes). This helps to activate the yeast for perfect rising.
- Mix Ingredients: In a large bowl, combine the proofed yeast with canola oil, sugar, salt, eggs, and 4 cups of flour. Mix until smooth and well-combined.
- Knead Dough: Gradually add more flour to create a firm dough. Knead for 6-8 minutes until the dough is smooth and elastic—this enhances the texture of your challah.
- First Rise: Transfer the dough to a greased bowl, cover it, and place it in a warm area. Let it rise until doubled in size (about 1 hour). A cozy spot helps achieve the best results.
- Shape Dough: Once risen, punch down the dough gently, divide it into 6 pieces, then roll each piece into a 15-inch rope. Braid three ropes together to form each loaf, being gentle to keep that airy texture.
- Second Rise: Place the braided loaves on a greased baking sheet, cover them, and allow them to rise again until doubled in size (about 1 hour). This second rise is crucial for a fluffy bread.
- Preheat Oven: Preheat your oven to 350°F, getting ready for baking while the dough is rising.
- Prepare Egg Wash: In a small bowl, mix the egg and cold water. Brush this mixture over the braided loaves for a glossy, golden crust. Sprinkle sesame or poppy seeds on top if you like.
- Bake: Bake your challah in the preheated oven until it’s golden brown, about 30-40 minutes. The heavenly aroma will fill your kitchen as it bakes!
- Cool: Once baked, remove the challah from the oven and allow it to cool on a wire rack. This step helps preserve that perfect texture.


