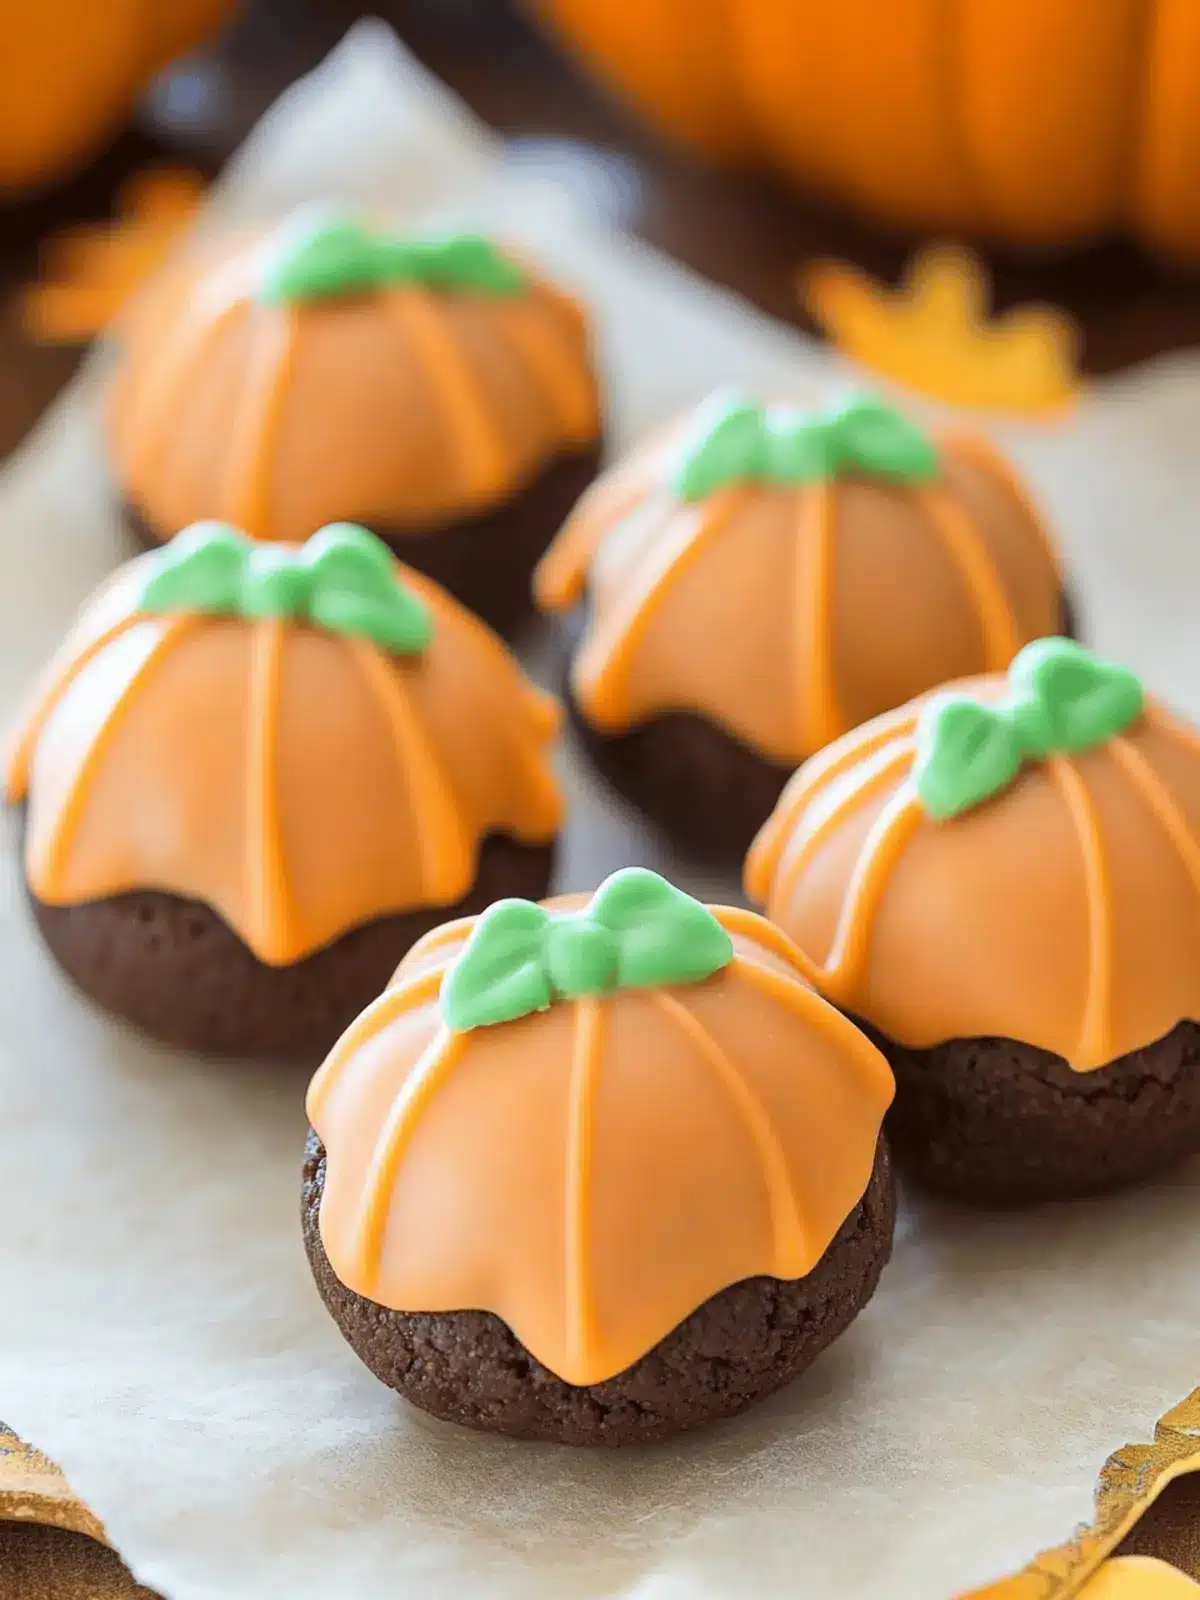
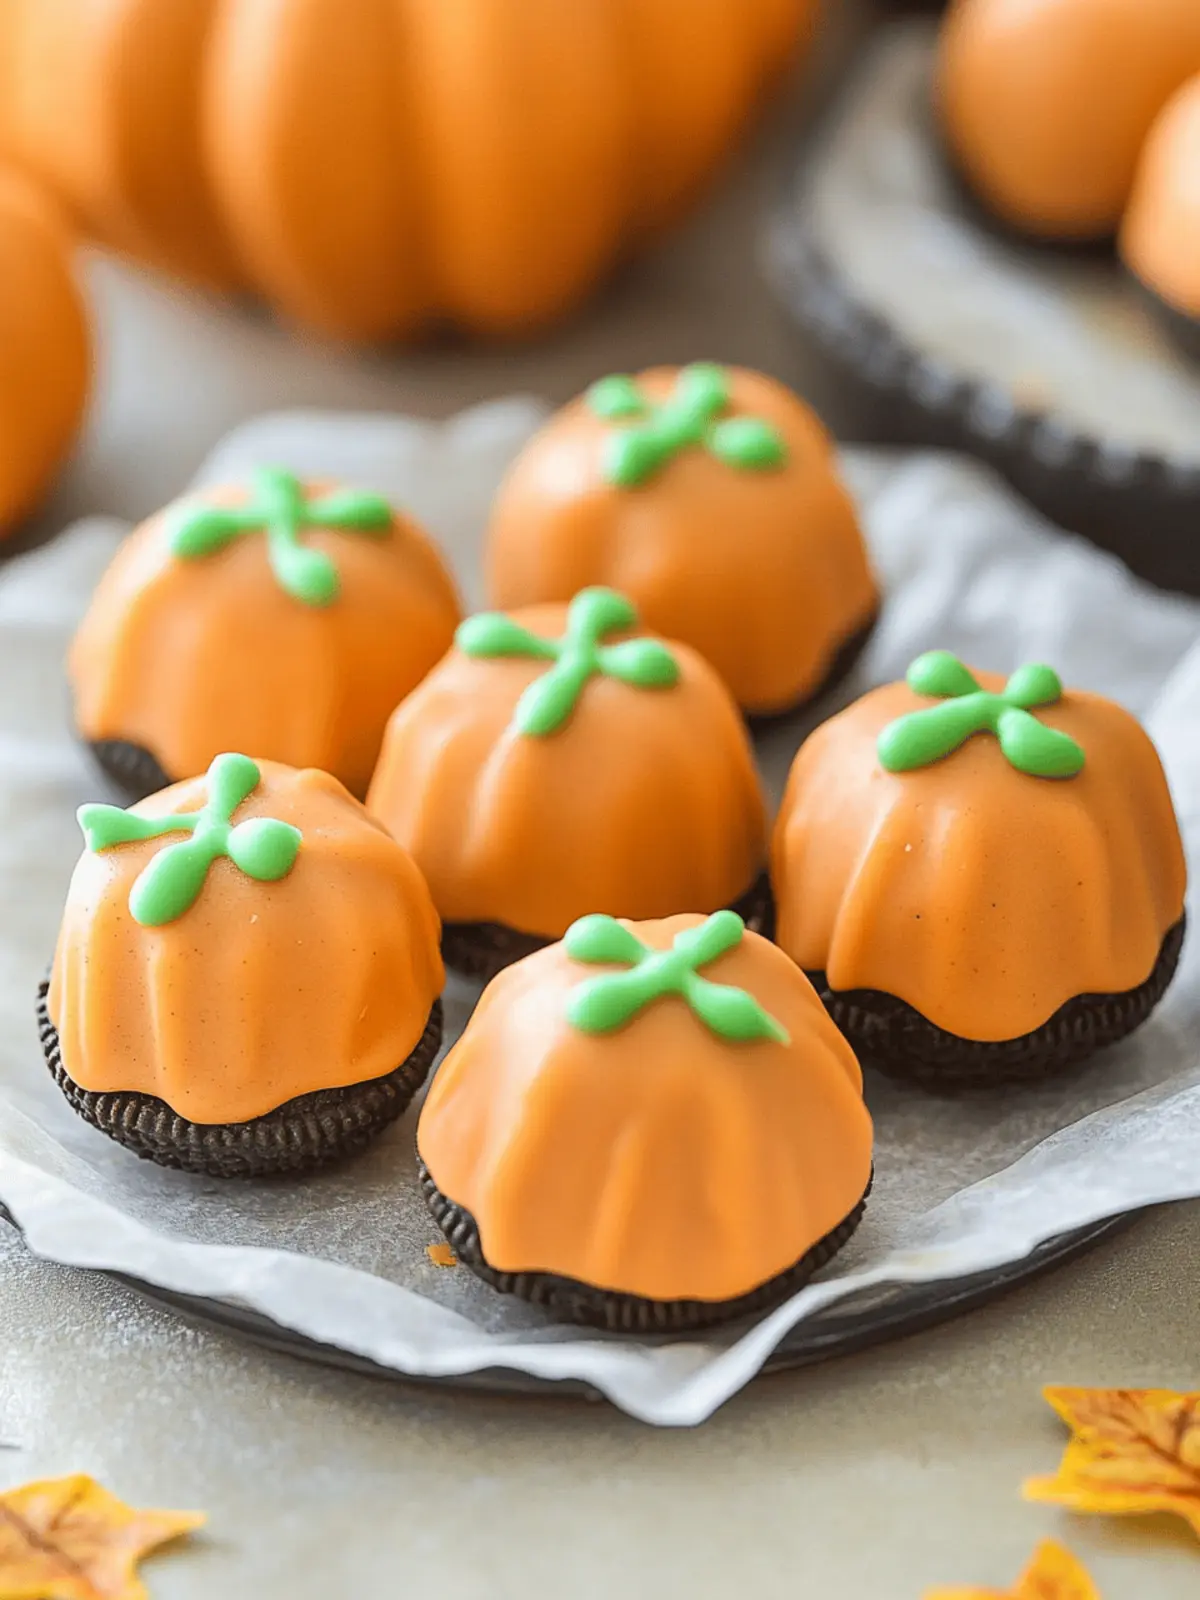
With the crispness of autumn filling the air and the vibrant hues of orange and gold all around, I couldn’t help but feel a wave of inspiration hit me one cozy afternoon. As I nestled into my kitchen, the idea of crafting something delightful emerged from a mix of nostalgia and creativity. Enter my Easy No-Bake Pumpkin Oreo Balls!
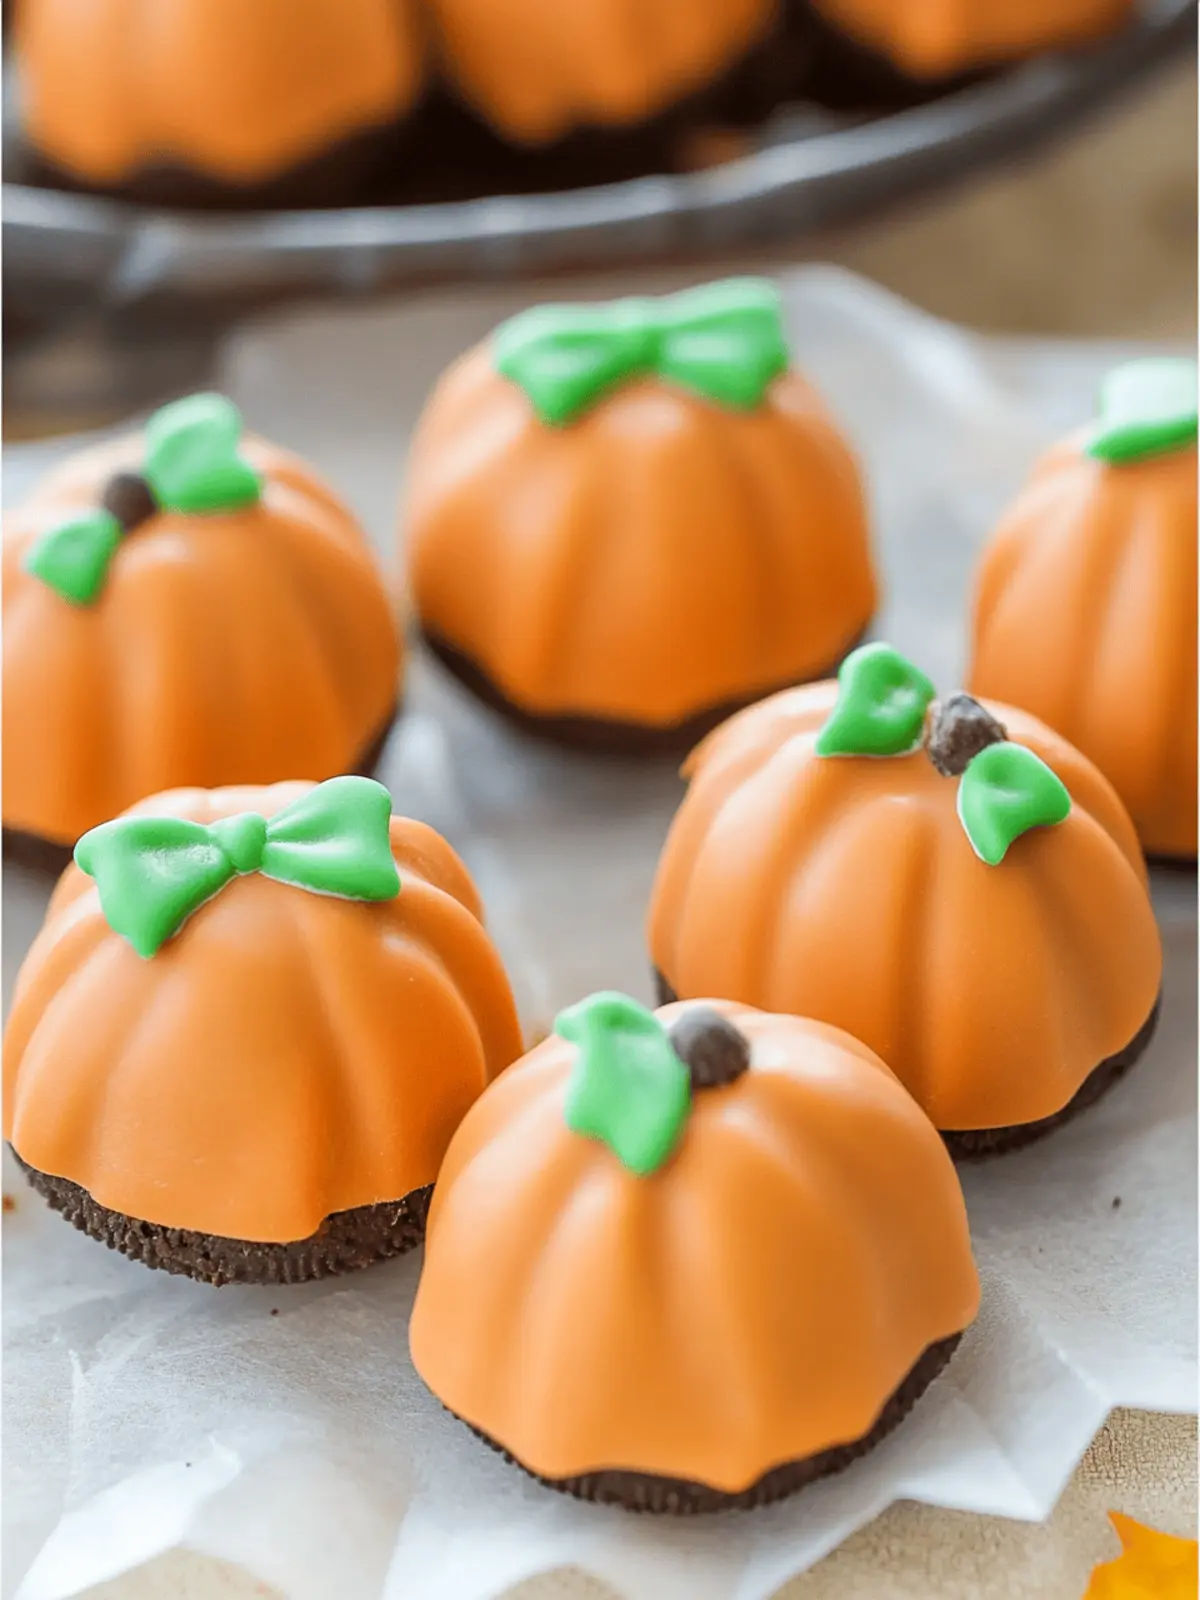
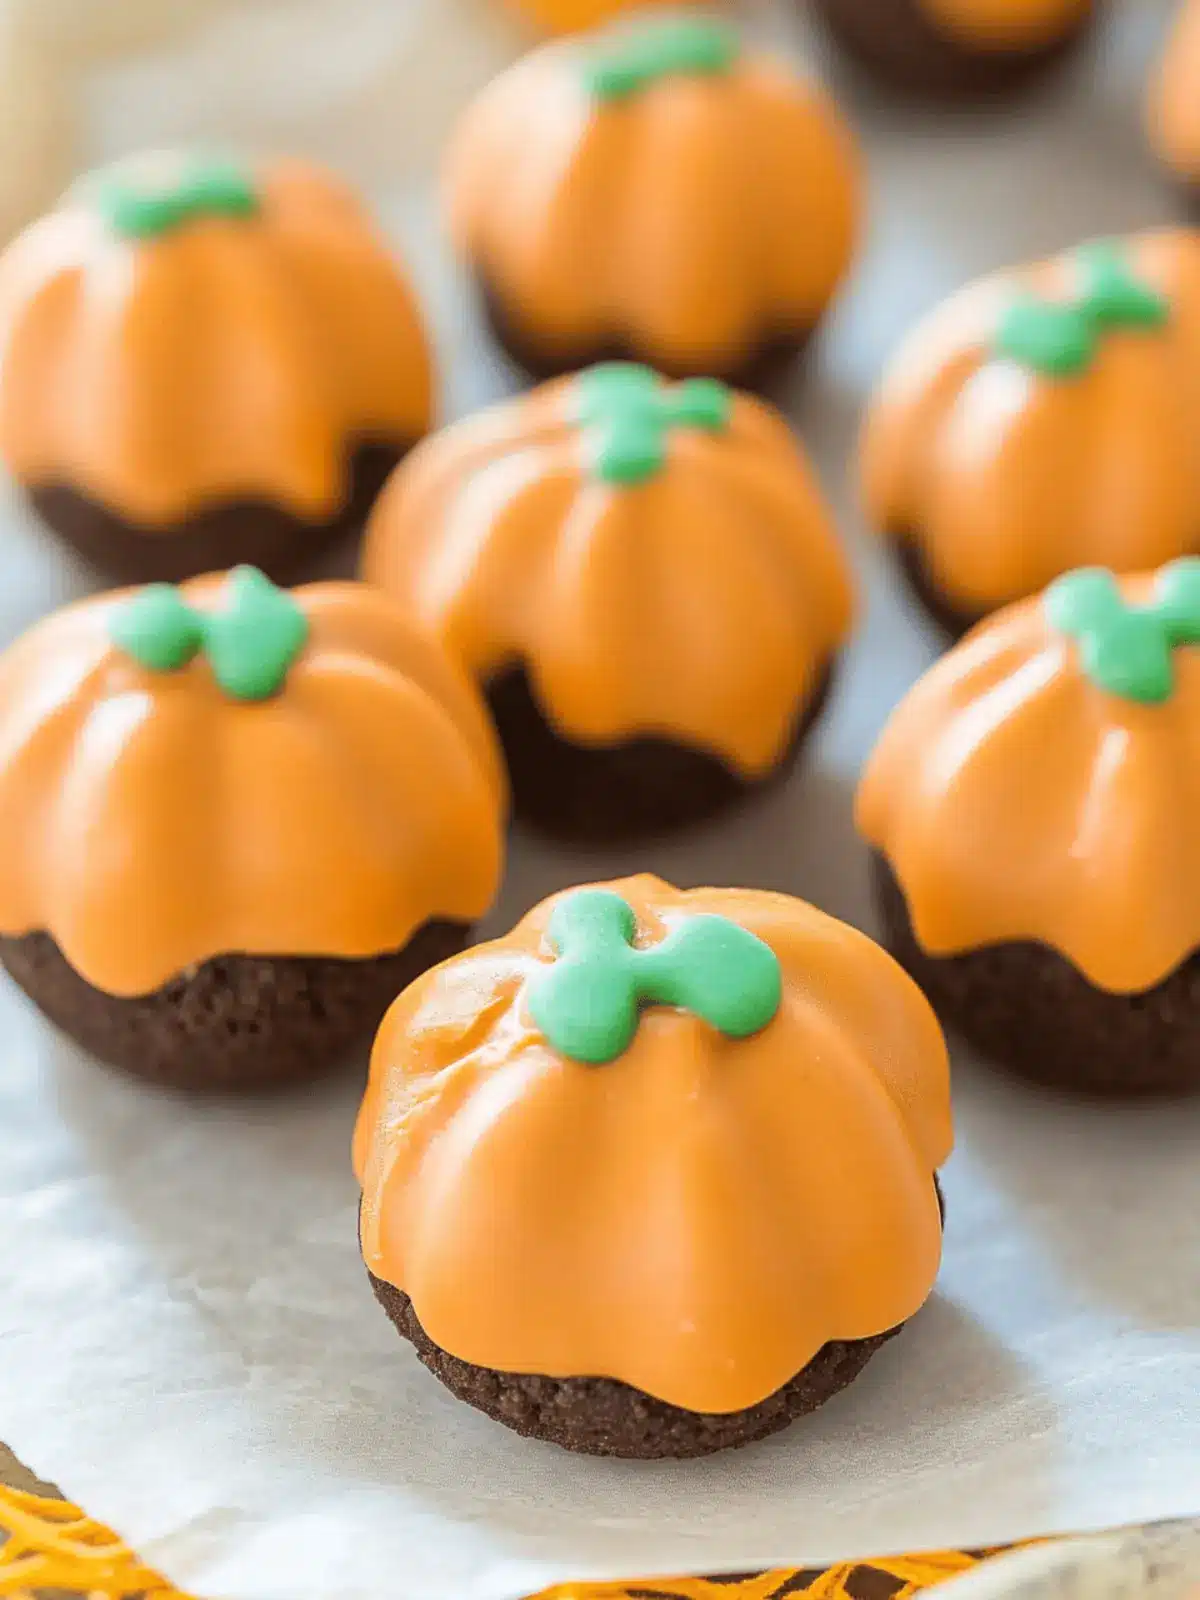
Imagine these charming little treats—their creamy, rich filling snuggled inside a sweet orange chocolate shell, all fashioned into adorable pumpkin shapes. Not only are they visually striking, but they also require minimal effort to whip up, making them a perfect companion for intimate gatherings or festive holiday tables. Whether you’re celebrating Thanksgiving or just embracing the cozy fall vibes, these Pumpkin Oreo Balls are bound to become a go-to dessert. Trust me, your friends and family will be asking for the recipe! Let’s dive in and discover the joy of creating these seasonal delights.
Why Choose Pumpkin Oreo Balls This Season?
Irresistible Flavor: The perfect combination of Oreo crunch and creamy filling wrapped in vibrant orange chocolate is simply unforgettable.
Easy to Make: With no baking required, you can whip these up quickly, leaving you more time to enjoy the festivities.
Festive Presentation: Their adorable pumpkin shape makes them an eye-catcher for any fall gathering or holiday table.
Crowd-Pleasing: These sweet treats appeal to both kids and adults, ensuring everyone leaves satisfied.
Versatile Options: Easily swap in different fillings or designs, making them adaptable for various occasions.
Make Ahead: Prepare them a day in advance and keep them chilled until your guests arrive, saving you time on the big day!
Pumpkin Oreo Balls Ingredients
For the Creamy Filling
• Oreo Cookies – The base ingredient that brings delicious chocolatey flavor; substitute with gluten-free Oreos for a gluten-free version.
• Cream Cheese – Provides a rich and smooth texture; ensure it’s softened for easier mixing.
For the Chocolate Coating
• Orange Candy Melts – Creates a festive coating that resembles pumpkin skin; if unavailable, white chocolate tinted with orange food coloring works well.
For Decoration
• Pretzel Sticks – Used as adorable stems; mini pretzel sticks add a fun twist.
• Green Leaf Decoration – A finishing touch for an authentic pumpkin look; you can use green icing or candy for this.
How to Make Pumpkin Oreo Balls
-
Prep Cookies: Start by pulsing the Oreo cookies in a food processor until they are finely crumbled. This step creates the perfect base for your creamy filling and only takes a minute or two—easy peasy!
-
Mix Filling: In a mixing bowl, combine the crushed Oreos with softened cream cheese. Use a sturdy spatula or your hands to fully integrate the mixture until it’s creamy and well-blended. It should have a nice, cohesive texture.
-
Shape Balls: Scoop out about 1-inch portions of the mixture and roll them into balls. Place them on a parchment-lined baking sheet and refrigerate for 15 minutes to help them firm up.
-
Form Pumpkins: After chilling, take a toothpick and gently score lines into each ball to resemble the grooves of a pumpkin. Finish with another quick chill for 10 minutes to set the shapes.
-
Melt Chocolate: Carefully melt the orange candy melts using a double boiler or microwave. Follow the package instructions for best results, ensuring it’s nice and smooth before dipping.
-
Coat Balls: Dip each chilled pumpkin ball into the melted orange chocolate, allowing any excess to drip off. Place them back on the baking sheet, creating an appealing glossy finish!
-
Decorate: Immediately stick a pretzel stick on top of each ball to serve as a charming stem. Add green leaf decorations (like icing or candy) to enhance the pumpkin look.
-
Chill & Serve: Pop the finished Pumpkin Oreo Balls back in the fridge until ready to serve. This helps maintain their shape, ensuring a delightful treat for your guests.
Optional: Sprinkle with edible glitter for a festive touch!
Exact quantities are listed in the recipe card below.
Helpful Tricks for Pumpkin Oreo Balls
-
Chill Before Coating: Ensure the filled Oreo balls are well-chilled before dipping; this helps the chocolate shell set properly and prevents it from melting into the filling.
-
Use Quality Ingredients: Choose high-quality Oreo cookies and cream cheese for the best flavor and texture. It makes a noticeable difference in these delicious pumpkin Oreo balls.
-
Thorough Mixing: Make sure the cream cheese is thoroughly mixed with the Oreo crumbs; uneven mixing can lead to a dry filling that won’t hold together.
-
Candy Melt Tips: When melting orange candy melts, do so slowly to avoid burning. You can always add a bit of coconut oil to achieve a smoother consistency for dipping.
-
Decorating Ease: For quick decoration, consider using pre-packaged leaf sprinkles or edible sugar leaves instead of icing for a mess-free option!
-
Keep Refrigerated: Store the Pumpkin Oreo Balls in the fridge until serving time to maintain their firmness and ensure freshness. Enjoy your festive delights!
What to Serve with Pumpkin Oreo Balls?
Creating the perfect fall dessert experience goes beyond just the sweets; add in delightful accompaniments to elevate your gathering.
-
Spiced Apple Cider: This warm, fragrant beverage pairs beautifully with the sweet creaminess of the pumpkin oreo balls, enhancing the cozy autumn ambiance.
-
Cheese Platter: A selection of sharp cheeses balances the sweetness of the treats, offering a savory contrast that guests will love. Think aged cheddar or creamy brie for variety!
-
Pumpkin Spice Latte: Sip on this classic fall drink while indulging in pumpkin treats—it’s the perfect way to keep the seasonal spirit alive.
-
Candied Pecans: Their crunchy texture and sweet, nutty flavor create a delightful complement to the smooth and creamy filling of the balls.
-
Caramel Sauce: Drizzle a bit over each pumpkin oreo ball for an added layer of flavor; it brings an irresistible richness to the dessert.
-
Fall Salad: A fresh salad with mixed greens, dried cranberries, walnuts, and a light vinaigrette offers a refreshing contrast to the sweet treats.
-
Mini Pumpkin Pies: For a classic and comforting option, these delicious pies echo the pumpkin theme and are sure to please any dessert lover.
With these delicious pairings, your gathering will be a delightful feast for the senses, filled with warmth and autumnal joy!
How to Store and Freeze Pumpkin Oreo Balls
Fridge: Keep the pumpkin Oreo balls refrigerated in an airtight container for up to 3 days to maintain their freshness and firmness.
Freezer: For longer storage, freeze the balls in a single layer on a baking sheet, then transfer to a freezer-safe container for up to 2 months.
Thawing: When ready to enjoy, thaw the pumpkin Oreo balls in the fridge for a few hours before serving to restore their creamy texture.
Reheating: There’s no need to reheat these treats; they are best served chilled straight from the fridge for a refreshing dessert experience.
Make Ahead Options
These Pumpkin Oreo Balls are perfect for busy home cooks who want to save time without compromising on deliciousness! You can prepare the creamy filling and shape the balls up to 24 hours in advance. Simply combine the crushed Oreos with softened cream cheese, roll them into balls, then refrigerate as directed. To maintain their quality, cover the baking sheet with plastic wrap before chilling; this helps prevent drying out. When you’re ready to serve, simply melt the orange chocolate coating, dip the chilled balls, and add the pretzel sticks and green decorations. With this prep strategy, you’ll have restaurant-quality treats ready in no time!
Variations & Substitutions for Pumpkin Oreo Balls
Feel free to experiment and make these delightful treats your own with these fun and festive twists!
-
Pumpkin Spice Oreos: Substitute regular Oreos with pumpkin spice Oreos for an added seasonal flavor that enhances the autumn vibe beautifully.
-
Nutty Delight: Incorporate chopped pecans or walnuts into the filling for a delightful crunch that contrasts perfectly with the creamy mixture.
-
Coconut Coating: Roll the finished pumpkin balls in shredded coconut instead of chocolate for a tropical twist that adds a unique texture and flavor.
-
Dairy-Free Option: Use dairy-free cream cheese and vegan Oreos to create a deliciously inclusive dessert that everyone can enjoy at your gathering.
-
Add a Kick: Mix in a pinch of cayenne pepper or cinnamon into the Oreo cream cheese filling for a surprising, spicy undertone that brings a warm depth to each bite.
-
Alternative Decorating: If pretzel sticks aren’t on hand, try mini chocolate-covered pretzels or even fresh mint leaves for a whimsical touch that looks beautiful and tastes amazing.
-
Different Colors: If orange candy melts are hard to find, feel free to use white chocolate dyed any color you like for a vibrant and inventive spin on the classic coating.
-
Flavor Infusion: Swap out cream cheese for flavored cream cheese, like strawberry or maple, for a fun twist that opens a whole new flavor profile, making them an unexpected treat.
Let your creativity shine—these variations will make your Pumpkin Oreo Balls a conversation starter at any gathering!
Pumpkin Oreo Balls Recipe FAQs
How do I choose the right Oreos?
Absolutely! When selecting Oreos for your Pumpkin Oreo Balls, look for cookies that are fresh and free from any dark spots or cracks. If you’re aiming for a gluten-free version, be sure to pick up a package of gluten-free Oreos. Their flavor should be rich, with a texture that crumbles nicely in the food processor, creating the perfect base for your filling.
How should I store my Pumpkin Oreo Balls?
Very good question! Store your Pumpkin Oreo Balls in an airtight container in the refrigerator. They will stay fresh for about 3 to 4 days. Make sure to keep them chilled until you’re ready to serve to prevent the cream cheese filling from softening too much, which may cause the chocolate coating to become soft as well.
Can I freeze Pumpkin Oreo Balls? How?
Yes, you can freeze them! After shaping your Pumpkin Oreo Balls, lay them out on a parchment-lined baking sheet and freeze them in a single layer for about 1 to 2 hours until they’re solid. Then, transfer them to a freezer-safe container or zip-top bag, ensuring to label it with the date. These can be stored in the freezer for up to 3 months. When you’re ready to enjoy them, simply transfer them to the fridge for a few hours to thaw before serving.
What if I encounter problems while making the chocolate coating?
Sometimes, melting chocolate can be tricky! If your orange candy melts start to clump or become too thick, try adding a teaspoon of coconut oil to thin it out and achieve a smooth consistency. Always melt them using low heat in a double boiler or microwave in short intervals (20-30 seconds), stirring in between to prevent burning. If you find the coating isn’t adhering well to your balls, ensure they’re chilled beforehand; this will help the chocolate set properly.
Are there any dietary considerations when making Pumpkin Oreo Balls?
Yes, definitely! If you’re making these as a treat for others, keep in mind that they contain gluten (unless using gluten-free Oreos) and dairy due to the cream cheese. Be sure to inform guests of these ingredients, especially if anyone has allergies. To make a nut-free version, carefully check labels on your chocolate melts and decorations to ensure they are produced in a nut-free facility.
Pumpkin Oreo Balls That Will Wow Your Guests This Fall
Ingredients
Equipment
Method
- Start by pulsing the Oreo cookies in a food processor until they are finely crumbled.
- In a mixing bowl, combine the crushed Oreos with softened cream cheese. Use a spatula or your hands to blend until creamy.
- Scoop out about 1-inch portions of the mixture and roll them into balls. Place on a parchment-lined baking sheet and refrigerate for 15 minutes.
- Take a toothpick and gently score lines into each ball to resemble the grooves of a pumpkin. Chill for another 10 minutes.
- Melt the orange candy melts using a double boiler or microwave until smooth.
- Dip each chilled pumpkin ball into the melted orange chocolate, allowing excess to drip off.
- Stick a pretzel stick on top of each ball as a stem. Add green leaf decorations.
- Refrigerate until ready to serve.

