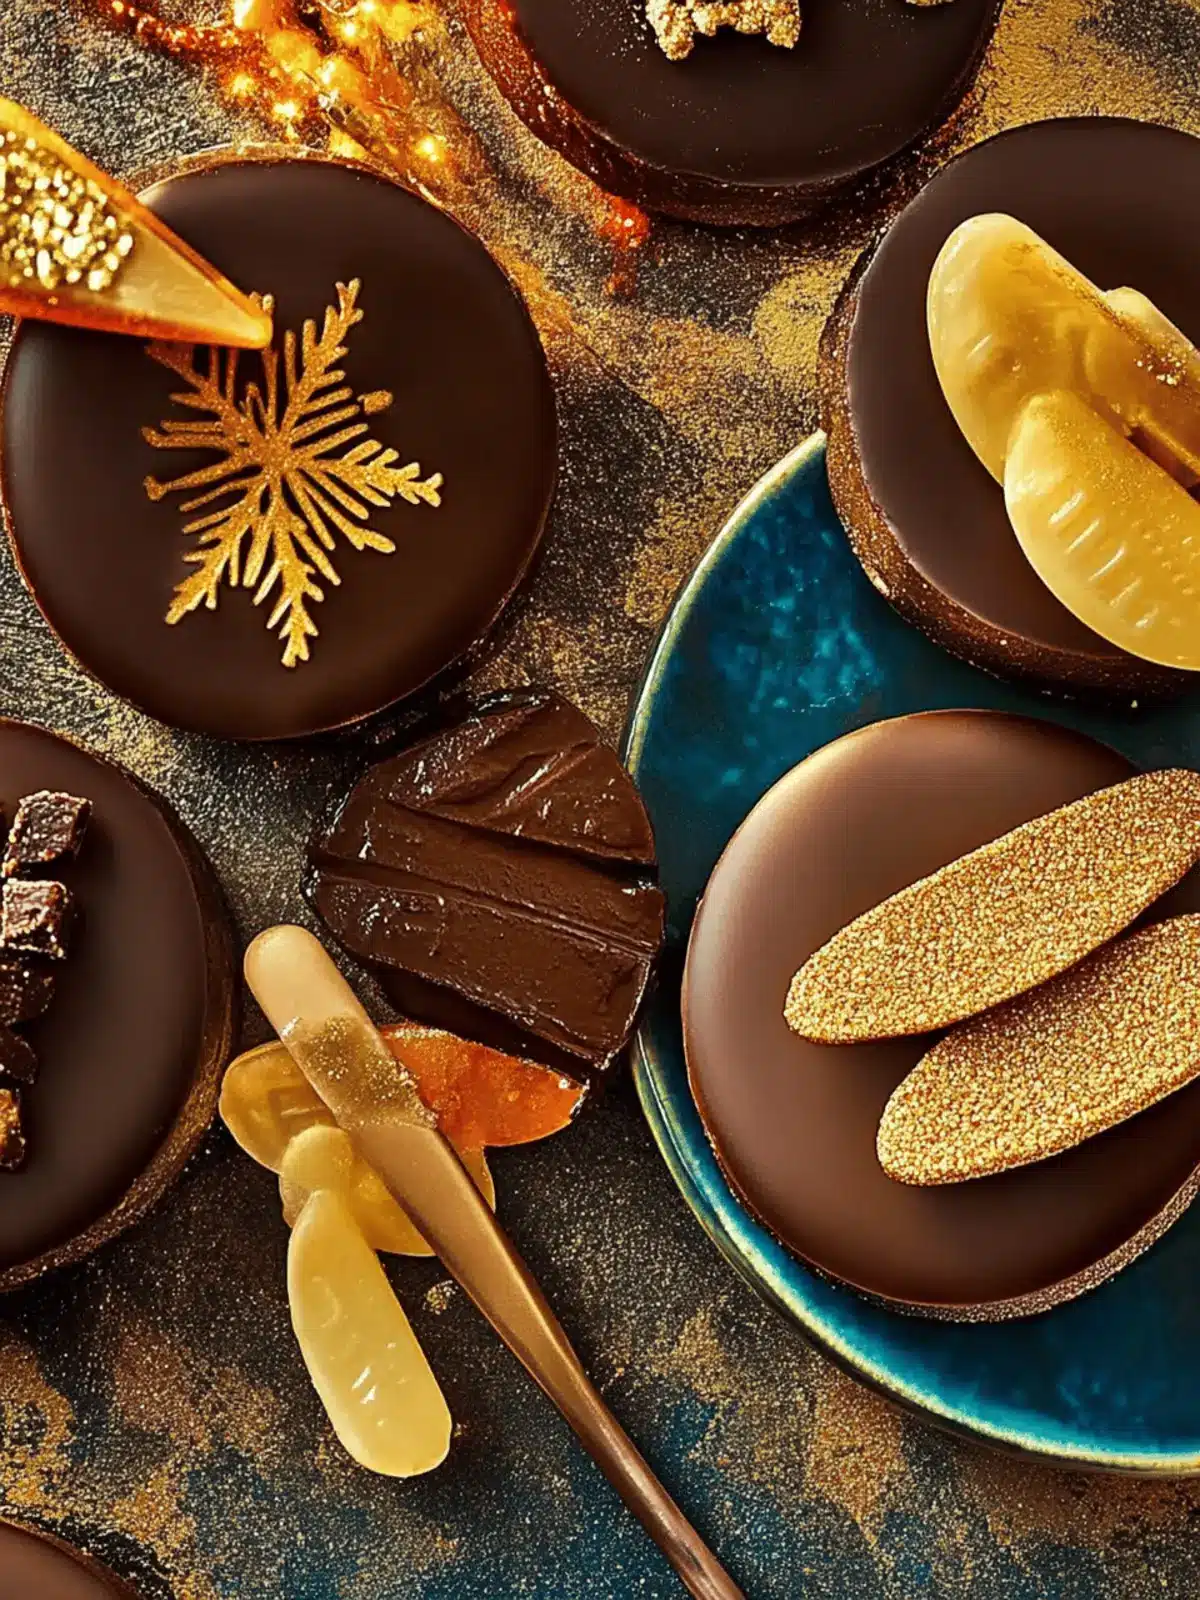
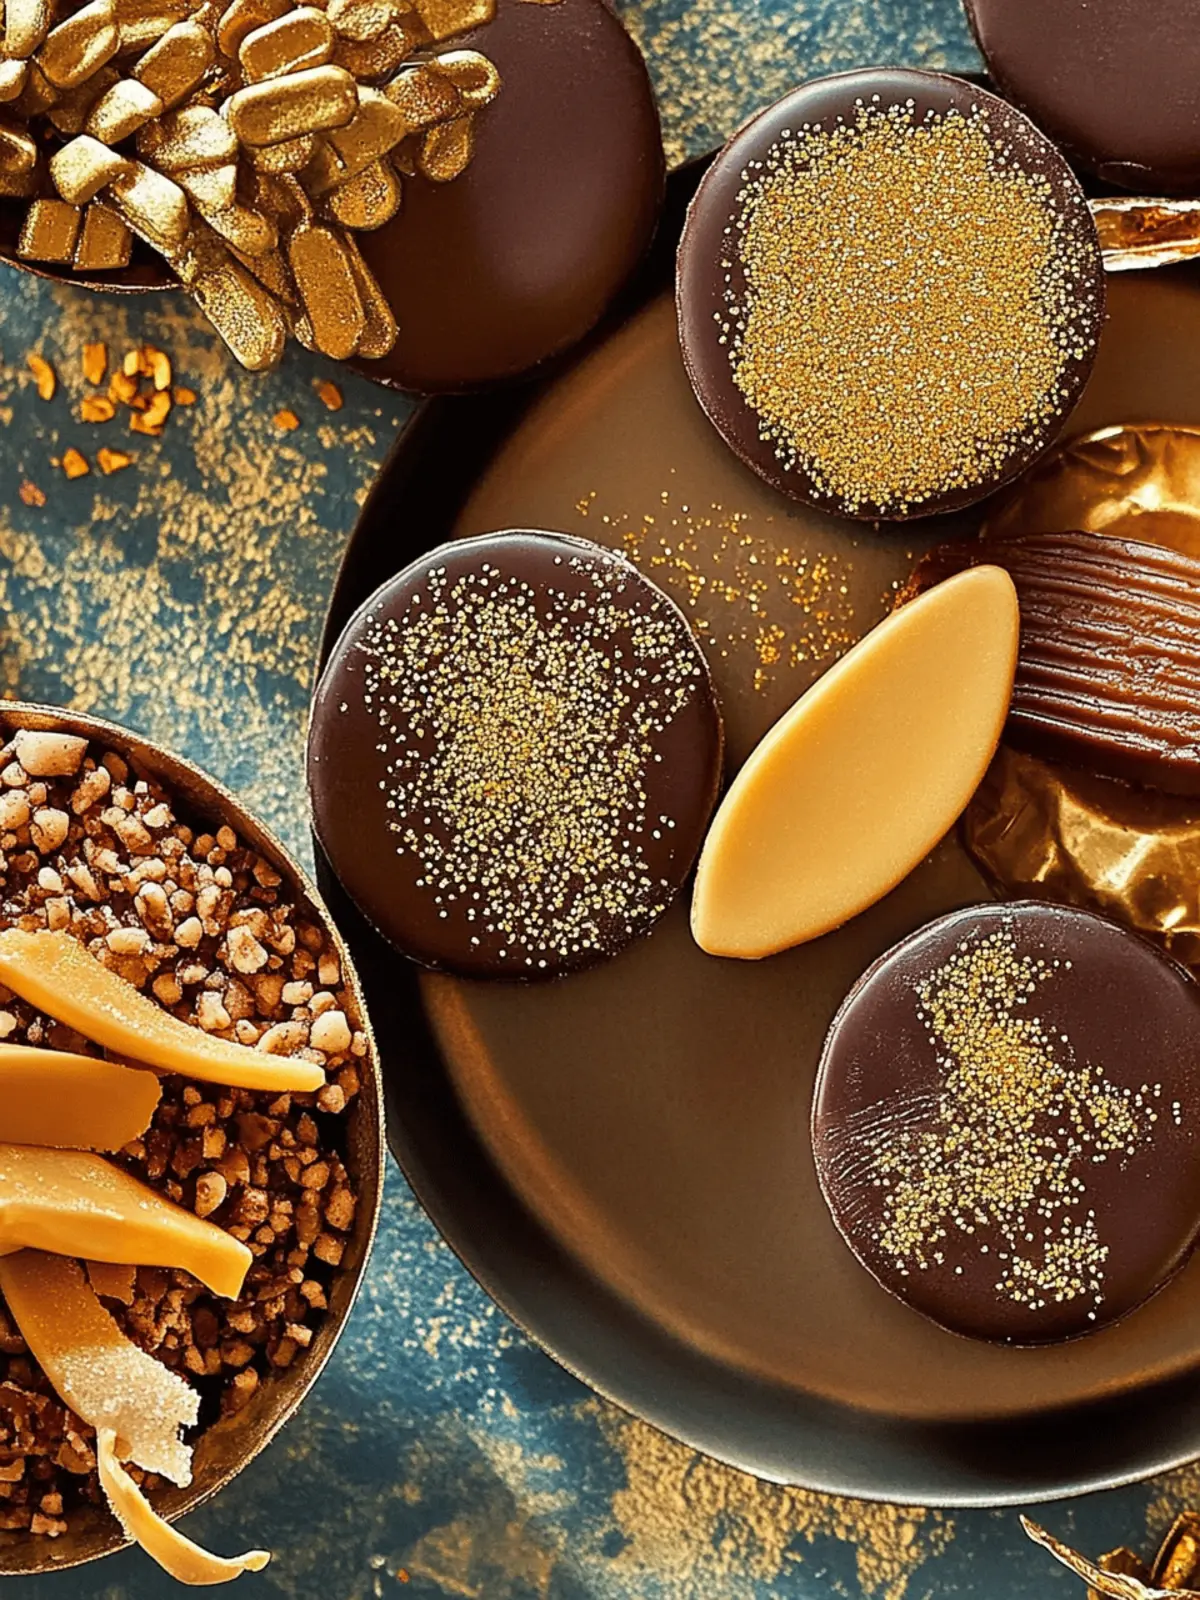
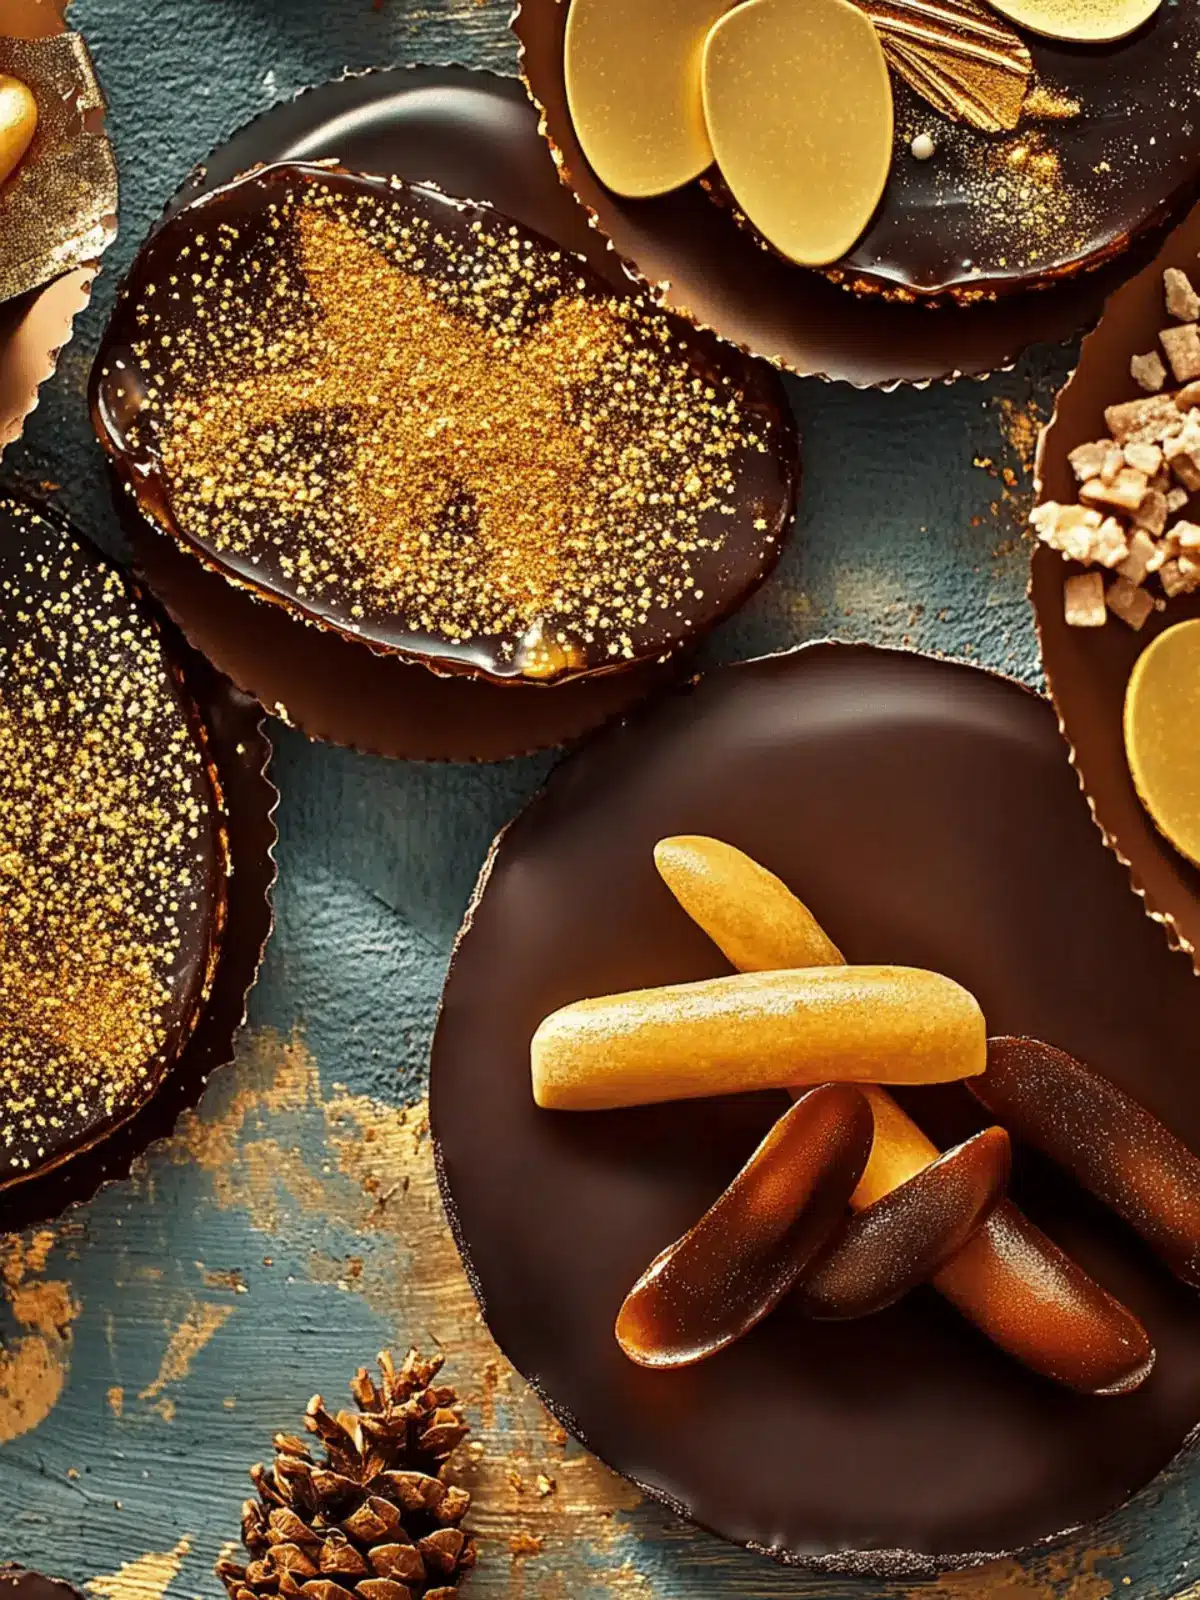
As the Festival of Lights approaches, the air fills with the sweet scent of celebration and togetherness. There’s an irresistible joy in making homemade Hanukkah gelt—those delightful chocolate coins that not only satisfy the sweetest cravings but also evoke cherished childhood memories. I stumbled upon this easy recipe during one of my holiday baking sessions, and it’s quickly become a staple in our family festivities. Each coin is a little bit of magic, wrapped in shiny gold foil, and you can customize them with your favorite toppings, from nutty slivered almonds to a sprinkle of sea salt.
After a long day of holiday preparations, I find making these chocolate treasures to be a comforting way to unwind and connect with loved ones. Just imagine crafting a batch of these easy-to-make treats in under an hour, bringing the family together for a fun-filled activity. So gather your loved ones and let’s create a batch of homemade Hanukkah gelt that’s sure to impress guests and spread joy around the table!
Why love Hanukkah Gelt this season?
Irresistible Charm: These homemade chocolate coins not only taste divine but also bring a sweet nostalgia to your celebrations. Customizable Treats: Tailor the toppings to suit every palate, whether it’s crunchy almonds or a touch of sea salt. Quick & Easy: With just a few simple steps, you can whip up a batch in under an hour! Family Fun: Involve your loved ones for a delightful bonding experience. Perfect Gift: Share these delightful coins as unique gifts or party favors. You’ll love how this festive recipe transforms gatherings into memorable celebrations!
Hanukkah Gelt Ingredients
For the Chocolate Coins
- Neutral Oil – Brush the molds to prevent sticking; coconut oil works as a great substitute.
- Dark Chocolate or Semisweet Chocolate Chips – The primary flavor base that provides luscious sweetness; feel free to swap for your favorite chocolate type.
- Dried Apricots – Optional for a chewy texture and fruity flavor; use cranberries or figs as tasty substitutions if desired.
- Slivered Almonds – Adds a delightful nutty crunch; you can replace them with crushed pistachios or omit for a nut-free option.
- Gold Sprinkles or White Sparkling Sugar – For that festive decorative touch; colored sugar can be a vibrant alternative, or you can skip it for simplicity.
- Coarse Himalayan Sea Salt – Optional and enhances chocolate flavor with a hint of saltiness; regular sea salt can easily be used instead.
Create your very own Hanukkah gelt and enjoy the sweet spirit of the season!
How to Make Hanukkah Gelt
-
Prepare Molds: Start by brushing mini cupcake or muffin tin wells with neutral oil to ensure the chocolate coins pop out easily once set. This is a crucial step to avoid any frustration later!
-
Melt Chocolate: Gently melt your dark or semisweet chocolate using a microwave or double boiler. Stir often until the chocolate is completely smooth and glossy—this will take about 1-2 minutes in the microwave.
-
Pour Chocolate: Carefully pour 1 to 2 teaspoons of the melted chocolate into each mold. Give the pans a gentle tap on the counter to spread the chocolate evenly and avoid air bubbles.
-
Chill: Place the filled molds in the refrigerator and let them chill for about 20 minutes until the chocolate is firm and set. You’ll know it’s ready when you can touch the top without leaving a fingerprint!
-
Decorate: Before the chocolate fully sets, sprinkle your chosen toppings like slivered almonds or gold dust on top. This adds an eye-catching flair while the chocolate is still slightly warm.
-
Unmold: After chilling, carefully extract the chocolate coins from the molds. If you greased them well, they should pop out easily, revealing shiny, delightful coins!
Optional: Add a sprinkle of coarse Himalayan sea salt for a delightful flavor contrast.
Exact quantities are listed in the recipe card below.
Make Ahead Options
These Hanukkah Gelt chocolate coins are perfect for meal prep enthusiasts! You can prepare the chocolate mixture and pour it into the molds up to 24 hours in advance, allowing you to chill them overnight. To ensure quality, store the filled molds in the refrigerator tightly covered. When you’re ready to enjoy the gelt, simply remove them from the molds and add your desired toppings. For the best taste, finish by serving them immediately after un molding. This way, you’ll have delicious, festive chocolate coins that are just as delightful as if made fresh on the day of your celebration!
Tips for the Best Hanukkah Gelt
-
Well-Greased Molds: Ensure your molds are thoroughly brushed with oil to prevent sticking. This will save you the disappointment of broken coins!
-
Careful Melting: Melt the chocolate slowly, either in the microwave or a double boiler. Avoid overheating it to prevent seizing, which can ruin your Hanukkah gelt.
-
Topping Timing: Add toppings like nuts or sprinkles before the chocolate fully sets. They will adhere better and create a beautiful presentation!
-
Chill Properly: Let the molds chill in the refrigerator until the chocolate is firm—usually around 20 minutes. This ensures a perfect texture for your coins.
-
Customize Freely: Don’t hesitate to experiment with different chocolates or toppings. Whether you prefer dark, white, or funky flavors, making your own Hanukkah gelt is all about joy and creativity!
Storage Tips for Hanukkah Gelt
- Room Temperature: Store leftover gelt in an airtight container for up to one week. Keep them away from direct sunlight to maintain freshness and prevent melting.
- Fridge: If you want to prolong the shelf-life of your Hanukkah gelt, refrigerate the container. Just note that the texture may become slightly firmer.
- Freezer: For longer-term storage, freeze your chocolate coins in a single layer on a baking sheet, then transfer to an airtight container. They can last for up to three months.
- Reheating: If you prefer them soft and melt-in-your-mouth, remove from the fridge or freezer and let sit at room temperature for 10-15 minutes before enjoying.
Hanukkah Gelt Variations
Feel free to get creative with your homemade chocolate coins and customize to your heart’s content!
-
White Chocolate: Swap dark chocolate for white chocolate to create a sweeter, creamier treat that’s still delightful.
-
Nut-Free: Omit slivered almonds altogether, or use sunflower seeds as a crunchy alternative that’s safe for schools or nut-free gatherings.
-
Fruit Boost: Substitute dried apricots with dried cranberries or figs for a chewy addition that pairs wonderfully with chocolate.
-
Minty Fresh: Infuse your melted chocolate with a few drops of peppermint extract for a refreshing holiday twist that will awaken the senses.
-
Coconut Crunch: Top your coins with shredded coconut for extra texture and a tropical flavor that transports you to sunny shores.
-
Colored Sugar: Swap gold sprinkles for colored sugar crystals to add a festive pop of color, appealing to kids and the young at heart.
-
Spicy Kick: Sprinkle a touch of chili powder or cayenne on top for an unexpected heat that complements the sweetness of the chocolate beautifully.
-
Flavored Chocolates: Experiment with flavored chocolate, like orange or raspberry, to add a unique fruity note that transforms the classic gelt into something extraordinary.
What to Serve with Hanukkah Gelt?
Indulging in homemade Hanukkah gelt is just the beginning of your festive feast—let’s create a complete table filled with delightful pairings.
-
Crispy Latkes: The savory, crispy texture of latkes beautifully balances the sweetness of chocolate coins. Top with applesauce or sour cream for an authentic taste.
-
Braised Brisket: Tender, flavorful brisket pairs wonderfully with the rich chocolate, creating a satisfying contrast that highlights the festive spirit of the holiday.
-
Apple Compote: The warm spices and sweetness of apple compote enhance the chocolate coins, adding a touch of fruity brightness to your dessert experience.
-
Chocolate Wine: Sipping a glass of chocolate wine provides a delightful adult twist that complements the rich flavors of Hanukkah gelt, making it a perfect post-meal treat.
-
Dried Fruit Platter: Incorporate a colorful array of dried fruits, like apricots and figs. Their natural sweetness and chewy texture contrast beautifully with the smooth chocolate coins.
-
Rugelach Cookies: These flaky pastries filled with nuts, chocolate, or fruit provide a delightful texture and flavor variety to round out your holiday spread, bringing a delightful crunch to your celebration!
-
Spiced Hot Chocolate: A warm cup of spiced hot chocolate creates a cozy pairing for your chocolate coins, enhancing the festive atmosphere with every sip.
-
Cinnamon Sugar Pita Chips: Lightly sweet, crunchy pita chips sprinkled with cinnamon sugar make a fun, crispy accompaniment to the rich ganache, providing a delightful crunch alongside those chocolate treasures.
-
Festive Fruit Salad: A refreshing mix of seasonal fruits offers a light and zesty contrast to the sweetness of your gelt, keeping the palate delighted throughout the meal.
-
Honey Cake: Serve alongside a slice of moist honey cake for a nod to tradition that complements the sweetness of Hanukkah gelt beautifully, creating a balanced dessert experience.
Hanukkah Gelt Recipe FAQs
What type of chocolate is best for making Hanukkah gelt?
Absolutely! Dark or semisweet chocolate chips work beautifully as they provide a rich flavor. I often opt for high-quality chocolate for a truly indulgent experience. If you’re after something different, try using white chocolate for a unique twist; just remember to adjust the sweetness according to your taste!
How should I store leftover Hanukkah gelt?
You can store leftover gelt in an airtight container at room temperature for up to one week. If you want to extend their freshness, refrigerate them—but be mindful that this may slightly change the texture, making them firmer. For the best of both worlds, let them sit at room temperature for a few minutes before enjoying.
Can I freeze Hanukkah gelt?
Yes, you can! To freeze your chocolate coins, place them in a single layer on a baking sheet and freeze until firm. Then, transfer them into an airtight container or freezer bag. They can last for up to three months. When you’re ready to enjoy them, let them thaw at room temperature for 10-15 minutes for that perfect melt-in-your-mouth experience.
What should I do if my chocolate seizes while melting?
If your chocolate becomes grainy or thick, don’t worry! You can salvage it by adding a small amount of vegetable oil or cocoa butter—start with a teaspoon, stirring until smooth. If it doesn’t recover, you might need to start over to ensure that your Hanukkah gelt comes out beautifully.
Are there any allergy considerations with Hanukkah gelt?
Yes, when making your Hanukkah gelt, be mindful of any food allergies. The recipe as provided can be adjusted for nut allergies by omitting slivered almonds or substituting with seeds like pumpkin or sunflower. Always check the labels of your chocolate and any mix-ins for potential allergy ingredients.

Easy Homemade Hanukkah Gelt: Craft Your Own Chocolate Coins
Ingredients
Equipment
Method
- Prepare Molds: Start by brushing mini cupcake or muffin tin wells with neutral oil to ensure the chocolate coins pop out easily once set.
- Melt Chocolate: Gently melt your dark or semisweet chocolate using a microwave or double boiler. Stir often until completely smooth.
- Pour Chocolate: Carefully pour 1 to 2 teaspoons of the melted chocolate into each mold. Tap the pans to spread evenly.
- Chill: Place the filled molds in the refrigerator to chill for about 20 minutes until the chocolate is firm.
- Decorate: Before the chocolate fully sets, sprinkle your chosen toppings on top for added flair.
- Unmold: After chilling, carefully extract the chocolate coins from the molds.


