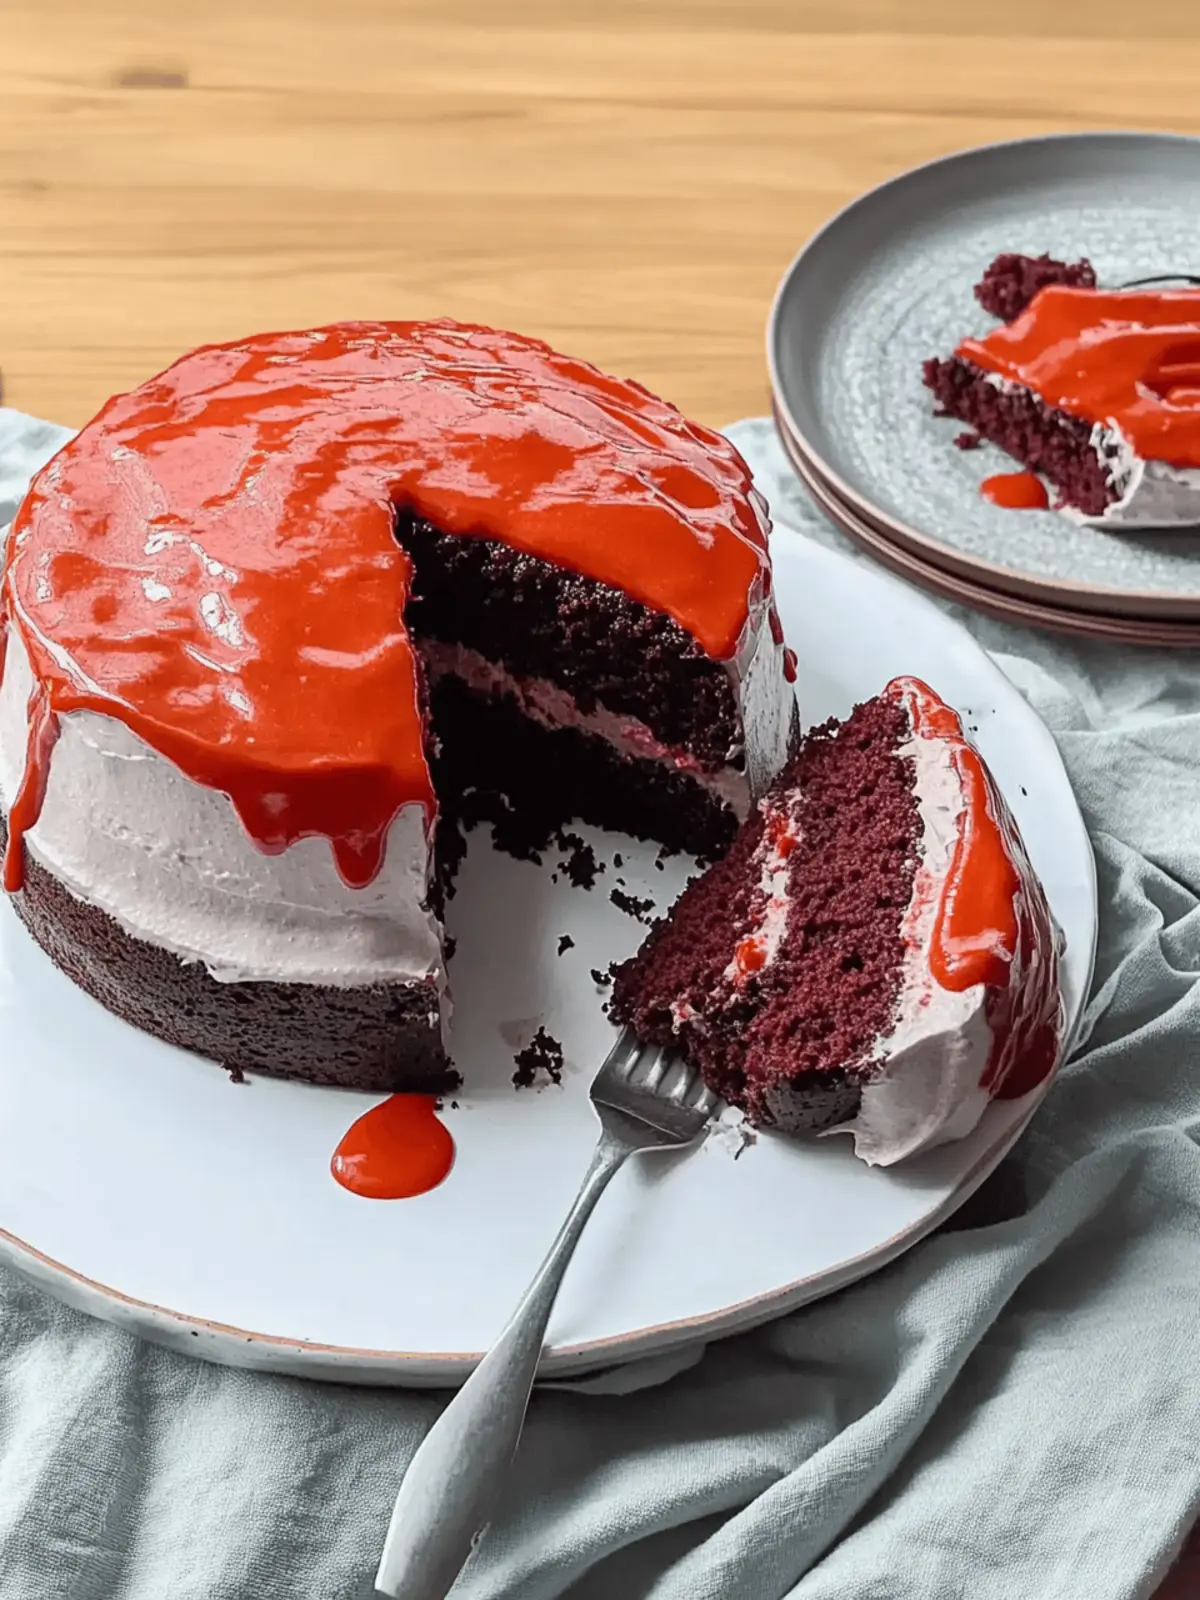
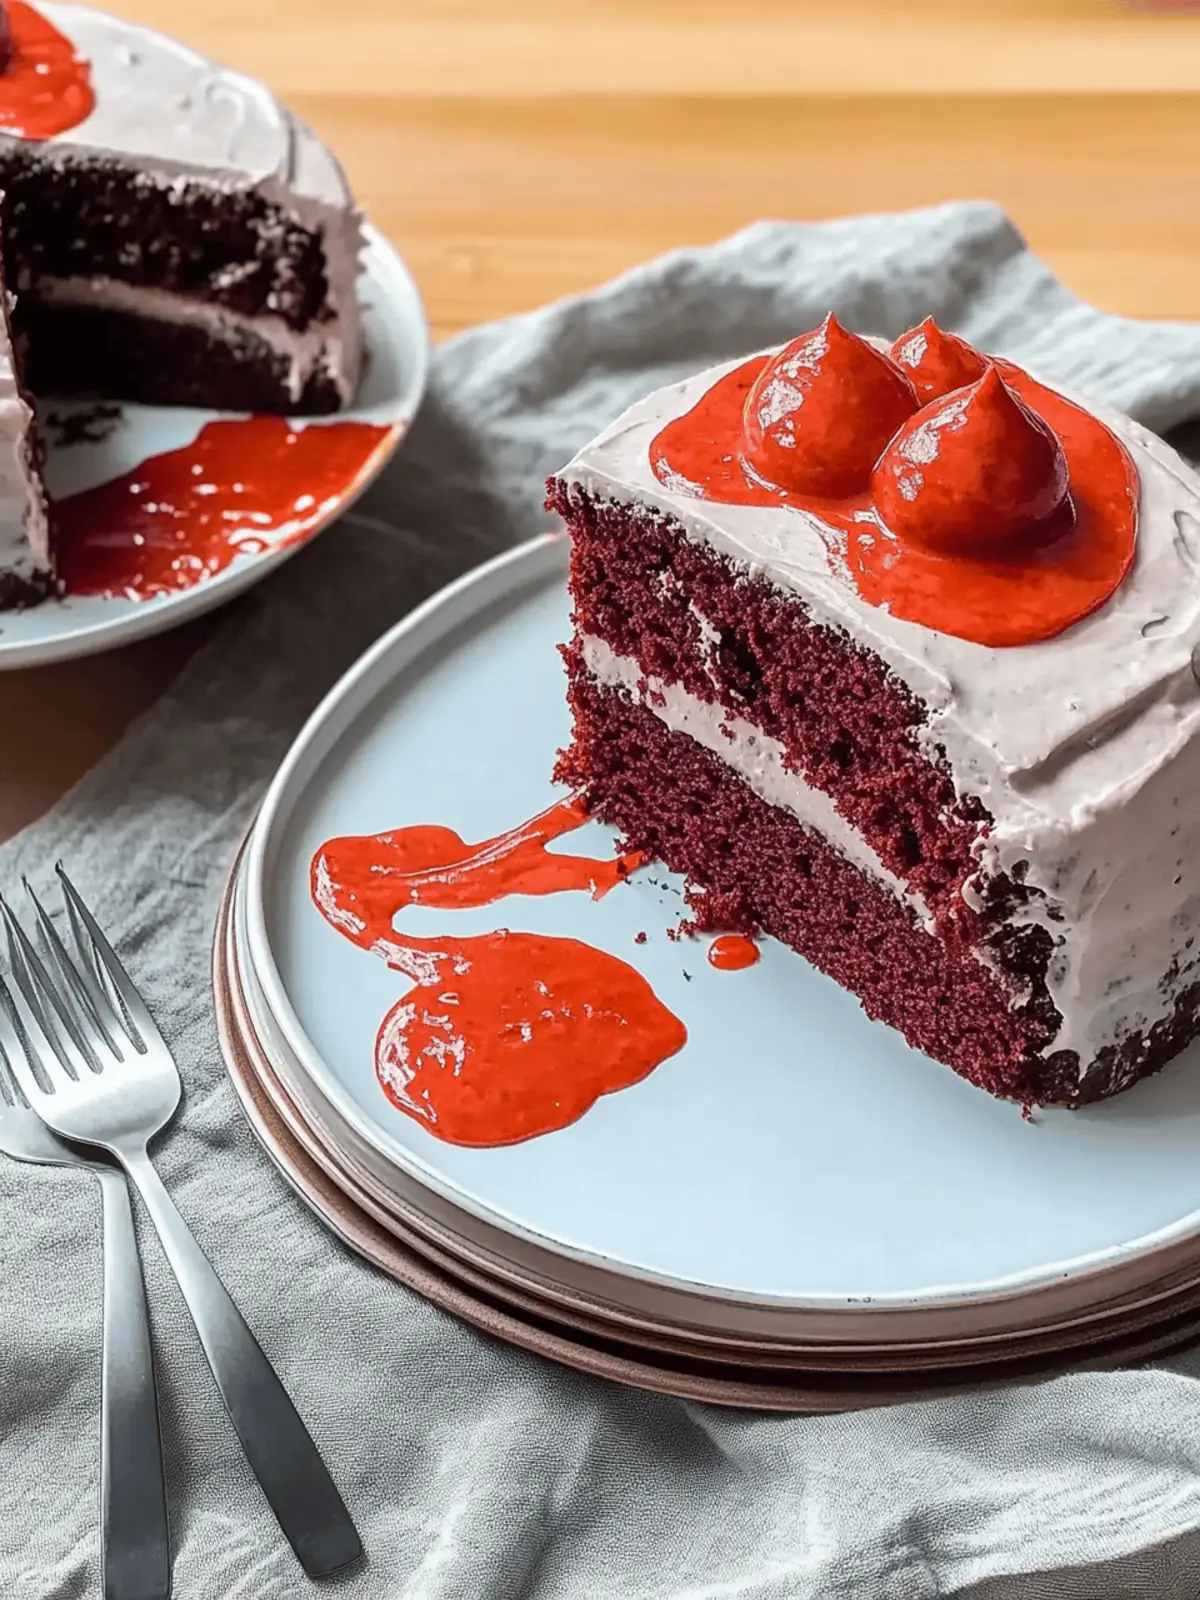
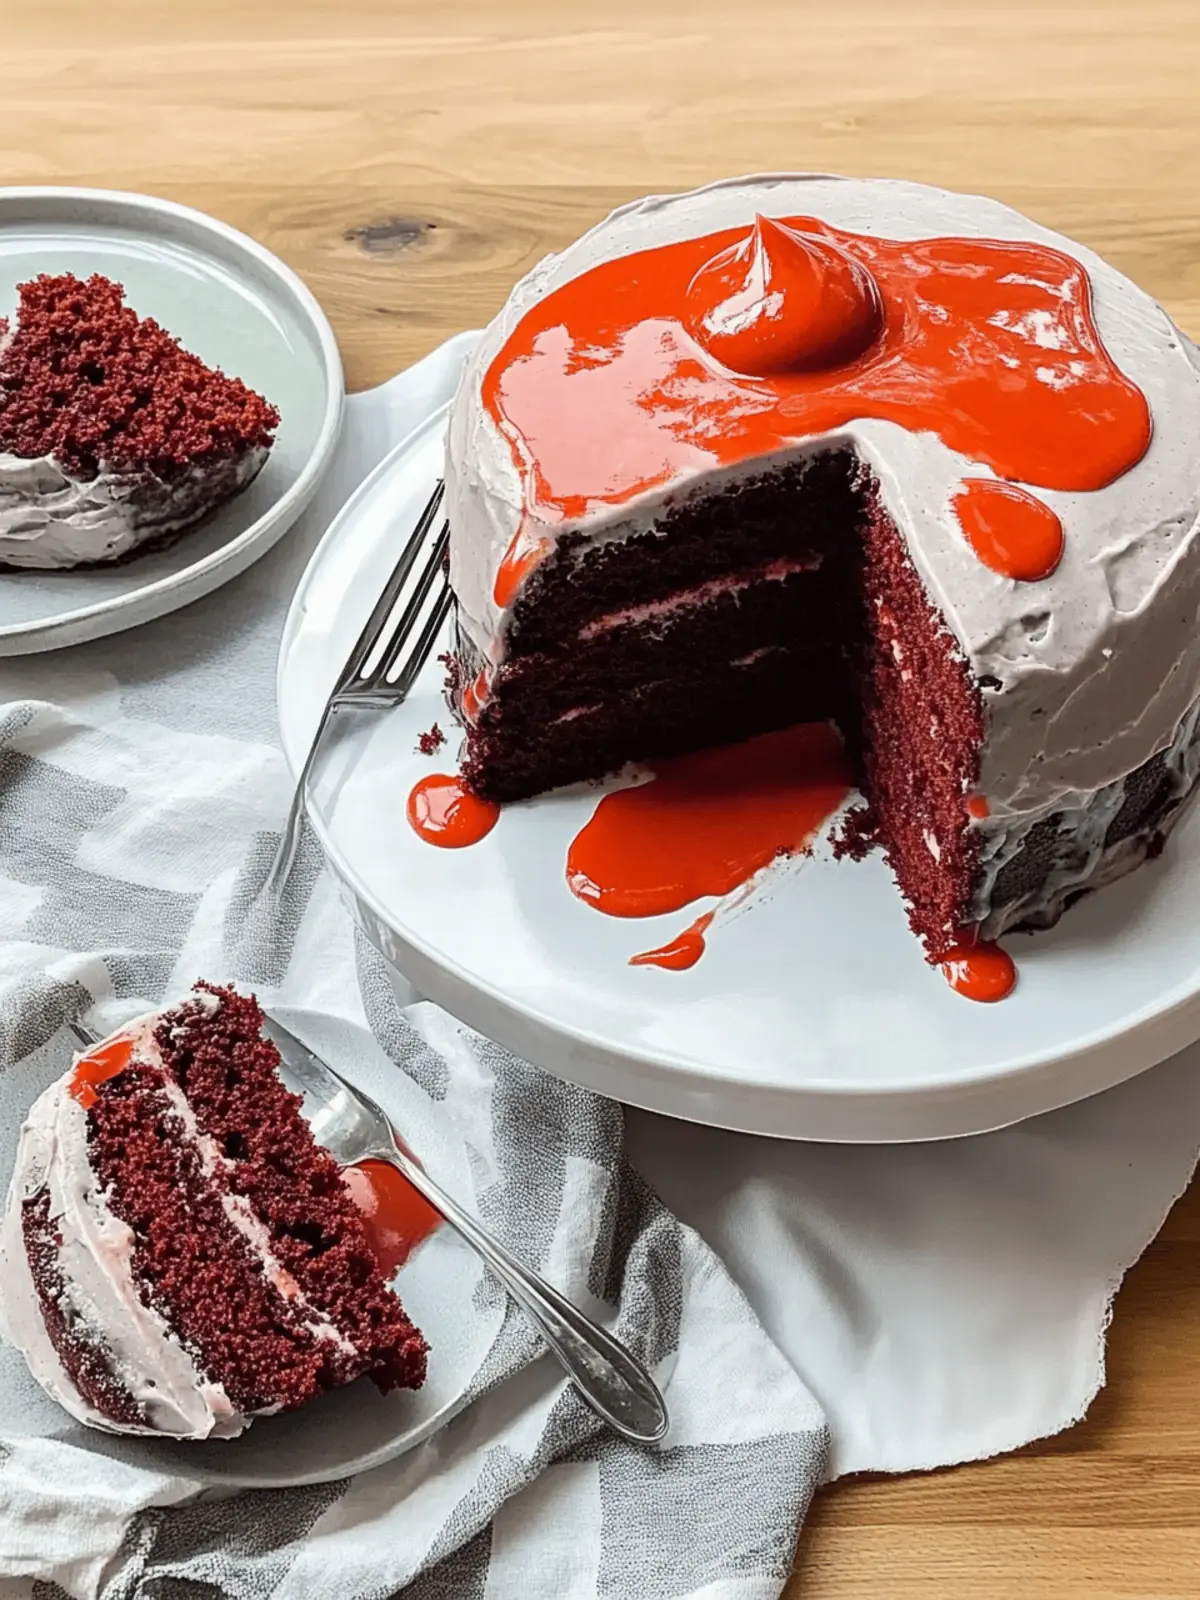
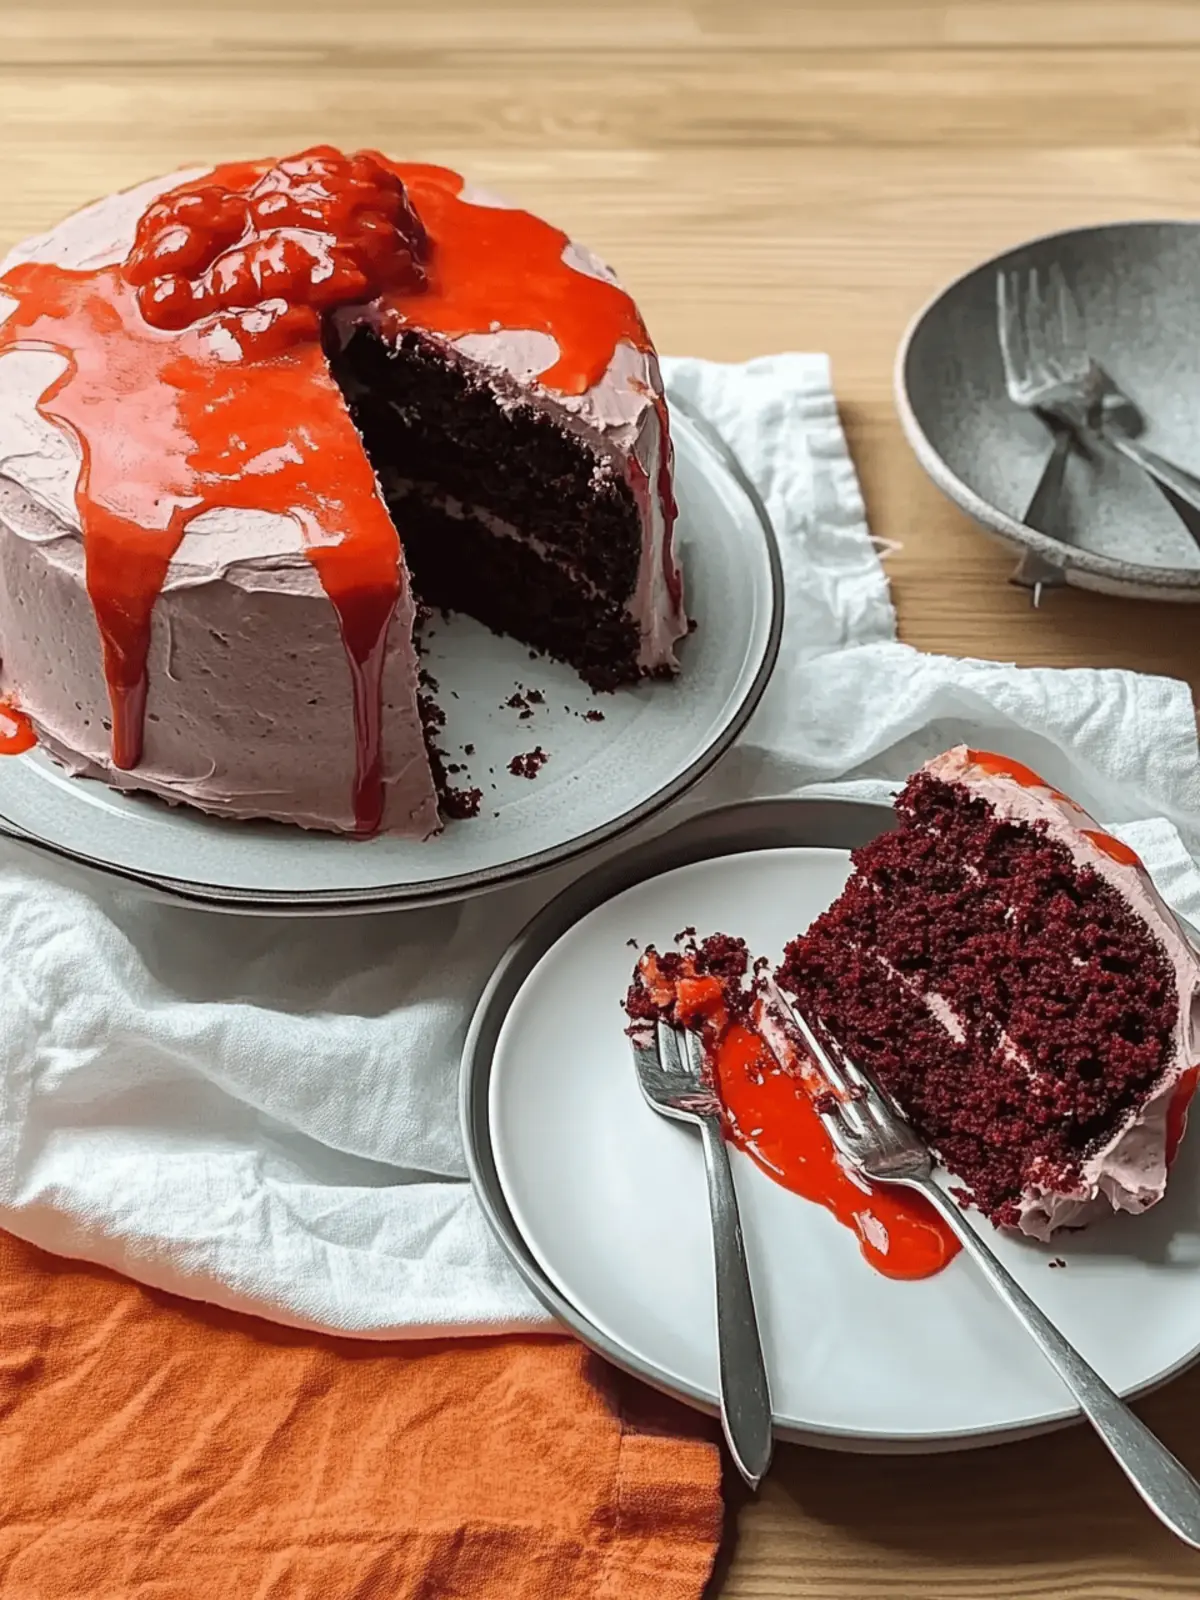
There’s a certain charm in whipping up a homemade dessert that transforms an ordinary day into something remarkable. Picture this: you walk into your kitchen, the delightful scent of butter and sugar fills the air, and soon enough, you’re surrounded by the vibrant red hues of a Dead Velvet Cake. This stunning treat isn’t just about its eye-catching color; it’s a celebration of flavors that dances on your palate with every bite.
I discovered this recipe while searching for a show-stopping dessert that wouldn’t require hours in the kitchen. With minimal prep and a promise of indulgence, this dead-on delicious cake combines the rich taste of red velvet with a luscious cream cheese frosting that’s simply irresistible. Perfect for birthdays, anniversaries, or even just a cozy evening at home when you want to impress, this cake is bound to be a crowd-pleaser. So, grab your apron, and let’s dive into a world of flavor and fun!
Why will you love Dead Velvet Cake?
Vibrant Appearance: The striking deep red color makes this cake a visually stunning centerpiece for any table.
Irresistible Flavor: Each bite bursts with rich flavors of chocolate and vanilla, perfectly balanced with a tangy cream cheese frosting.
Easy to Make: This simple recipe requires minimal prep time and basic baking skills, making it accessible for any home cook.
Versatile Delight: Ideal for celebrations or casual gatherings, it delights both seasoned bakers and dessert newcomers alike.
Crowd-Pleasing Treat: Whether it’s a birthday bash or a cozy night in, your friends and family will be raving about this delectable cake!
Dead Velvet Cake Ingredients
• Create your own show-stopping dessert!
For the Cake
• 1 stick butter, softened – A rich buttery flavor creates a moist base for the cake.
• Flour – Dust the pans with flour to prevent sticking, ensuring perfect cake removal.
• 1 (15.25-ounce) box red velvet cake mix – This is the star of our Dead Velvet Cake; make sure to follow the package directions for best results!
For the Cream Cheese Frosting
• 2 (8-ounce) packages cream cheese, softened – Cream cheese gives the frosting its signature tang and creamy texture.
• 2 1/4 cups powdered sugar – This sweetens the frosting while adding structure.
• 2 teaspoons vanilla extract, divided – Dividing the vanilla enhances both the frosting and cake flavors.
For the Red Syrup
• 1/2 cup water, cold – Cold water helps to dissolve the cornstarch smoothly for the syrup.
• 2 tablespoons cornstarch – This thickens the syrup for a delightful drizzle on top.
• 1/2 cup light corn syrup – Adds sweetness and a glossy finish to the syrup.
• Red food coloring, to taste – Use as much as needed to achieve that signature deep red hue!
With these ingredients ready to go, you’re well on your way to crafting a Dead Velvet Cake that will wow everyone at your table!
How to Make Dead Velvet Cake
-
Preheat the oven to 350°F. This ensures a perfectly baked cake, creating that beautiful rise and ideal texture we crave.
-
Grease two 9-inch cake pans with softened butter. Dust them lightly with flour to prevent the cake from sticking—an essential step for beautiful cake removal!
-
Prepare the red velvet cake mix according to the package directions. Mix until smooth, allowing the enticing aroma of chocolate and vanilla to permeate your kitchen.
-
Divide the batter evenly between the prepared cake pans. This ensures that both layers bake evenly, helping you achieve that perfect, towering cake.
-
Bake the cakes as per the package instructions, usually around 25-30 minutes, until a toothpick inserted in the center comes out clean. Look for that enticing golden edge!
-
Beat together the softened cream cheese and butter in a large bowl until light and fluffy. This is where the magic of decadence begins—creamy and dreamy!
-
Add the powdered sugar and 1 teaspoon of vanilla to the mixture, blending until fully combined. You’ll want a smooth, sweet frosting that perfectly complements our cake.
-
Stir the cold water and cornstarch together in a small saucepan until well mixed. This will create a slurry for our glossy red syrup.
-
Heat the saucepan over medium heat, stirring frequently until the mixture thickens slightly and becomes smooth—about 2 minutes is perfect.
-
Remove the saucepan from the heat and add the corn syrup to the mixture. Allow it to cool while you prepare your cake layers.
-
Mix in the remaining vanilla and red food coloring to the corn syrup, drop by drop, until you achieve that blood-red hue—a true Dead Velvet masterpiece!
-
Trim the top of one cake layer to create a flat surface. This will ensure each slice is aesthetically pleasing and easy to serve.
-
Dampen the top of the trimmed cake layer with some of the red syrup, adding moisture and flavor.
-
Flip the second cake upside down, cut the dome off, and place it on top of the first layer, creating a delightful two-tier cake.
-
Frost the entire cake with the cream cheese frosting, taking extra care at the top to make it smooth and inviting.
-
Pour the remaining red syrup over the cake, letting it drip down the sides for a deliciously dramatic effect.
-
Slice and serve the Dead Velvet Cake, and watch your loved ones’ faces light up with joy and surprise!
Optional: Top with fresh berries for an extra touch of color and flavor.
Exact quantities are listed in the recipe card below.
Storage Tips for Dead Velvet Cake
Room Temperature: Store leftover cake at room temperature in an airtight container for up to 2 days to maintain its moist texture and delicious flavor.
Fridge: If keeping longer, wrap in plastic wrap and refrigerate for up to 5 days. Always let it come to room temperature before serving for the best taste.
Freezer: Freeze individual slices of Dead Velvet Cake in airtight containers or freezer bags for up to 3 months. Thaw in the fridge overnight before enjoying again.
Reheating: If you prefer warm cake, gently reheat a slice in the microwave for 10-15 seconds. This is particularly delightful with a bit of cream cheese frosting!
Expert Tips for Dead Velvet Cake
• Cake Mix Quality: Choose a high-quality red velvet cake mix for the best flavor and texture; not all mixes are created equal.
• Butter Temperature: Ensure your butter is properly softened before beating; this helps create a light and fluffy cream cheese frosting that spreads easily.
• Syrup Consistency: Don’t rush the syrup process; take your time to thicken it properly. A well-made syrup is key to a beautiful drizzle on your Dead Velvet Cake.
• Layer Cooling: Allow the cake layers to cool completely before frosting. This prevents the frosting from melting and helps achieve that perfect finish.
• Decorative Touch: For an elegant presentation, consider garnishing with fresh berries or a sprinkle of edible glitter on top of your Dead Velvet Cake!
Dead Velvet Cake Variations
Feel free to let your imagination run wild as you personalize this delightful treat! Each twist opens the door to new flavor experiences that will tantalize your taste buds.
-
Gluten-Free: Substitute the red velvet cake mix with a gluten-free blend. Just make sure it’s suitable for baking to maintain the same texture!
-
Chocolate Lovers: Add an extra 1/3 cup of cocoa powder to your cake batter for a deeper chocolate flavor, marrying beautifully with the cream cheese frosting.
-
Nutty Delight: Fold in 1/2 cup of chopped walnuts or pecans into the batter for a wonderful crunch and added richness in each bite.
-
Fruity Twist: Layer the cake with sliced strawberries or raspberries between the cake and frosting for a burst of fruity freshness that balances the sweetness.
-
Coconut Cream: Substitute half of the cream cheese in the frosting with coconut cream for an exotic twist—coconut lovers will be swooning!
-
Spicy Kick: Add a pinch of cayenne pepper or cinnamon to the batter for a warm warmth that dances on your palate, enhancing the cake’s overall flavor.
-
Vegan Option: Swap out the butter for coconut oil, substitute plant-based cream cheese and use a vegan red velvet mix to craft a delectable cake that everyone can enjoy!
-
Mocha Magic: For coffee aficionados, add 1 tablespoon of instant espresso powder to the batter for a subtle coffee kick that pairs perfectly with the sweetness.
These variations are perfect for making this Dead Velvet Cake your own, transforming it into something extraordinary every time you bake!
What to Serve with Dead Velvet Cake?
Indulging in a slice of this stunning dessert opens the door to a world of delightful pairings that elevate any occasion.
-
Velvety Ice Cream: A scoop of vanilla or cream cheese ice cream complements the cake’s richness perfectly, adding a cool contrast to its decadent flavors.
-
Fresh Berries: Strawberries or raspberries provide a burst of color and a hint of tartness that beautifully balances the sweet cream cheese frosting.
-
Sweetened Whipped Cream: Light and airy, whipped cream is an excellent addition, enhancing each mouthful with a luscious creaminess that simply melts in your mouth.
-
Chocolate Ganache Drizzle: For chocolate lovers, a drizzle of warm ganache adds an extra layer of indulgence and a luxurious touch that will leave them wanting more.
-
Sparkling Wine: Celebrate your cake with a glass of bubbly! The effervescence of sparkling wine cleanses the palate while enhancing the cake’s rich flavors.
-
Coffee or Espresso: The deep, roasted flavors of coffee contrast beautifully with the sweet cake, making for a delightful after-dinner treat that warms the soul.
Each pairing adds its unique flair, turning your Dead Velvet Cake into a centerpiece that not only excites the taste buds but also creates lasting memories around the table.
Make Ahead Options
These Dead Velvet Cake preparations are perfect for busy home cooks looking to save time while still enjoying homemade delights! You can prepare the cake layers up to 24 hours in advance—just allow them to cool completely, wrap them in plastic wrap, and store in the refrigerator. The cream cheese frosting can also be made ahead of time and refrigerated for up to 3 days, ensuring it stays fresh and delicious. When you’re ready to serve, simply frost the cake and drizzle the red syrup just before slicing to maintain that luscious moistness. With these make-ahead tips, you’ll have a stunning dessert ready with minimal last-minute effort!
Dead Velvet Cake Recipe FAQs
What type of butter should I use for Dead Velvet Cake?
Absolutely! For the best flavor and texture, I recommend using unsalted butter for your Dead Velvet Cake. This allows you to control the saltiness and ensure a rich, buttery taste in both the cake and the frosting.
How do I store leftover Dead Velvet Cake?
Store any leftover Dead Velvet Cake in an airtight container at room temperature for up to 2 days. If you need to keep it longer, wrap it in plastic wrap and refrigerate for up to 5 days. When you’re ready to enjoy it again, let it come to room temperature for the most delicious flavor.
Can I freeze Dead Velvet Cake?
Yes, you can freeze your Dead Velvet Cake! I often freeze individual slices in airtight containers or freezer bags for up to 3 months. Just make sure to label them with the date. When ready to eat, transfer the slices to the fridge to thaw overnight. For a warm treat, pop a slice into the microwave for 10-15 seconds.
What should I do if my cake layers domed too much?
If you find that your cake layers have domed too much, don’t worry! Wait for them to cool completely, then carefully trim the tops with a serrated knife to create a flat surface. This will make stacking and frosting the cake much easier, ensuring you achieve that perfect two-tier look!
How can I tell if my Dead Velvet Cake is done baking?
The best way to check if your cake is done is to insert a toothpick into the center of the cake. If it comes out clean or with a few moist crumbs, your cake is ready! Additionally, look for golden edges and a slight spring back when you gently press on the top.
Can pets eat Dead Velvet Cake?
No, it’s best to keep your Dead Velvet Cake away from pets. Ingredients like chocolate and cream cheese can be harmful to pets, so be sure to enjoy this decadent treat for yourself and share some pet-friendly snacks with your furry friends instead!

Decadent Dead Velvet Cake: A Sinful Twist on Classic Treat
Ingredients
Equipment
Method
- Preheat the oven to 350°F.
- Grease two 9-inch cake pans with softened butter and dust them lightly with flour.
- Prepare the red velvet cake mix according to the package directions.
- Divide the batter evenly between the prepared cake pans.
- Bake the cakes as per the package instructions, usually around 25-30 minutes.
- Beat together the softened cream cheese and butter in a large bowl until light and fluffy.
- Add the powdered sugar and 1 teaspoon of vanilla to the mixture, blending until fully combined.
- Stir the cold water and cornstarch together in a small saucepan until well mixed.
- Heat the saucepan over medium heat, stirring frequently until the mixture thickens slightly, about 2 minutes.
- Remove the saucepan from the heat and add the corn syrup to the mixture.
- Mix in the remaining vanilla and red food coloring until you achieve your desired hue.
- Trim the top of one cake layer to create a flat surface.
- Dampen the top of the trimmed cake layer with some red syrup.
- Flip the second cake upside down, cut the dome off, and place on top of the first layer.
- Frost the entire cake with cream cheese frosting.
- Pour the remaining red syrup over the cake, letting it drip down the sides.
- Slice and serve the Dead Velvet Cake.


