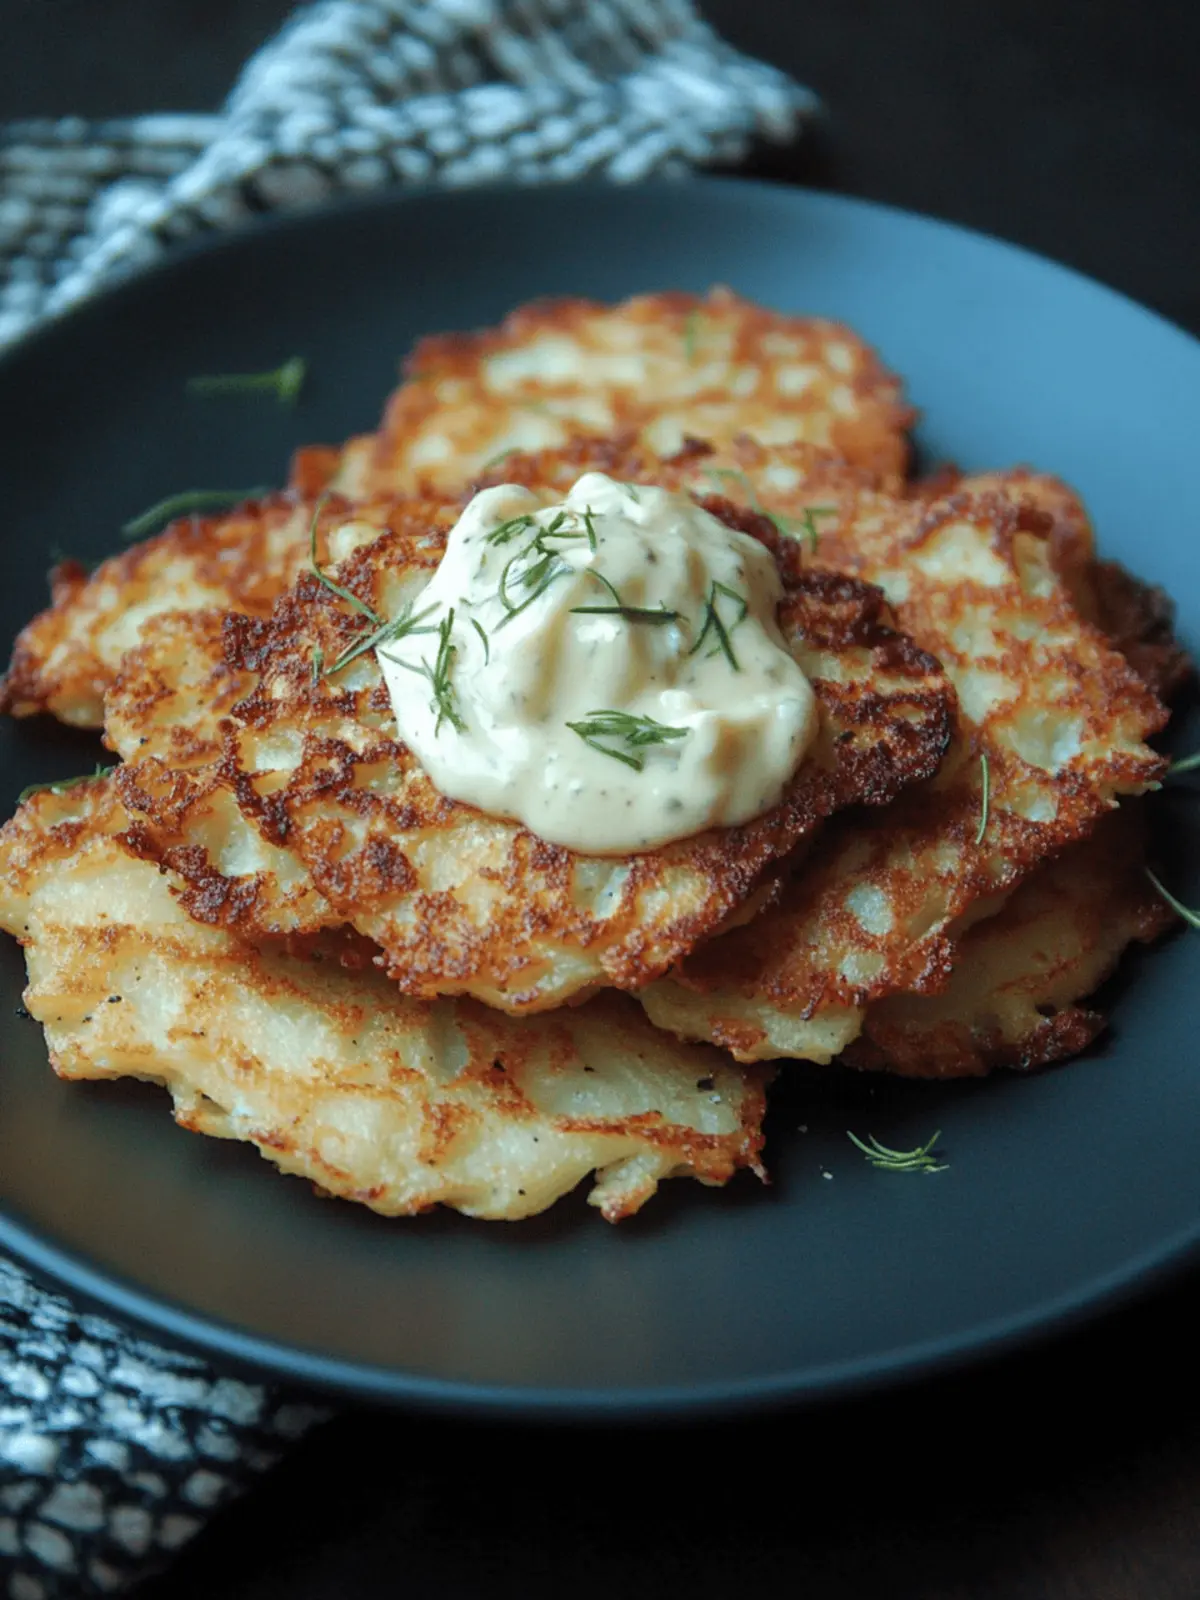
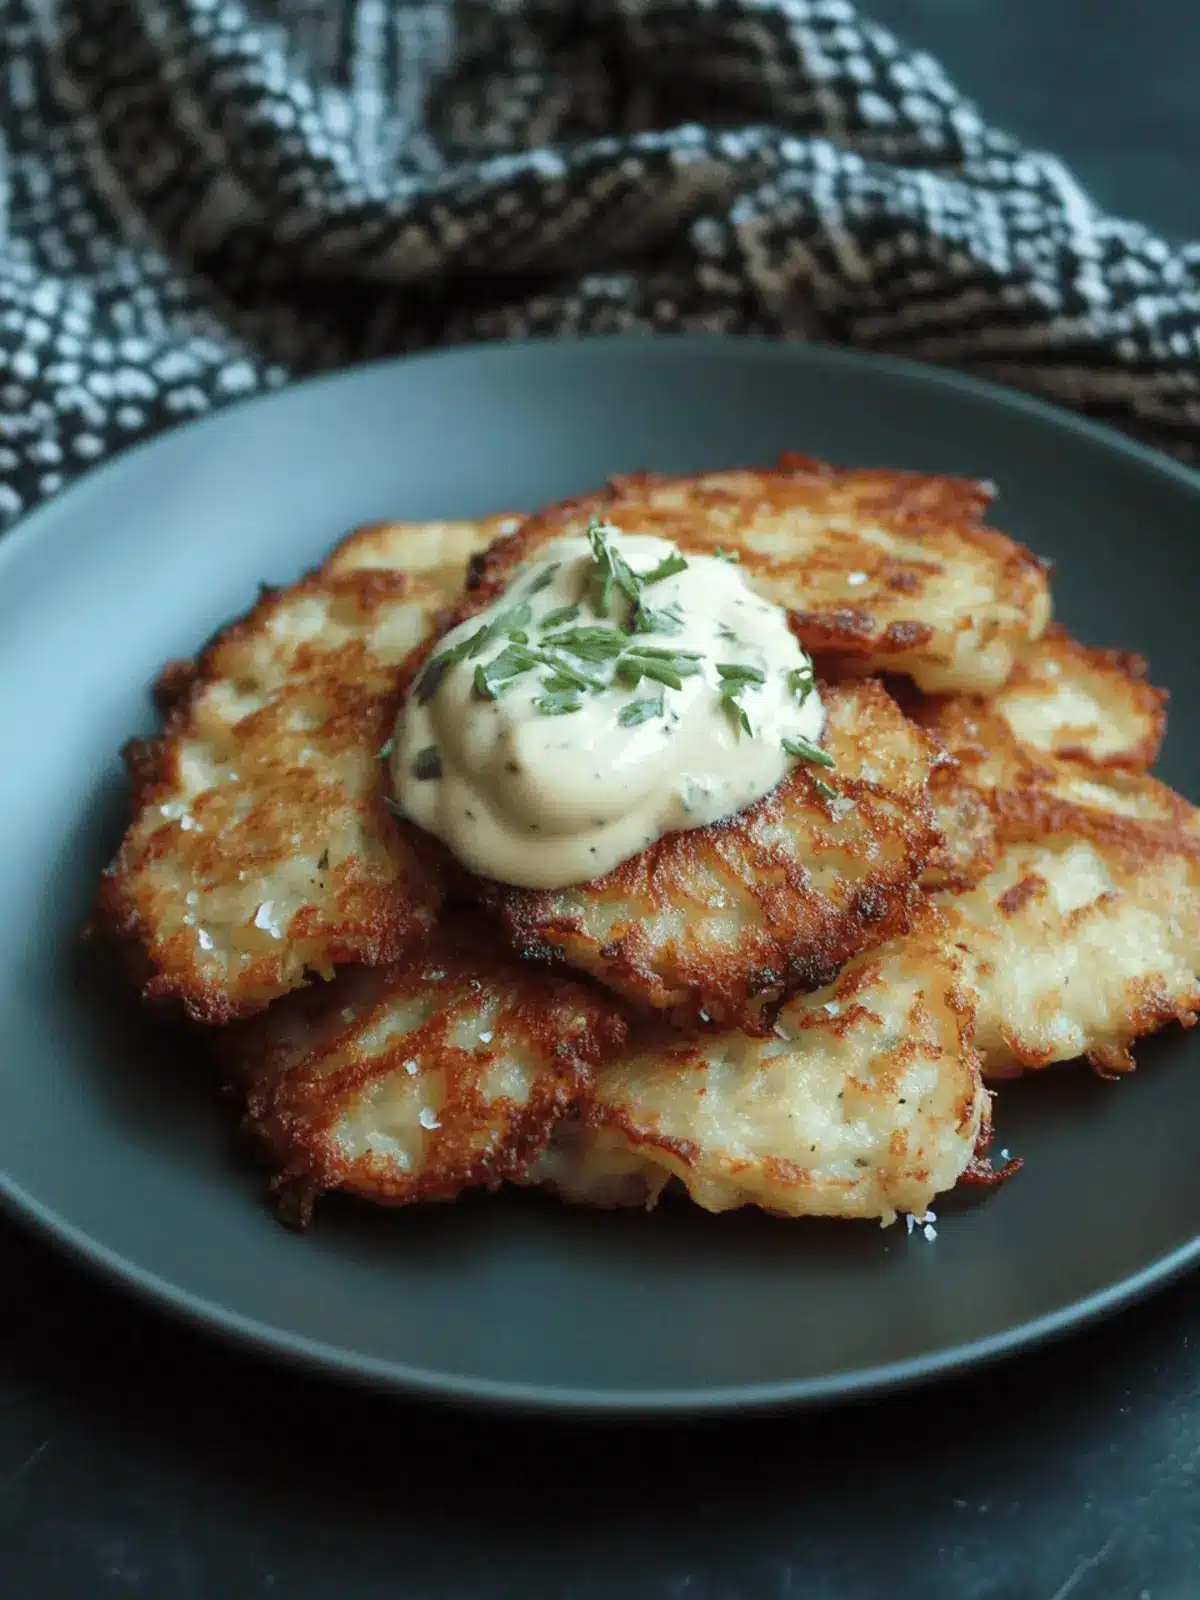
When the crisp chill of winter settles in and the twinkling lights of Hanukkah adorn our homes, there’s nothing quite like the sizzle of a frying pan filled with golden, crispy latkes to awaken the senses. I stumbled upon a delightful combination of Yukon Gold and baking potatoes that creates a tender, creamy base for these killer potato latkes, and the fragrance of onion caramelizing in oil is simply irresistible. Each bite is a perfect balance of crunch and softness, transporting me back to cherished family gatherings filled with laughter and stories, as we share these incredible treats.
Whether you’re hosting a festive feast or just craving a comforting dish, these latkes are sure to be a hit. Pair them with applesauce or crème fraîche for a delightful twist, and watch your loved ones devour them in seconds! Get ready to experience a culinary tradition that perfectly marries simplicity with flavor, making your Hanukkah celebrations even more special. Let’s dive into the recipe!
Why are killer potato latkes a must-try?
Irresistible Crispiness: These latkes deliver a satisfying crunch paired with a creamy interior that makes every bite delightful.
Quick and Easy: With simple ingredients and straightforward instructions, you can whip these up in no time, perfect for busy holiday gatherings.
Tradition with a Twist: Combining Yukon Gold and baking potatoes honors tradition while elevating the flavor profile—an ideal way to celebrate Hanukkah.
Versatile Pairings: Serve them with applesauce, crème fraîche, or smoked salmon to suit your palate, ensuring everyone at the table is satisfied.
Crowd-Pleaser: These latkes are loved by all ages, making them the star of your festive spread.
Gluten-Free Option: You can easily tweak the recipe to be gluten-free, accommodating various dietary needs without sacrificing taste.
Killer Potato Latkes Ingredients
• For the Latkes
- Yukon Gold Potatoes – Their creamy texture is perfect for a tender base, ensuring each latke boasts a delightful bite.
- Baking Potatoes – Using starchy varieties like Russets helps create that essential crispy exterior everyone craves.
- Onion – Adds a sweet depth of flavor; feel free to use brown or yellow for versatility.
- Eggs – These act as a binder, keeping the latkes together while frying for consistent results.
- Matzo Meal – Provides essential structure and a slight crispiness; substitute with breadcrumbs if needed.
- White Pepper – Introduces a gentle heat that enhances the flavor; black pepper can also be swapped in.
- Salt – Essential for amplifying all the flavors in your killer potato latkes; adjust according to taste.
- Oil (for frying) – Necessary for achieving that golden, crispy texture; opt for a high-heat oil like canola.
• Serving Suggestions
- Applesauce – The sweetness complements the savory latkes perfectly, creating a wonderful balance.
- Crème Fraîche – Adds a rich creaminess that elevates the overall experience of the dish.
- Smoked Salmon – For a luxurious twist that brings a delightful saltiness to the bite.
How to Make Killer Potato Latkes
-
Prep Potatoes: Start by covering Yukon Gold potatoes in a medium saucepan with water, sprinkle in some salt, and boil for about 15 minutes until tender. Drain and ricer them into a large bowl for that creamy texture.
-
Grate Baking Potatoes: Peel and grate your baking potatoes using a box grater, ensuring you squeeze out any excess moisture for optimal crunchiness in the latkes.
-
Process Onions: Blend the grated baking potatoes with onion in a food processor until finely chopped. Strain to remove any liquid to keep your latkes crispy.
-
Mix Ingredients: In a large bowl, combine the riced potatoes, half of the grated ones, the potato-onion mixture, eggs, matzo meal, white pepper, and salt, mixing gently to ensure everything is well incorporated.
-
Fry Latkes: Heat about 1/4 inch of oil in a skillet over medium heat. Form 1/4 cup portions of the mixture, flatten them slightly, and fry in batches for about 7 minutes per side until golden brown and crispy.
-
Serve: Once cooked, drain your latkes on paper towels and sprinkle with a little salt. Serve warm with your favorite accompaniments like applesauce, crème fraîche, or smoked salmon.
Optional: Garnish with fresh herbs for an extra touch of flavor and color.
Exact quantities are listed in the recipe card below.
Make Ahead Options
These killer potato latkes are perfect for meal prep, saving you valuable time during your busy Hanukkah celebrations! You can prepare the latke mixture up to 24 hours in advance—simply follow all steps until you’re ready to fry. Once mixed, cover the bowl tightly and refrigerate to keep everything fresh and prevent browning. When it’s time to cook, just heat your oil, form the latkes, and fry until golden and crispy. This method preserves the delightful texture and flavor, allowing you to enjoy warm, homemade latkes without the last-minute rush. Enjoy restaurant-quality results with minimal effort during your festive gathering!
Storage Tips for Killer Potato Latkes
- Room Temperature: For the best texture, killer potato latkes can be kept at room temperature for up to 4 hours before serving. Just make sure they are arranged in a single layer to avoid sogginess.
- Fridge: If you have leftovers, store them in an airtight container in the fridge for up to 3 days. Layer them with parchment paper to prevent sticking and maintain texture.
- Freezer: For longer storage, freeze cooked latkes for up to 2 months. Place them in a single layer on a baking sheet to freeze individually before transferring to a freezer bag.
- Reheating: To reheat, bake frozen latkes on a baking sheet in a preheated 375°F oven for about 10-15 minutes until crispy. This will help restore their delightful crunch!
Expert Tips for Killer Potato Latkes
- Proper Potato Prep: Ensure you drain the potatoes well to avoid excess moisture; this is key for achieving that coveted crispiness in your killer potato latkes.
- Fry in Batches: Don’t overcrowd the pan when frying; this can lower the oil temperature and lead to soggy latkes. Frying in smaller batches will keep the crunch intact.
- Temperature Check: Use a thermometer to keep the oil at 350°F for optimal frying results, ensuring that your latkes turn out golden and crisp all the way through.
- Keep Warm: If serving in batches, keep your latkes warm in a low oven to maintain their crispy texture while preparing the remaining ones.
- Try Different Ingredients: Feel free to experiment by adding shredded zucchini or carrots into the potato mixture for an exciting twist on your killer potato latkes.
What to Serve with Killer Potato Latkes?
When celebrating with the warm, inviting flavors of homemade latkes, you’ll want sides that enhance their charm and elevate your feast.
-
Applesauce: This sweet companion cuts through the savory notes of latkes, offering a delightful contrast that’s traditionally beloved.
-
Crème Fraîche: Its rich creaminess elevates the dish, adding a luxurious touch that perfectly complements the crispy texture of each latke.
-
Smoked Salmon: For a gourmet twist, this indulgent addition brings a salty depth, creating a memorable harmony of flavors on your plate.
-
Roasted Brussels Sprouts: The crunchy, caramelized edges and earthy flavors of Brussels sprouts provide a fresh balance to the richness of fried latkes.
-
Classic Beet Salad: A vibrant, tangy beet salad adds color and a refreshing zing, ensuring a well-rounded meal that dazzles the palate.
-
Savory Sour Cream Dip: Mixing herbs and spices into sour cream makes for a creamy, herby dip that enhances the latkes and adds layers of flavor.
These pairings will round out your Hanukkah celebration beautifully, ensuring no bite goes unfulfilled!
Killer Potato Latkes Variations
Customize your latkes and explore exciting twists that will delight your taste buds and impress your guests!
- Zucchini Addition: Incorporate shredded zucchini for a fresh flavor and a nutritious boost; just squeeze out excess moisture before mixing.
- Carrot Blend: Add grated carrots to the potato mixture for a hint of sweetness and vibrant color, making your latkes even more delightful.
- Herb Infusion: Mix in chopped fresh herbs like dill or chives to elevate the flavor profile and give your latkes a garden-fresh taste.
- Spicy Kick: For those who love heat, add a pinch of cayenne pepper or chopped jalapeños to the mixture for a delicious, spicy twist.
- Onion Variations: Experiment with different types of onions, such as green onions or shallots, for distinctive flavors and nuances.
- Cheesy Delight: Fold in some grated cheese, like cheddar or feta, into the latke mixture for an ooey-gooey surprise that melts in your mouth.
- Apple Combinations: Try blending finely grated apples with the potatoes for a sweet and savory marriage of flavors that will leave everyone wanting more.
- Gluten-Free Option: Substitute traditional matzo meal with gluten-free breadcrumbs or almond flour to keep the latkes crispy and suitable for all dietary needs.
Killer Potato Latkes Recipe FAQs
What kind of potatoes should I use for killer potato latkes?
For the best texture, I recommend using Yukon Gold potatoes for their creamy base and baking potatoes, like Russets, for added crunch. Both should be firm and fresh to ensure perfect latkes.
How should I store leftover latkes?
Store any leftover killer potato latkes in an airtight container in the fridge for up to 3 days. To help maintain their texture, you can layer them with parchment paper to prevent sticking.
Can I freeze killer potato latkes?
Absolutely! To freeze, place the cooked latkes on a baking sheet in a single layer until firm—about 1 to 2 hours—then transfer them to a freezer bag. They can be frozen for up to 2 months. When ready to enjoy, reheat them in a preheated 375°F oven for 10-15 minutes until crispy.
What should I do if my latkes aren’t crispy enough?
If your latkes turn out soggy, make sure you’re draining the grated potatoes well before mixing. Excess moisture can prevent the crispy texture. Fry in smaller batches and ensure your oil temperature stays at about 350°F. If you’re concerned, you can also add a bit more matzo meal to absorb additional moisture.
Are killer potato latkes gluten-free?
Yes! You can make these latkes gluten-free by using gluten-free matzo meal or breadcrumbs. Just double-check all your ingredients for hidden gluten, especially in the oil and seasonings.
Can I prepare the latke mix in advance?
If you’d like to prep ahead, you can make the potato mixture and store it in the fridge for up to 24 hours. Just remember to cover it tightly with plastic wrap to prevent browning. When you’re ready to fry, simply mix in your eggs and matzo meal!
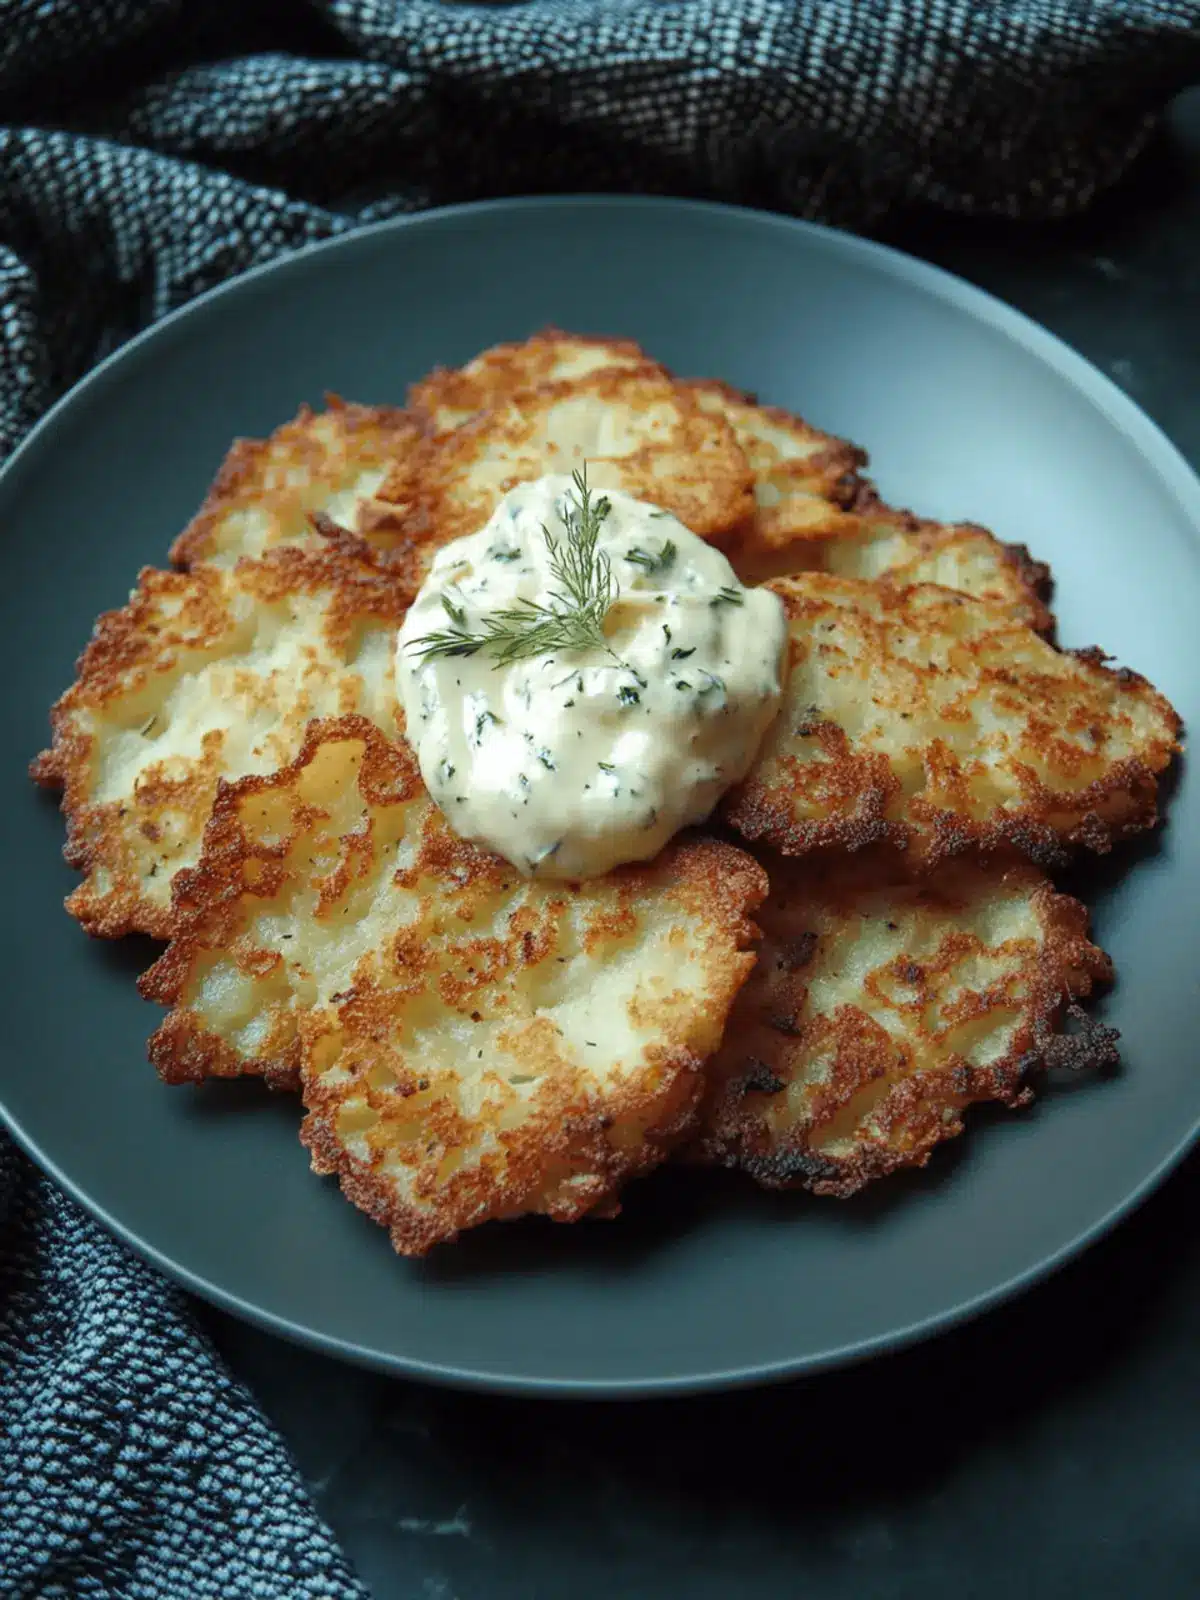
Killer Potato Latkes: Perfectly Crispy for Your Hanukkah Feast
Ingredients
Equipment
Method
- Start by covering Yukon Gold potatoes in water, sprinkle in salt, and boil for about 15 minutes until tender. Drain and ricer into a large bowl.
- Peel and grate baking potatoes using a box grater, ensuring to squeeze out excess moisture.
- Blend grated baking potatoes with onion in a food processor until finely chopped. Strain to remove any liquid.
- In a large bowl, combine the riced potatoes, half of the grated ones, the potato-onion mixture, eggs, matzo meal, white pepper, and salt.
- Heat about 1/4 inch of oil in a skillet over medium heat. Form 1/4 cup portions of the mixture, flatten them slightly, and fry in batches for about 7 minutes per side until golden brown.
- Drain the latkes on paper towels, sprinkle with salt, and serve warm.

